# 2画面目を表示してみよう
このページでは、2画面目を表示する方法について説明します。Pluginに含まれているサンプルで試すこともできます。
:::caution 2画面表示はUniy Editorの使用時では機能しません。Buildしアプリ実行することでご確認ください。 :::
## 事前準備 - Spatial Reality Displayのセットアップが完了していること。 完了していない場合は [Setup Spatial Reality Display](/Products/Developer-Spatial-Reality-display/jp/develop/Setup/SetupSRDisplay.html)、 [Setup Spatial Reality Display Settings](/Products/Developer-Spatial-Reality-display/jp/develop/Setup/SetupSRRuntime.html) を参照してください。 - SRDisplay UnityPluginがインストールされたUnity Projectがあること。 準備していない場合は [Setup for Unity](/Products/Developer-Spatial-Reality-display/jp/develop/Unity/Setup.html) を参照してください。
## 2画面目を表示する方法 ["Hello cube!"アプリを作成する](/Products/Developer-Spatial-Reality-display/jp/develop/Unity/HelloCubeApp.html) を参考にSRDisplayManager Prefabを配置します。 2画面目を表示するには、最初にSRDisplayManagerのInit2DView()を呼びます。そして、SRD2DViewを取得します。 ```cs if (_srdManager.Init2DView()) { _srd2DView = _srdManager.SRD2DView; } ``` Show(true)で、2画面目を表示します。 ```cs _srd2DView.Show(true); ``` 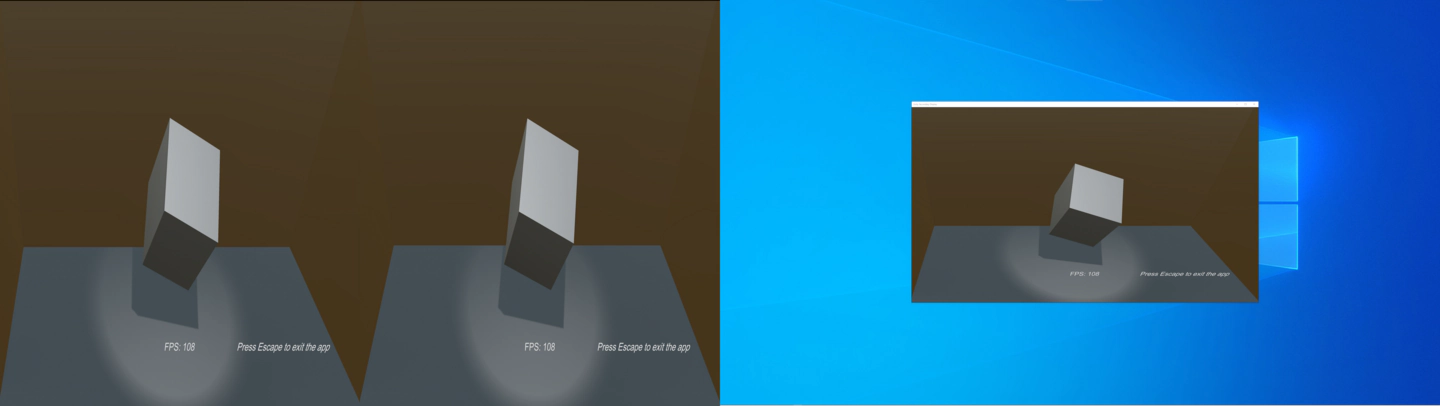{.img83} 2画面目を非表示にする場合は、falseを設定します。 ```cs _srd2DView.Show(false); ``` 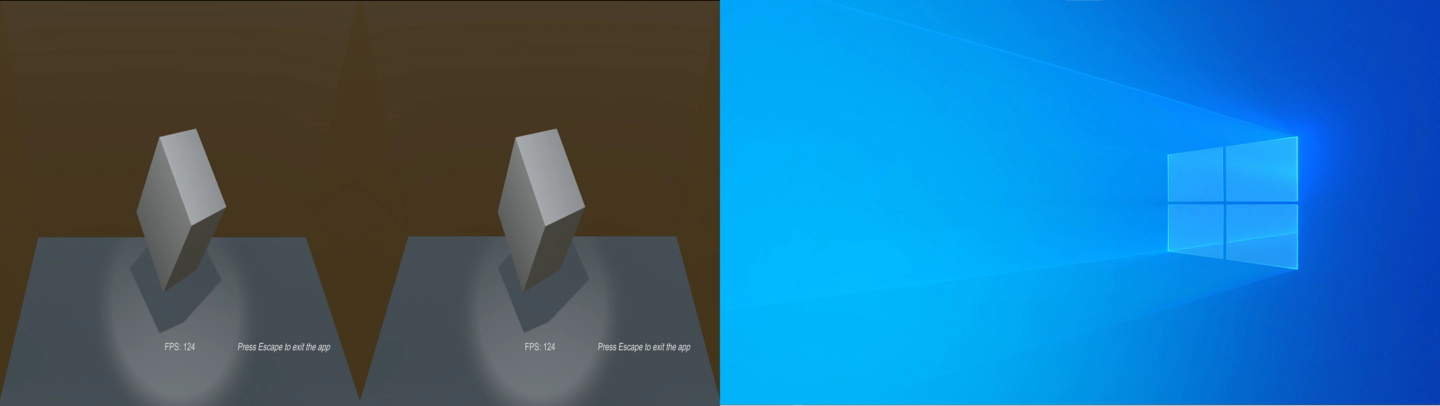{.img83} サンプルでは、F5キー(2画面目の表示/非表示)に割り当てられています。
## 2画面目を全画面で表示する方法 2画面目を全画面表示にできます。 ```cs _srd2DView.SetFullScreen(true); ``` 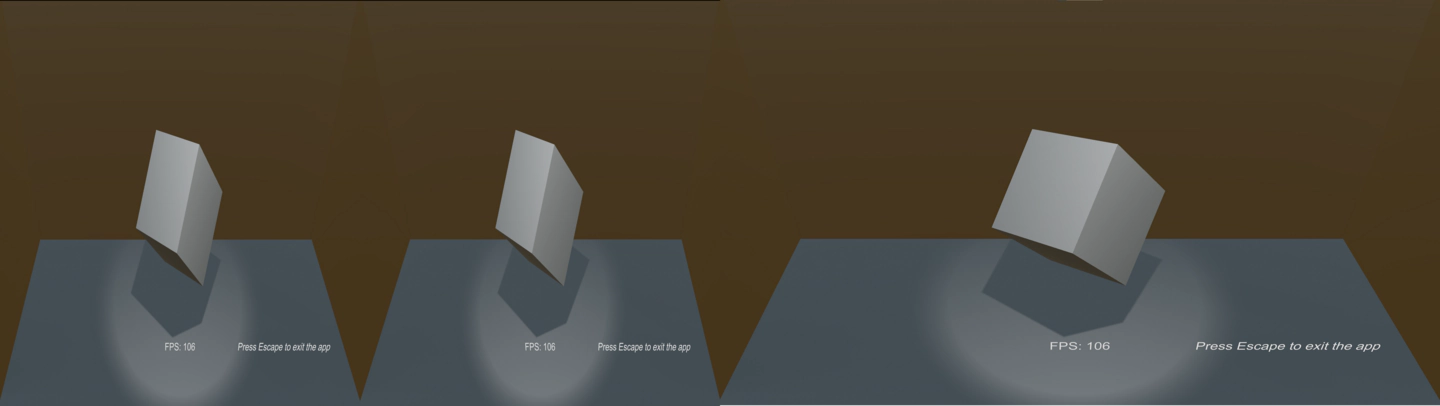{.img83} 全画面表示から元に戻すことができます。 ```cs _srd2DView.SetFullScreen(false); ``` サンプルでは、F6キー(全画面切替)で確認できます。
## 2画面目の画像を設定する方法 表示する画像について、Spatial Reality Displayの左目画像、右目画像、混合画像の設定が可能です。 左目画像を設定します。 ```cs _srd2DView.SetSourceTexture(SRDTextureType.LeftEye); ``` 右目画像を設定します。 ```cs _srd2DView.SetSourceTexture(SRDTextureType.RightEye); ``` 混合画像を設定します。 ```cs _srd2DView.SetSourceTexture(SRDTextureType.SideBySide); ``` ELF-SR2: {.img83} ELF-SR1: {.img83} サンプルでは、F7キー(画像設定切替)で確認できます。 **任意のTextureを設定します。** {.newlabel-2024-10-29} SDK2.4.0以降ではユーザー独自のテクスチャー(CustomTexture)を設定することも可能になりました。 CustomTextureを表示するには、 `SetSourceTexture()` で `SRDTextureType.Custom` を選択して、`CustomTexture` に表示したいテクスチャーを割り当てます。 例えば、シーンにカメラを置いて、そのカメラの映像を2画面目に表示したい場合は以下の様な実装となります。 ```cs public void ShowCameraImage(Camera sourceCamera) { _srd2DView.SetSourceTexture(SRD2DView.SRDTextureType.Custom); _srd2DView.CustomTexture = sourceCamera.activeTexture; } ``` {.img83} サンプルでは、メニューより"Press 6"で確認できます。