Motion data Recording
Reference
STEP 1: Record motion data
Note: For best performance, we recommend recording motion with only the mocopi skeleton or with the mocopi skeleton and only one 3D Character.
-
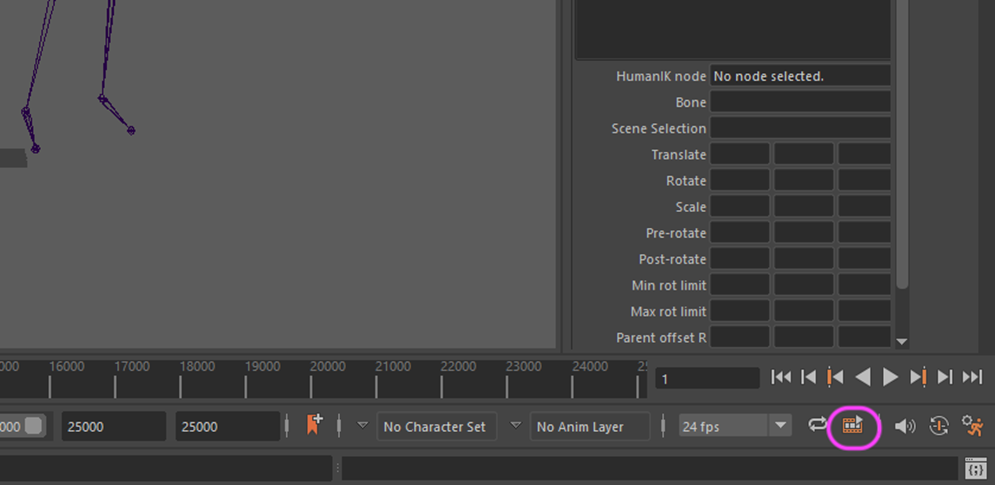
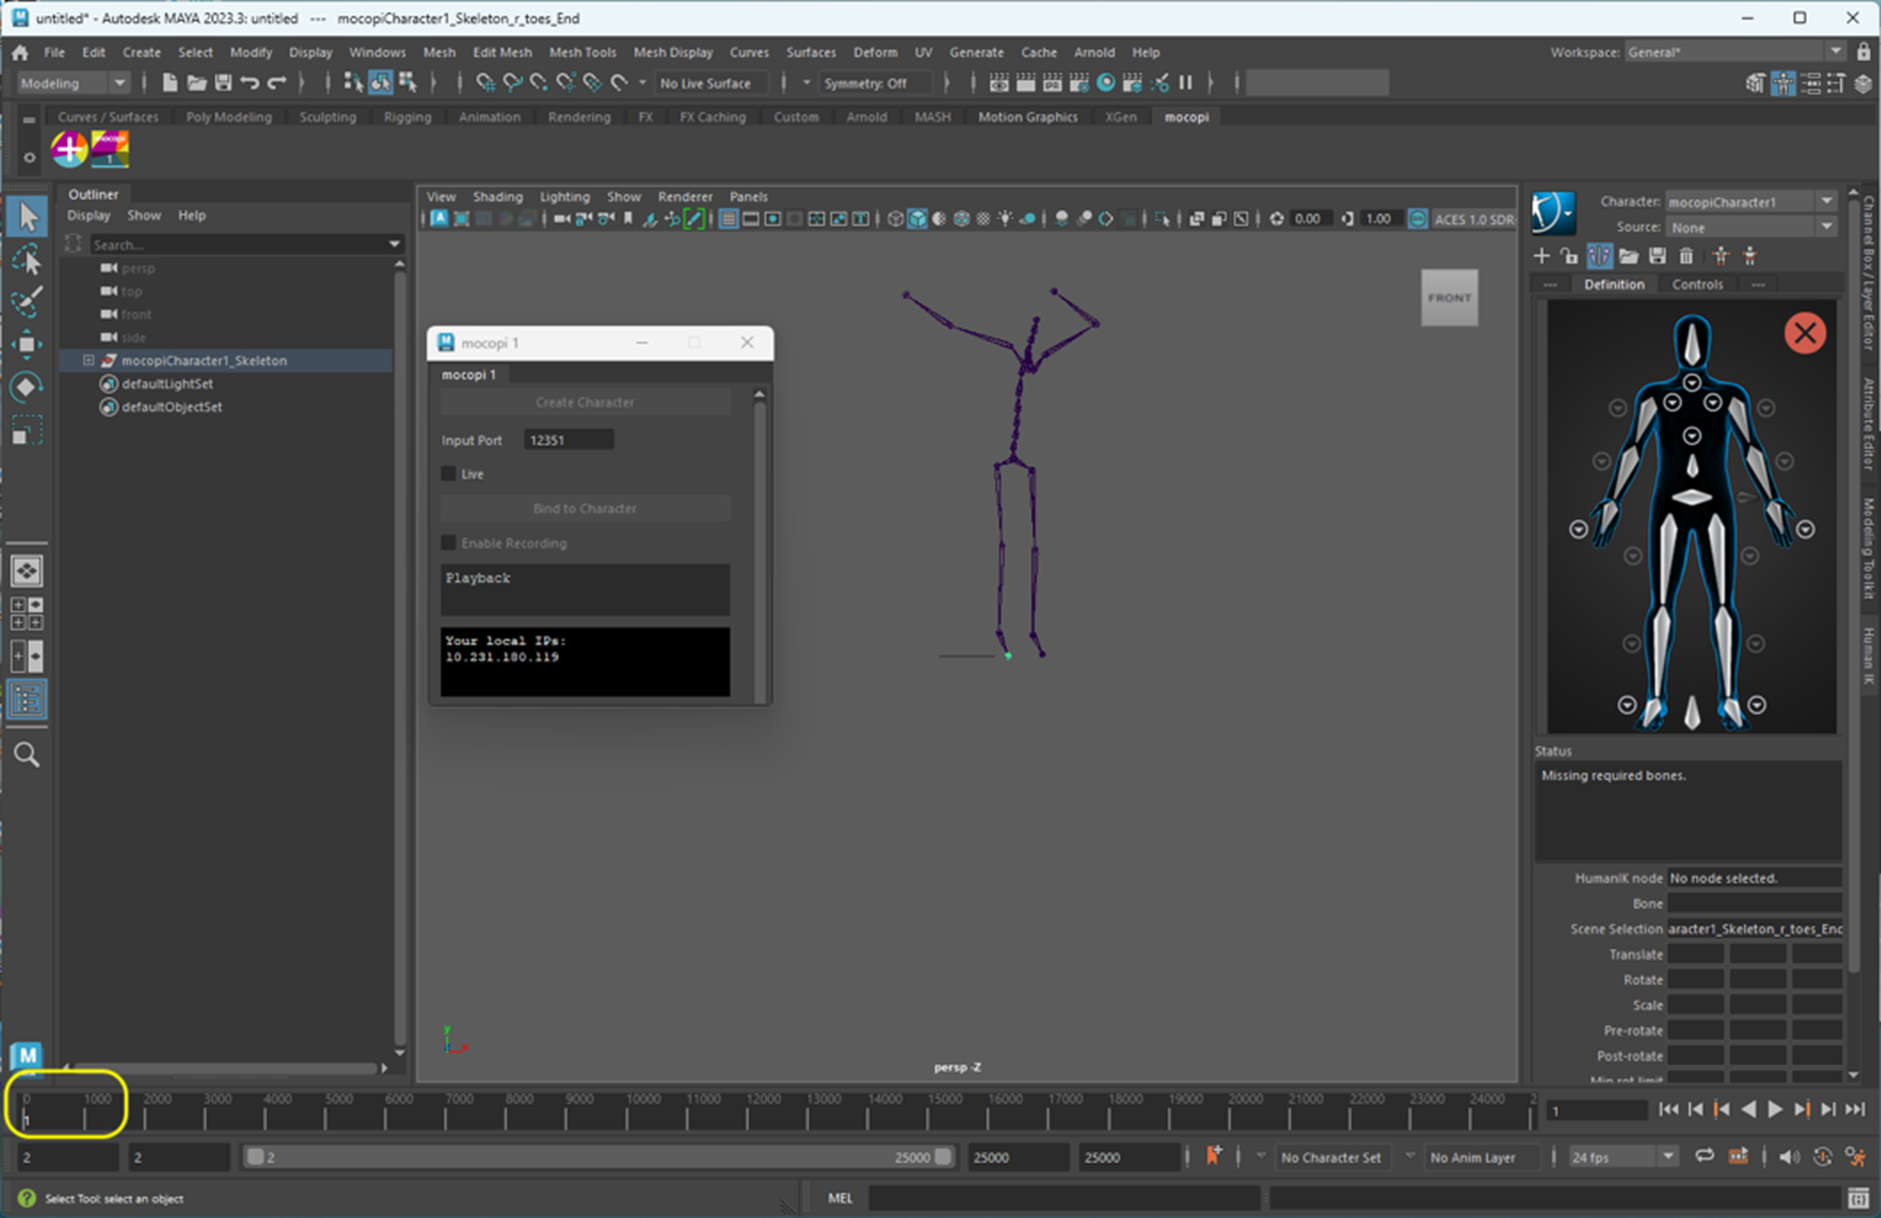
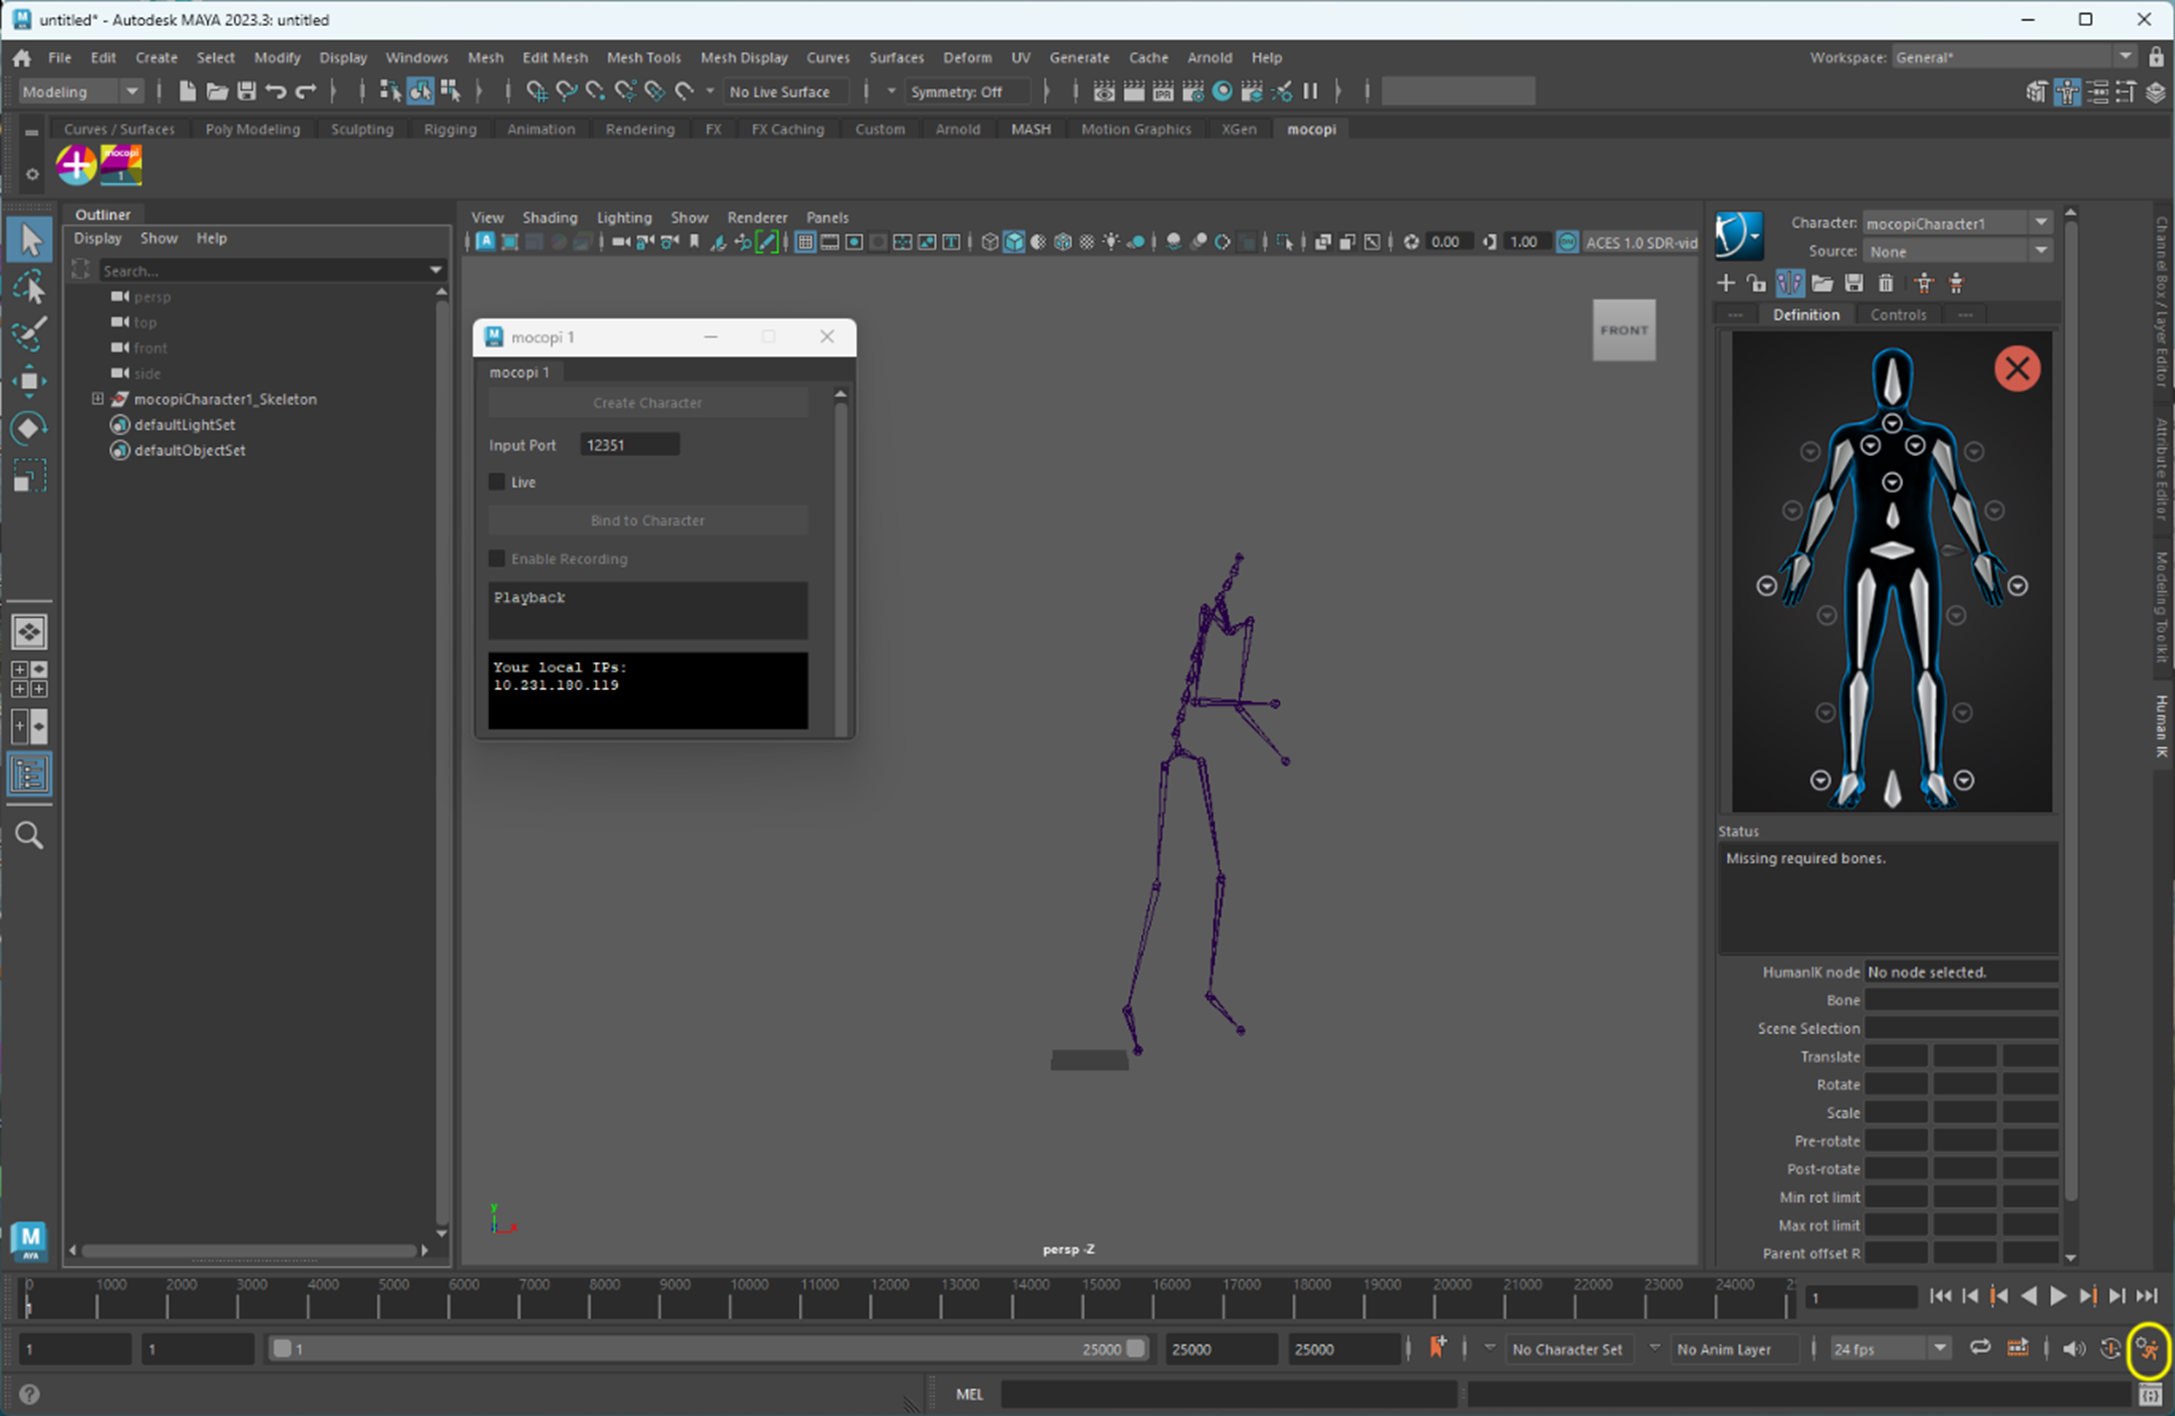
Make sure that “Cached Playback” is disabled on the player controls of the timeline, on the bottom right corner of the Maya window.
-
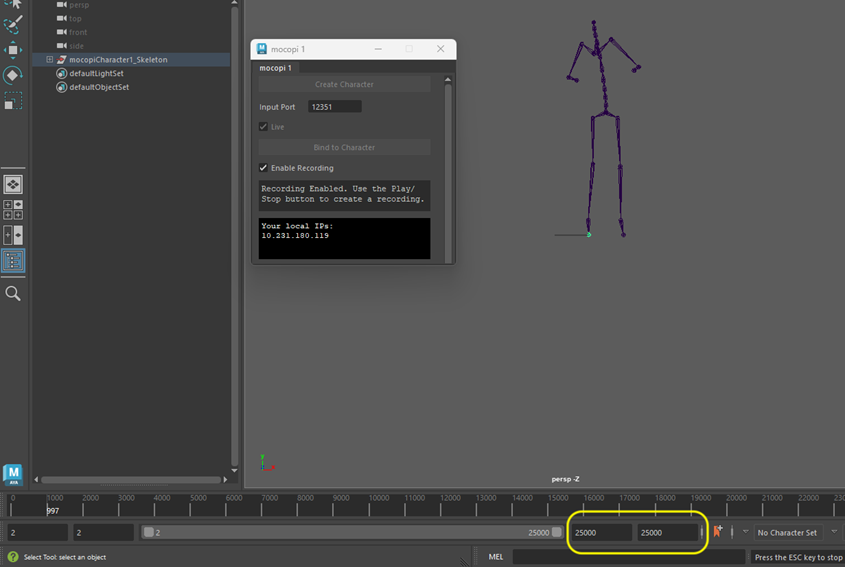
On the timeline, change the “end time of the playback range” to a larger number, for example 1000 or a big enough number to capture all the frames that will be part of the animation, depending on how long you expect the animation to be.
-
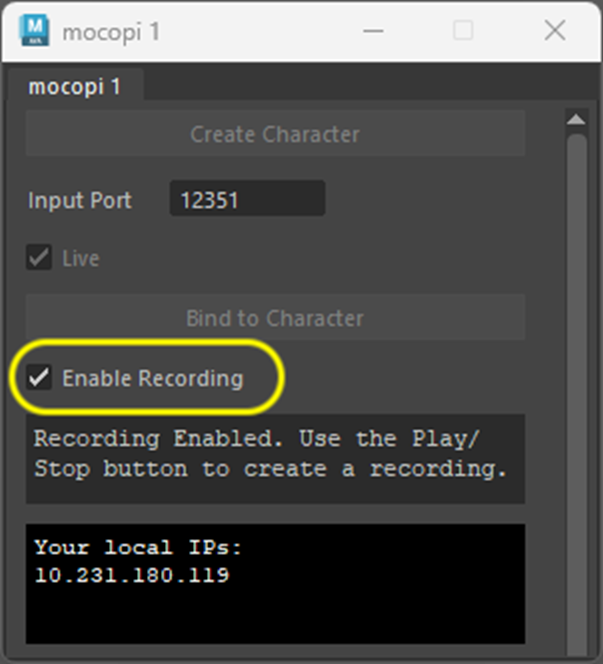
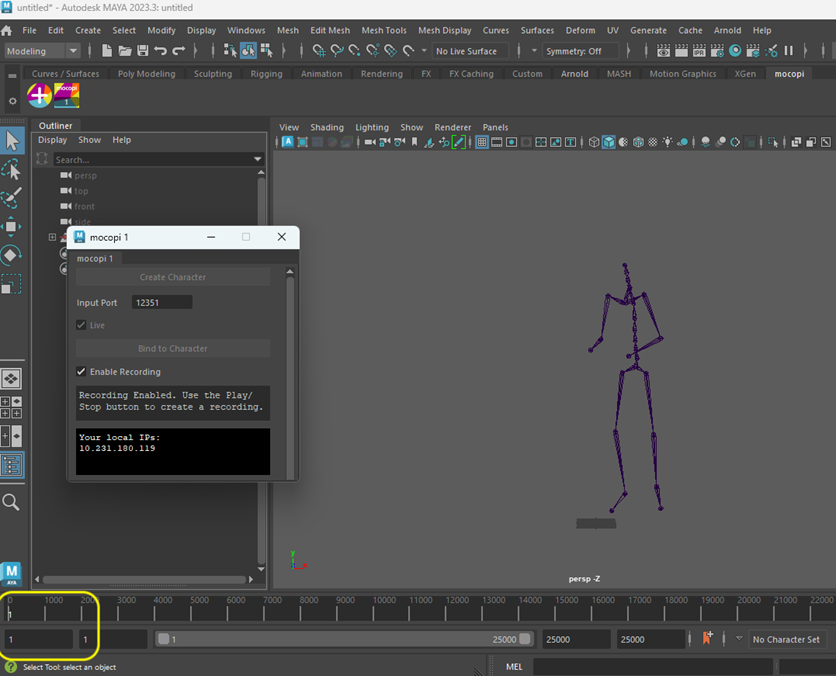
While the “Live” checkbox is enabled on the mocopi source window, check the “Recording” checkbox, to enable motion Recording.
-
Bring the timeline slider to 1, before starting the recording.
-
Recording control
When the plugin is in Recording mode (Steps 1 – 3 completed):
-
tart recording: Press the Play button on the player controls (bottom right area of the screen), then you can start performing the motion that you want to record.

For example:
-
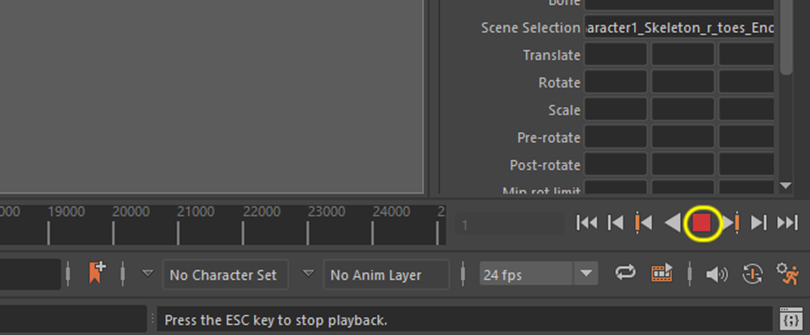
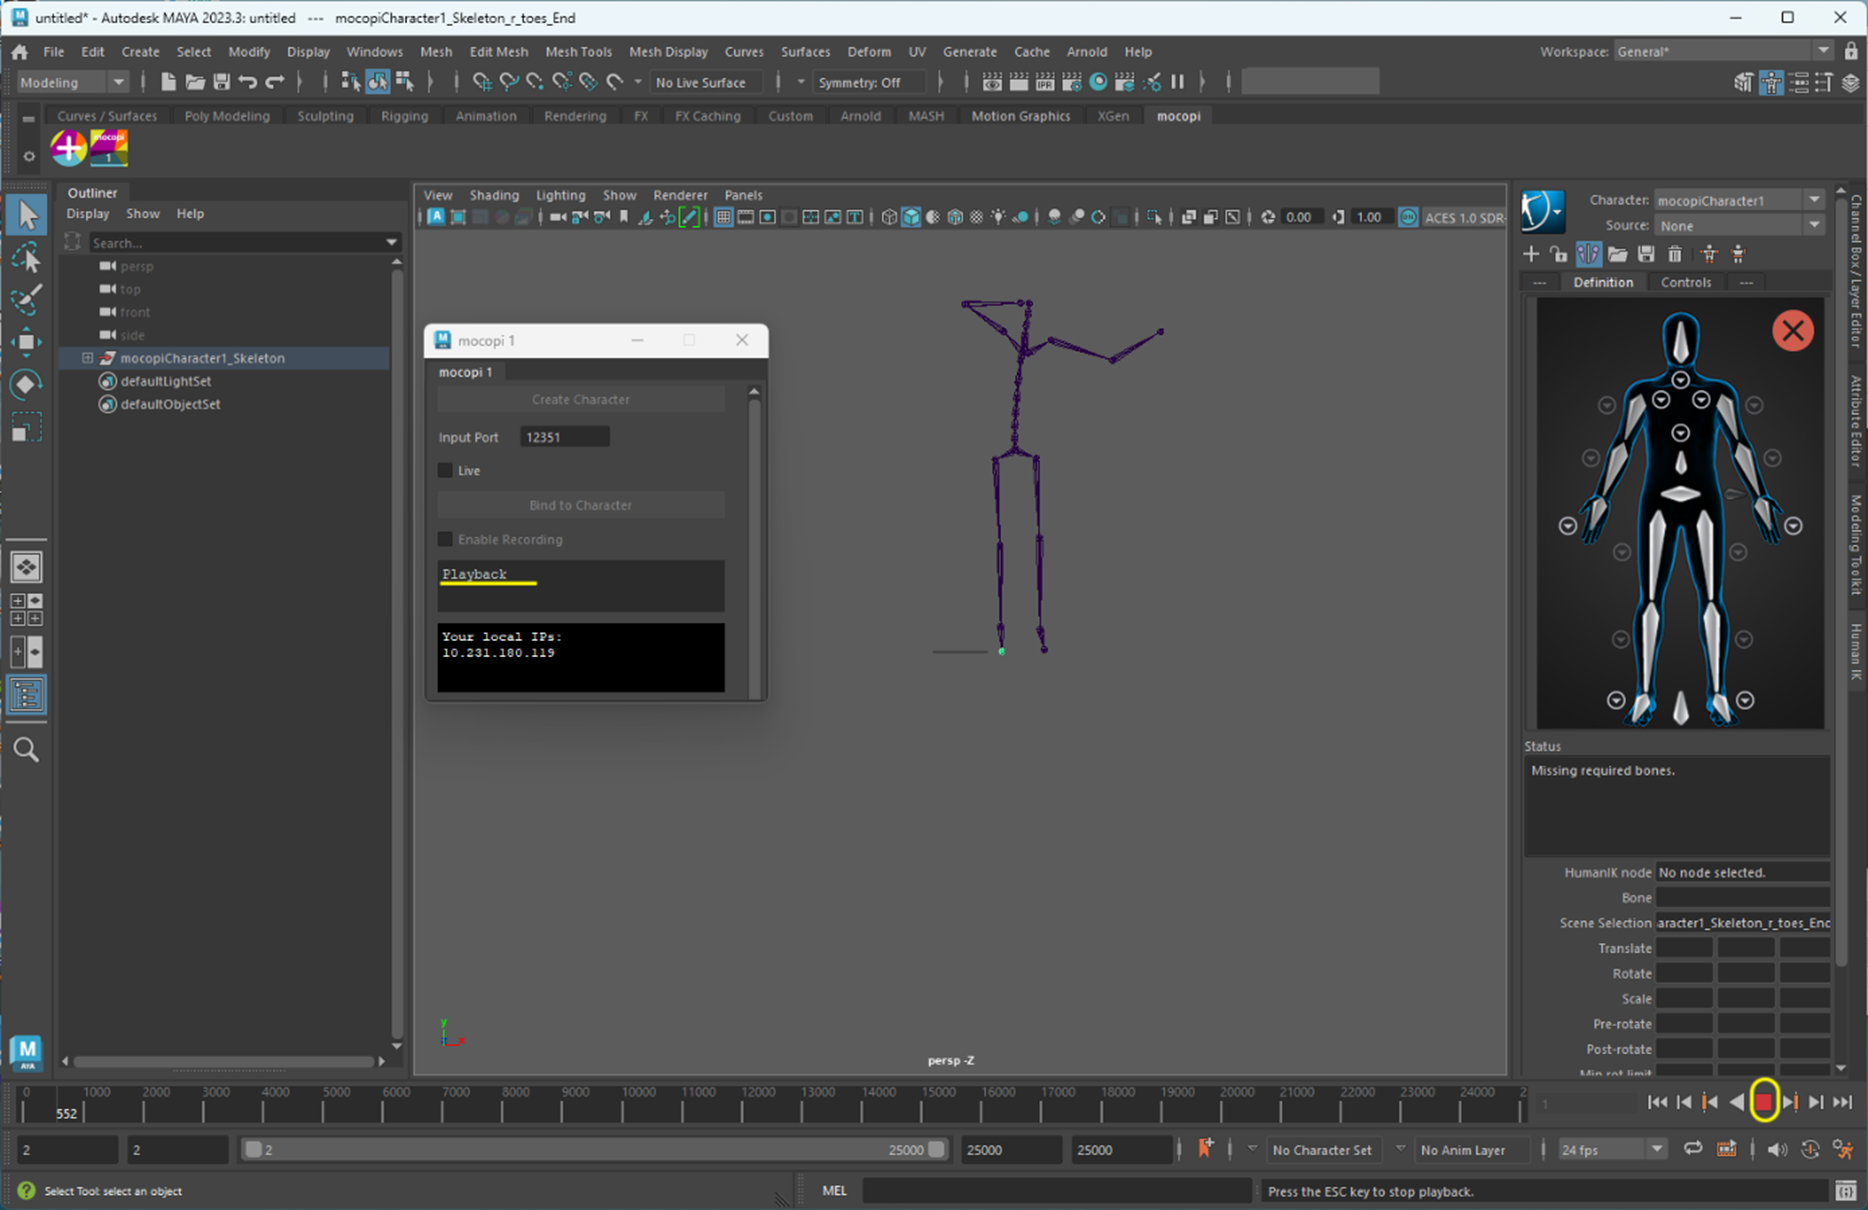
Stop recording: Press the “Stop” button on the player controls (bottom right area of the screen)
-
tart recording: Press the Play button on the player controls (bottom right area of the screen), then you can start performing the motion that you want to record.
STEP 2: Playback of recorded motion data
- On the mocopi source window, uncheck the “Enable Recording” checkbox.
Unchecking the “Recording” checkbox (shown below) will save the keyframes in Maya. -
Then uncheck the Live checkbox in the mocopi1 window.
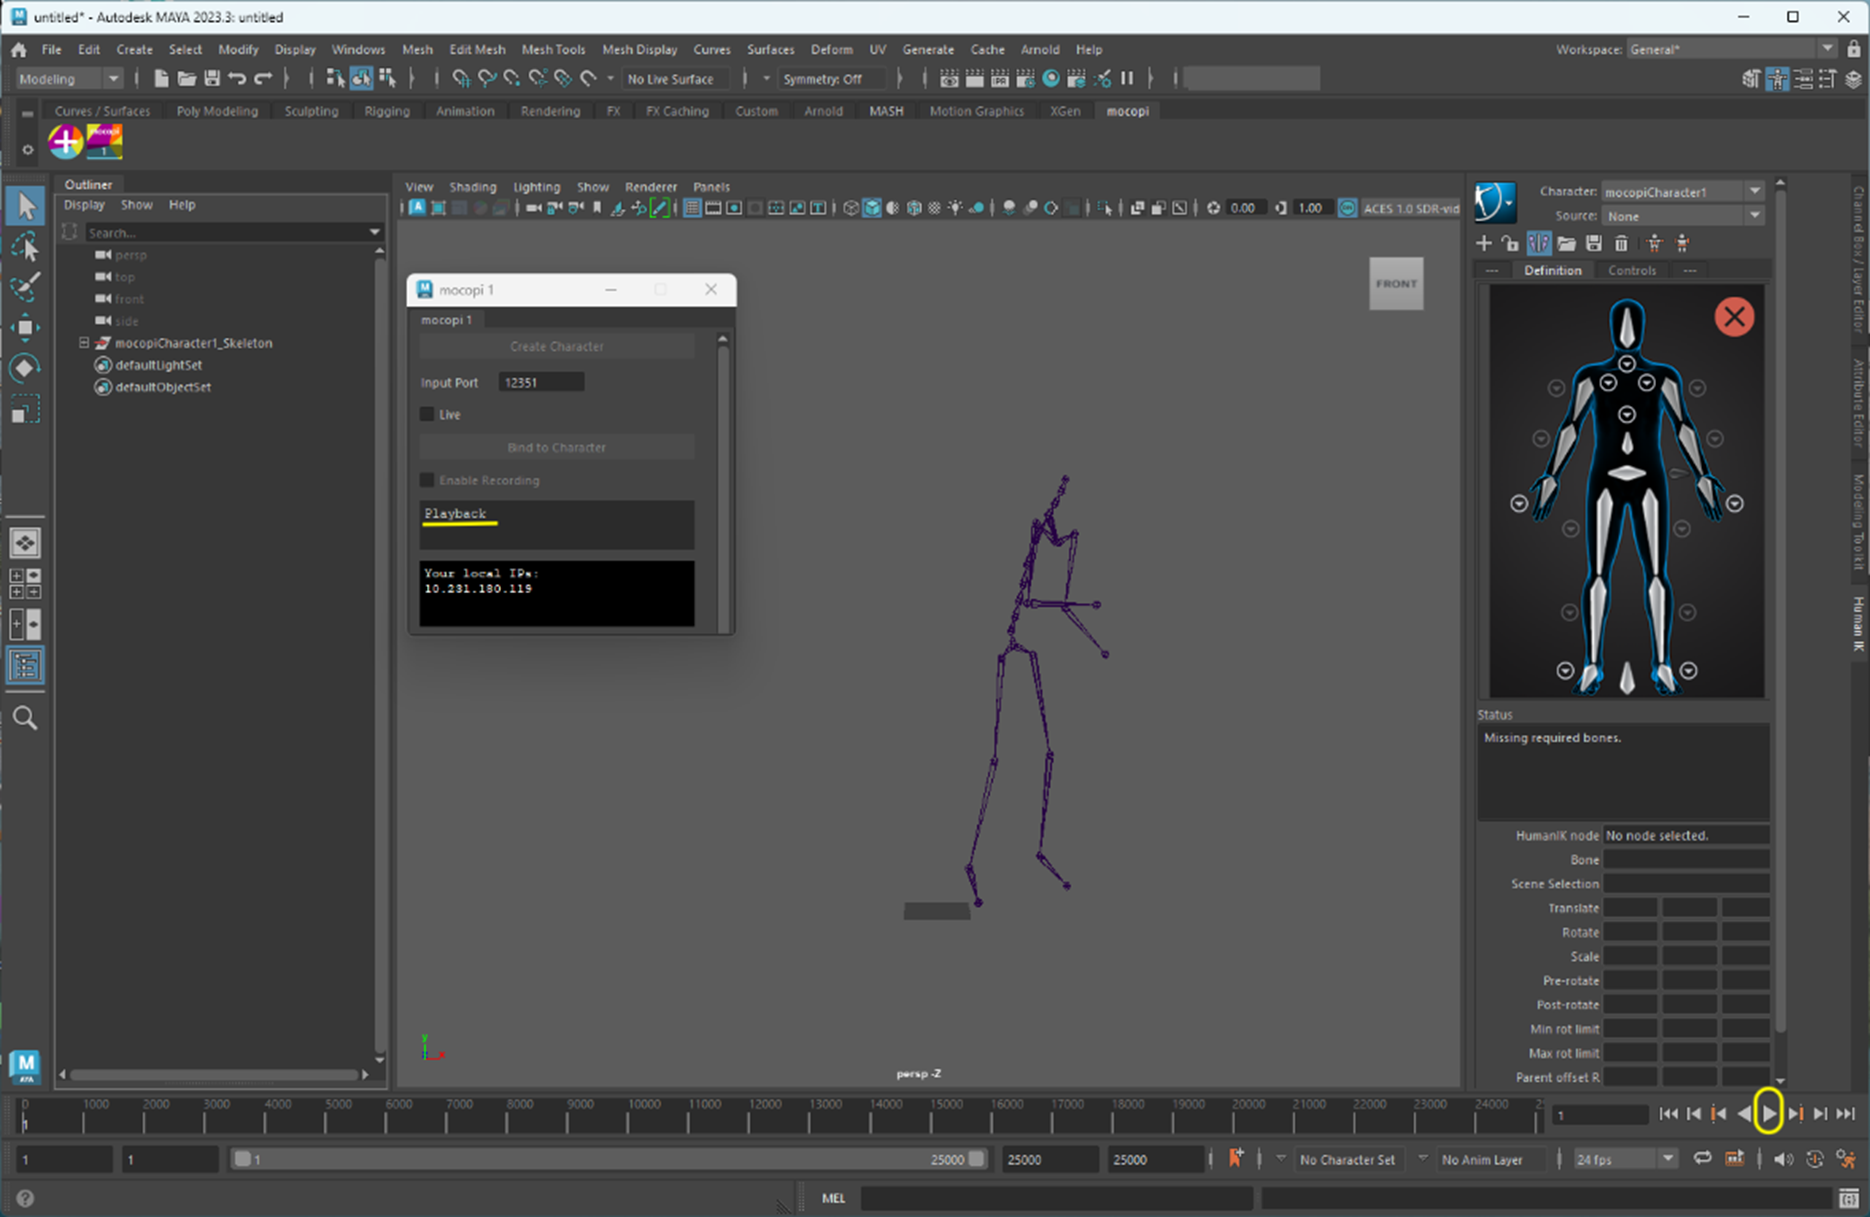
If there is a recording available, the mocopi window will show “Playback’ at the bottom.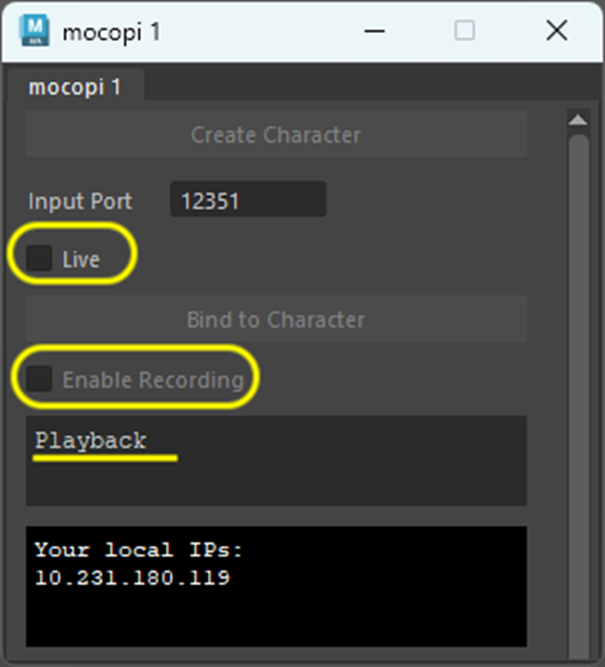
-
To play the recording back from the beginning, drag the timeline slider back to the position 1
-
Playback control
Once you have the plugin in Playback mode (as described in previous steps):
-
To start the playback, press the Play button on the player controls (bottom right corner).
Reference
You can move around your character, to use the recorded motion as needed in your scene.
-
To Stop the playback, press the Stop button on the player controls (bottom right corner).
-
To start the playback, press the Play button on the player controls (bottom right corner).
Appendix 1: Baking a recorded animation to a 3D character
In previous steps we saw how to animate a 3D character with mocopi, and we also showed the steps to record the motion from the mocopi sensors, we can now explain how to bake the motion recorded from the mocopi sensors to a 3D character.
- Record an animation from the mocopi sensors as described in previous steps, using only the mocopi skeleton and then play back the motion.
- Import a 3D character into your Maya scene
-
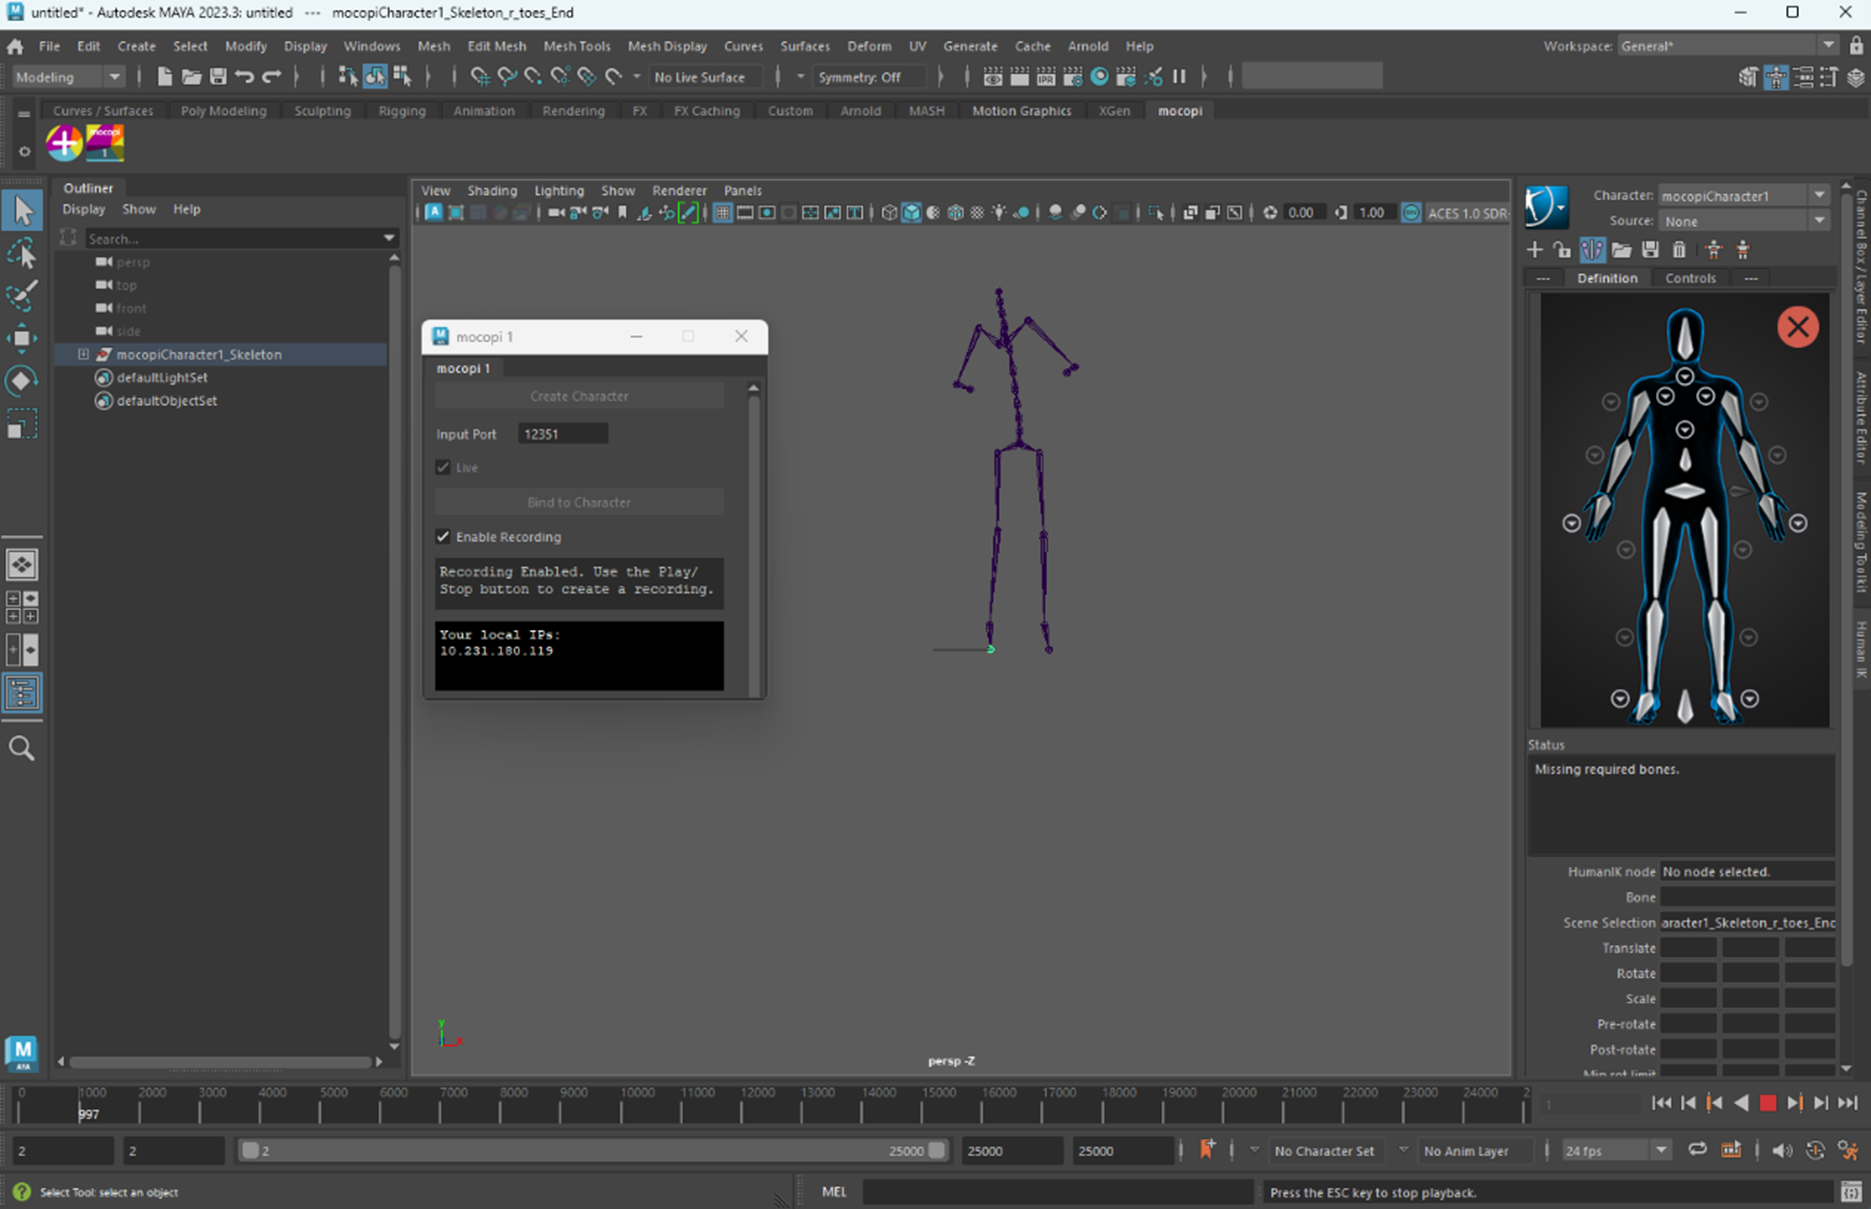
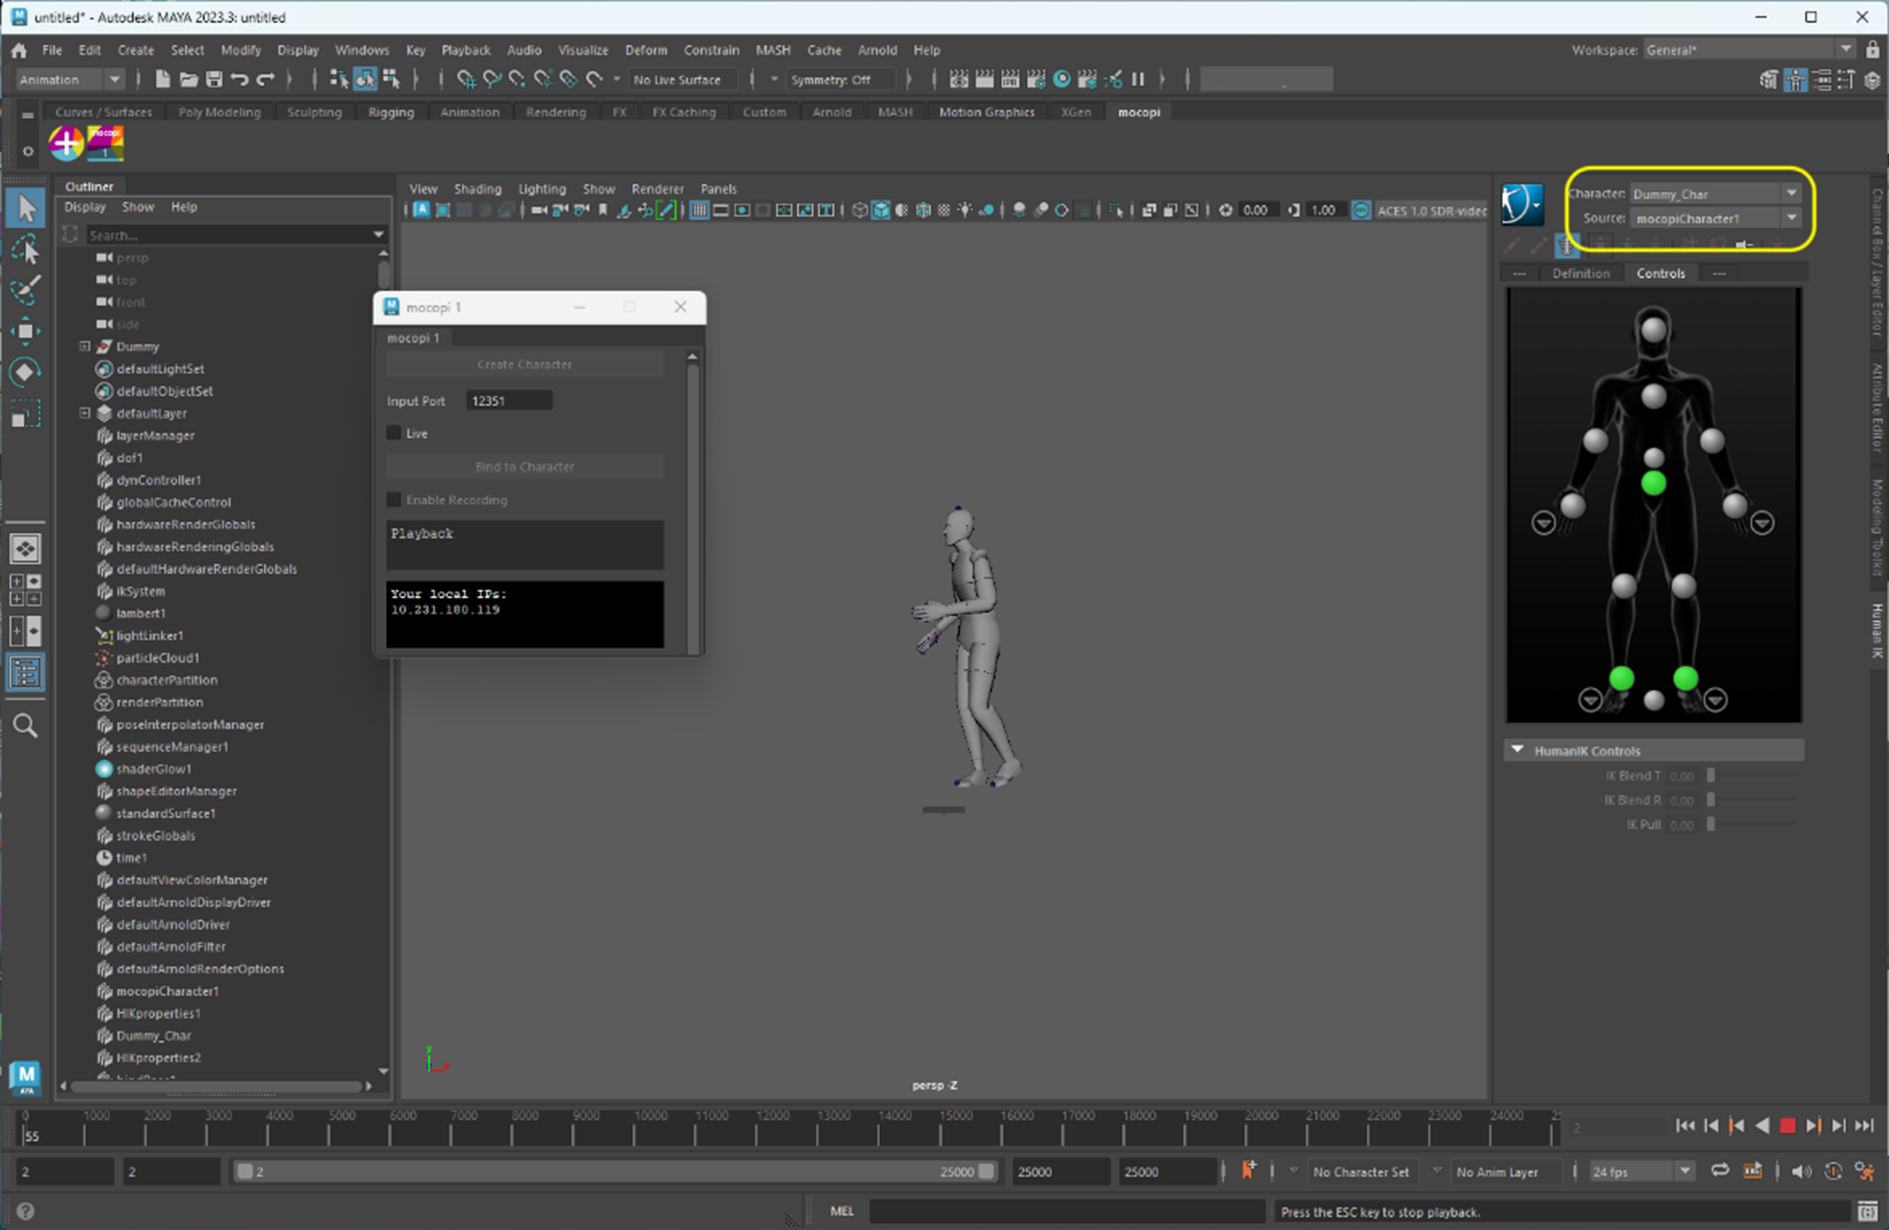
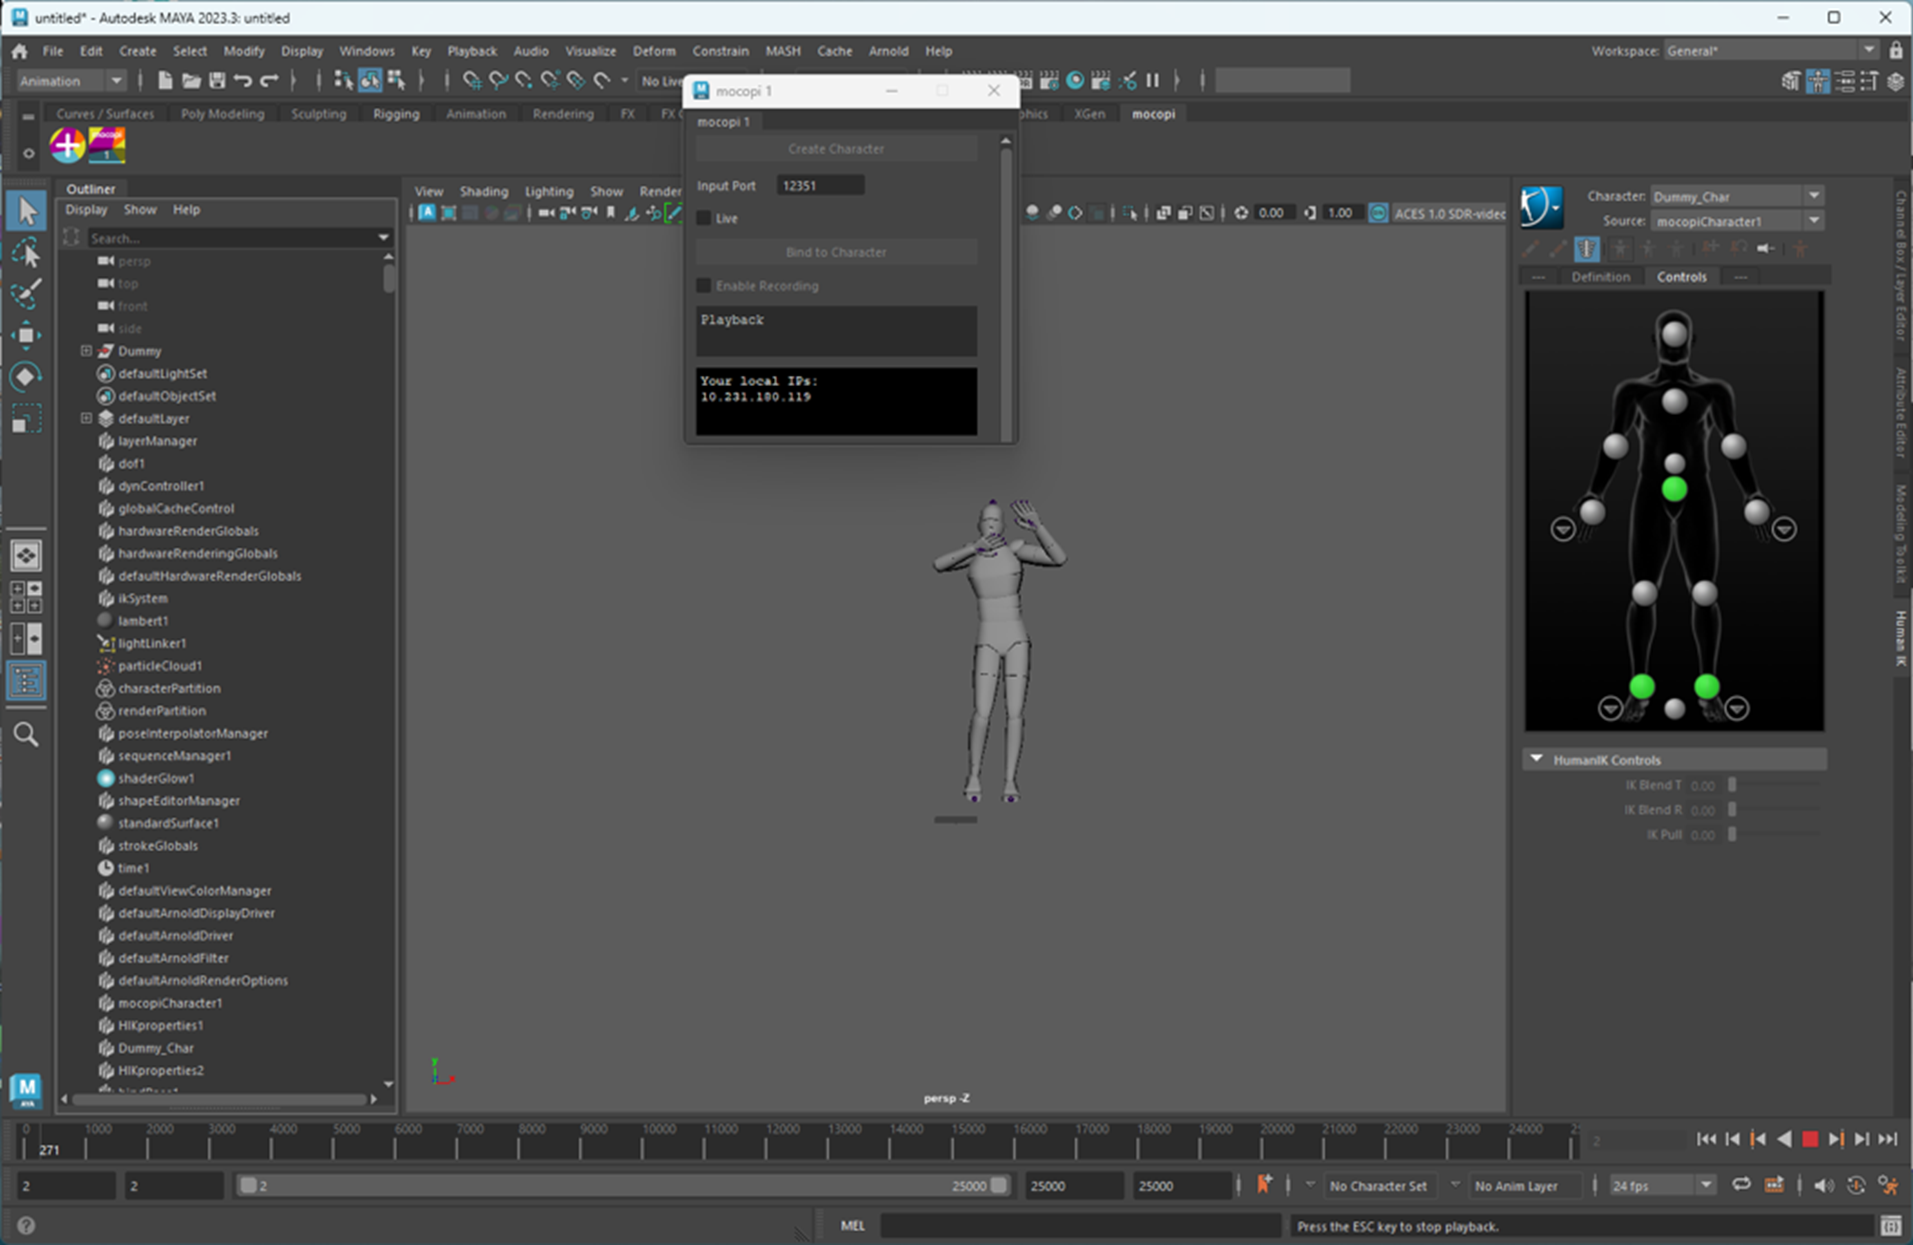
In the HIK menu, set the Character to the 3D character and the source to the mocopi source that was used to record the motion. Follow the steps described in “STEP 2: Playback of recorded motion data” to play back the motion and at this point you will be able to see the 3D character being animated by the motion previously recorded.
-
Now select the 3D character on the outliner

-
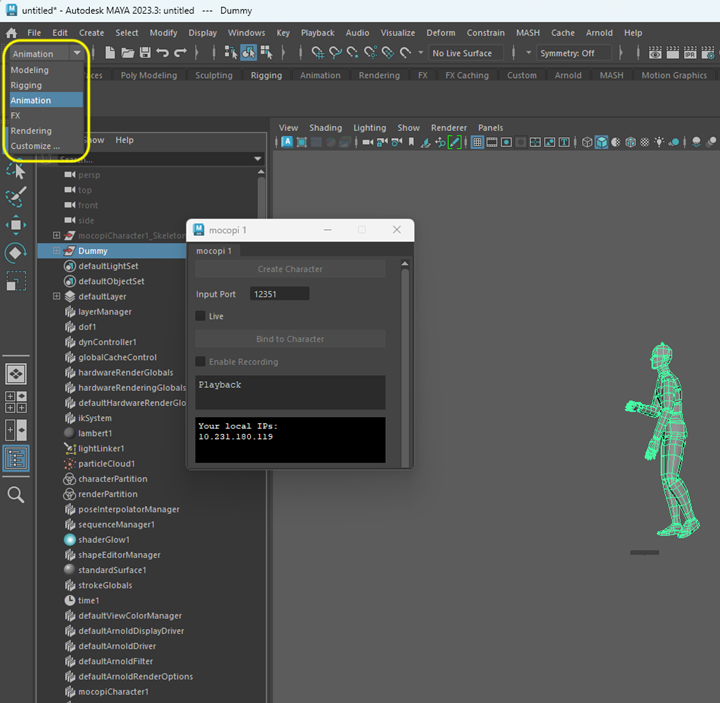
Make sure you have selected “Animation” mode on the top left corner of the Maya UI
-
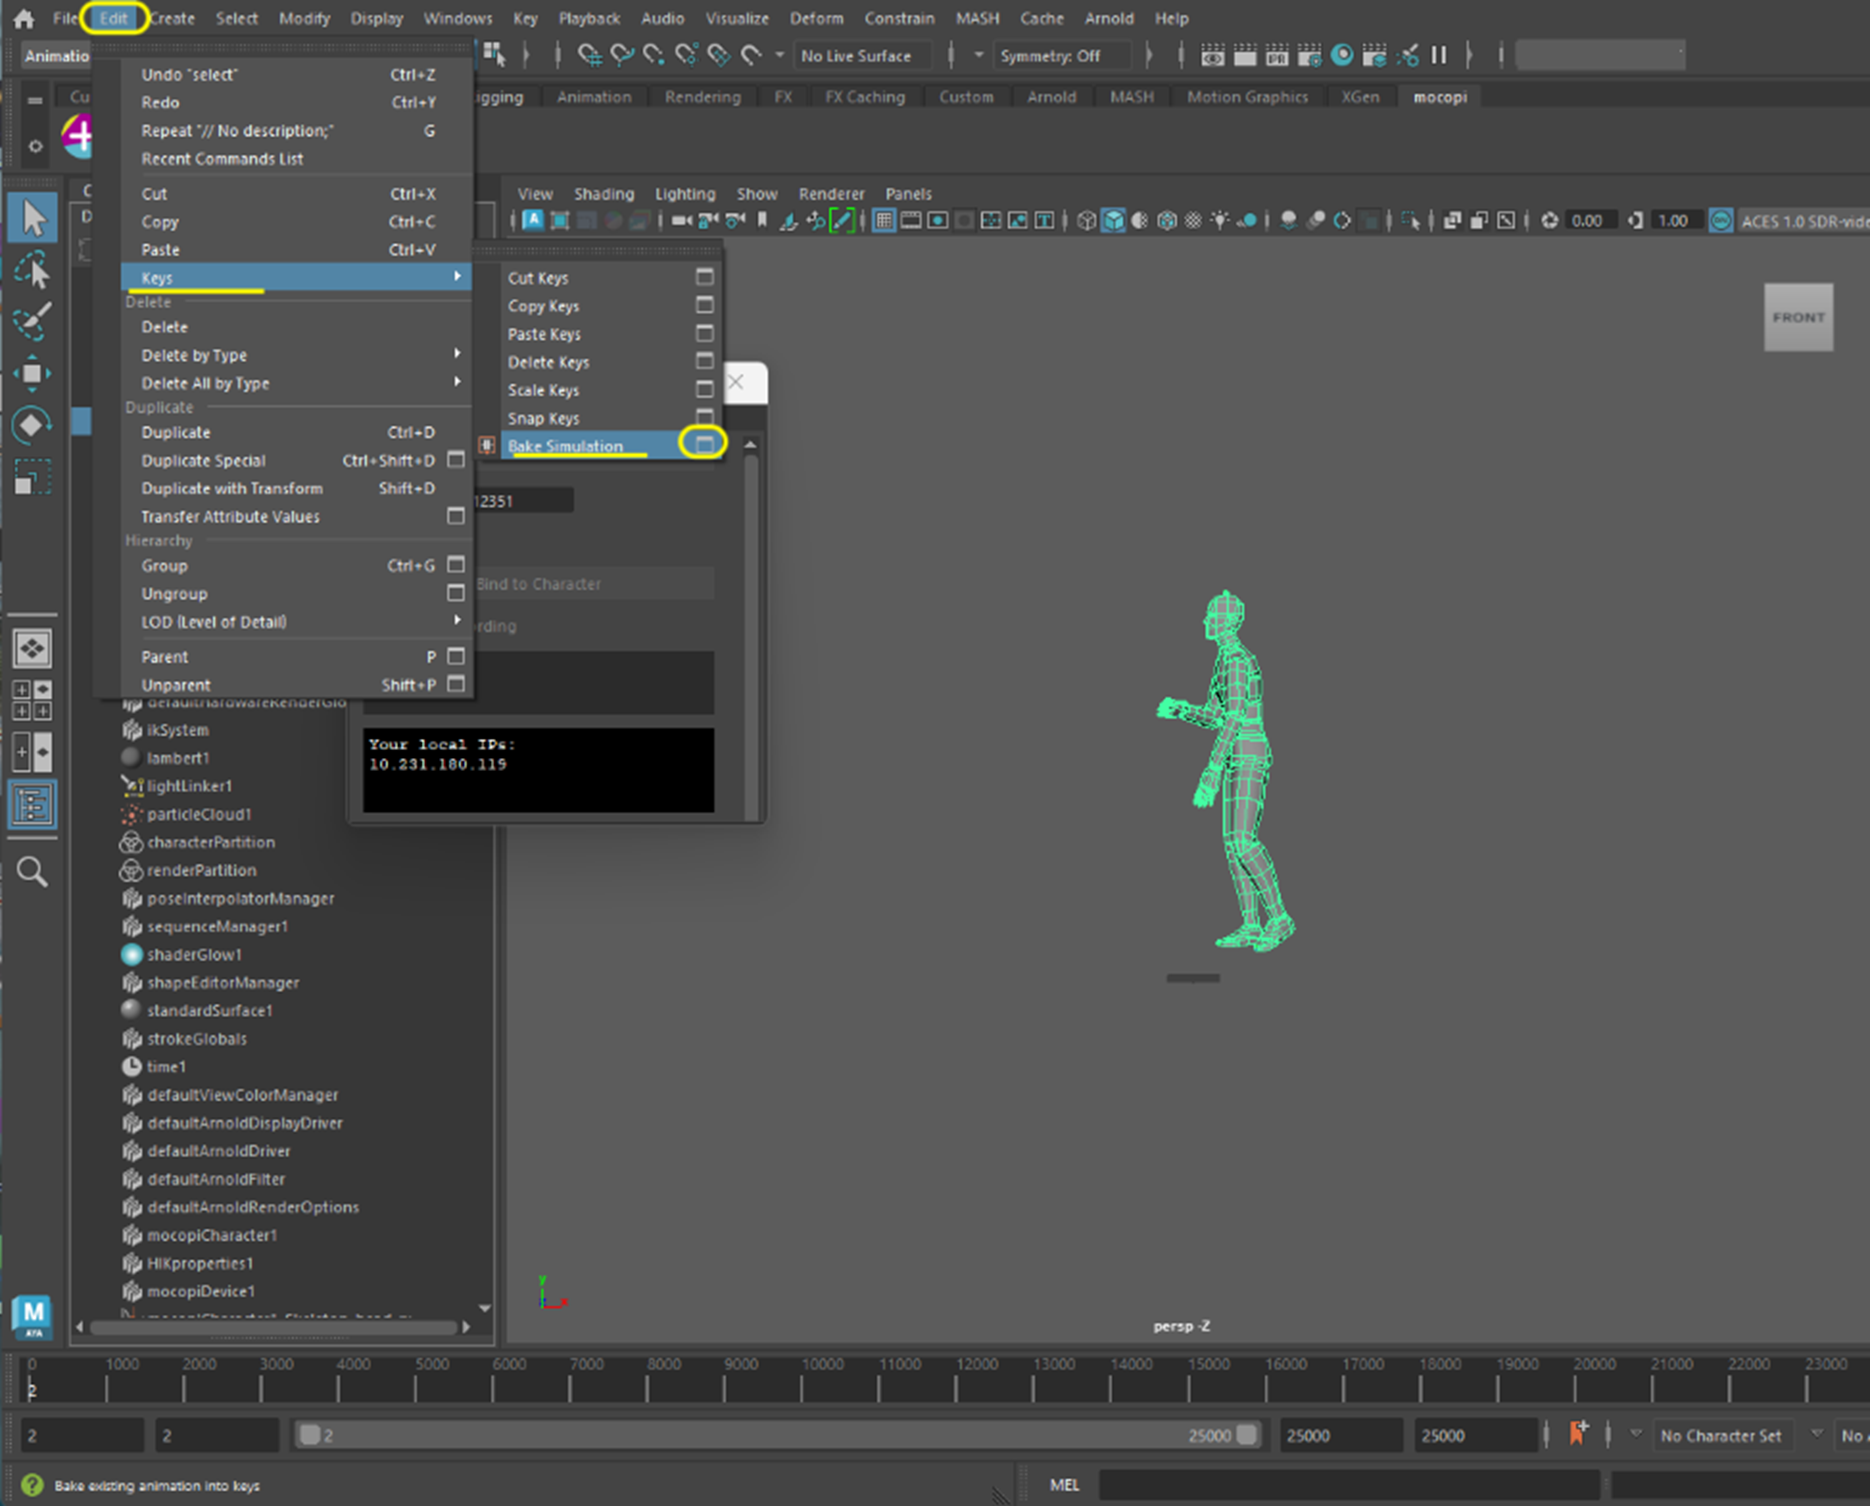
From the Maya menu bar select [Edit] > [Keys] and click on the “Settings” icon to the left of [Bake Simulation].
-
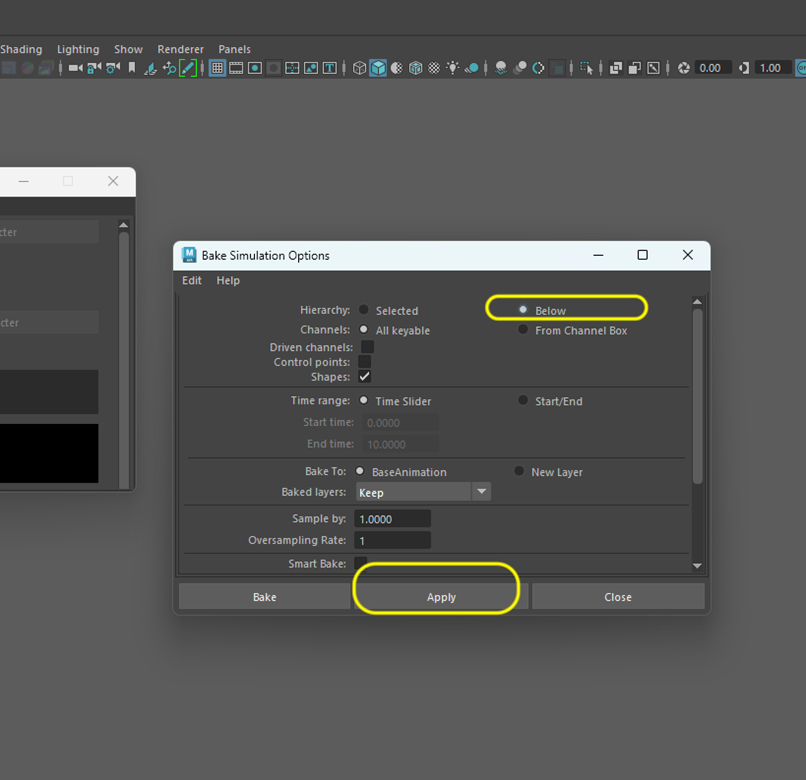
Make sure that “Below” is checked and then select “Apply”
-
After the animation is baked, press Close and now remove the mocopi skeleton and play the animation back, confirming that now the 3D character has the motion baked into it.
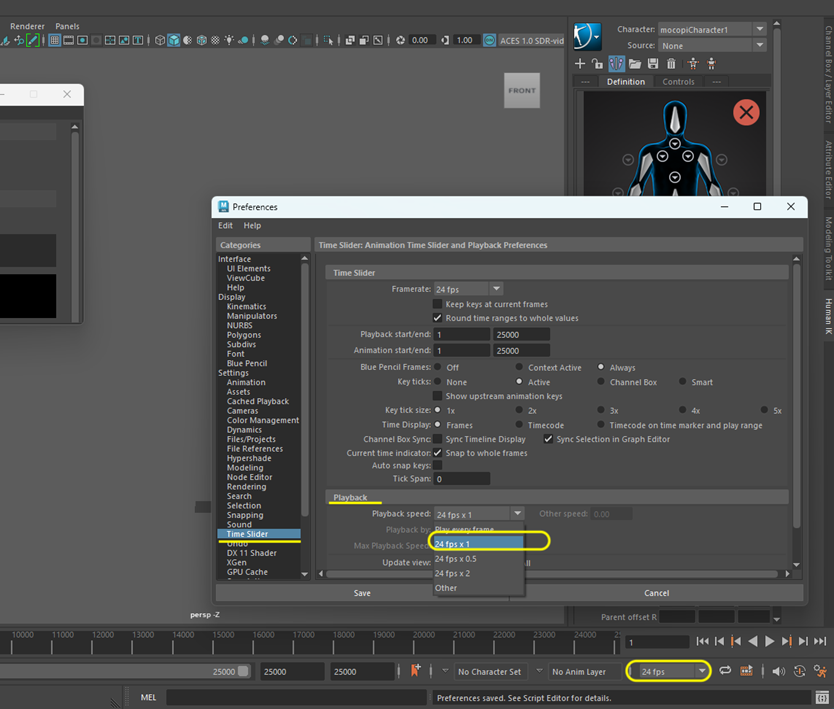
Appendix 2: Changing the playback speed of an animation recording
If the playback speed of your animation recording appears to be too fast, ensure that your “Playback Speed” setting reads:
“xx fps x 1”, where xx is your scene's FPS setting.
-
Open Animation Preferences from the small cog on the bottom right corner of the Maya scene
-
On the Time Slider category, select the “Playback” section and check that the Playback speed is set to your previous FPS selection and x1 speed. For example if your playback speed was 24fps, the setting should show 24fps x1. After changing the setting, SAVE your changes.