# 2画面目にGUIを作ってみよう
SDK ver.2.4.0リリースに伴い、Unityの2画面目表示機能(以下SRD2DView)に任意のテクスチャー(CustomTexture)の設定に加えて、ボタン等のGUIオブジェクトも置くことが可能になりました。 \
この記事ではそれらの機能を利用した簡単なアプリの作り方を紹介します。
:::note
2画面目表示機能の基本的な使い方に関しては以下をご参照ください。 \
[2画面目を表示してみよう](/Products/Developer-Spatial-Reality-display/jp/develop/Unity/lets-display-the-second-screen/)
:::
## 立ち上げ
:::note
本記事ではUnity 2022.3のURPプロジェクトを使います。
:::
新規のUnity Projectを作成して、ver.2.4.0のsrdisplay-unity-plugin.unitypackageをインポートします。 \
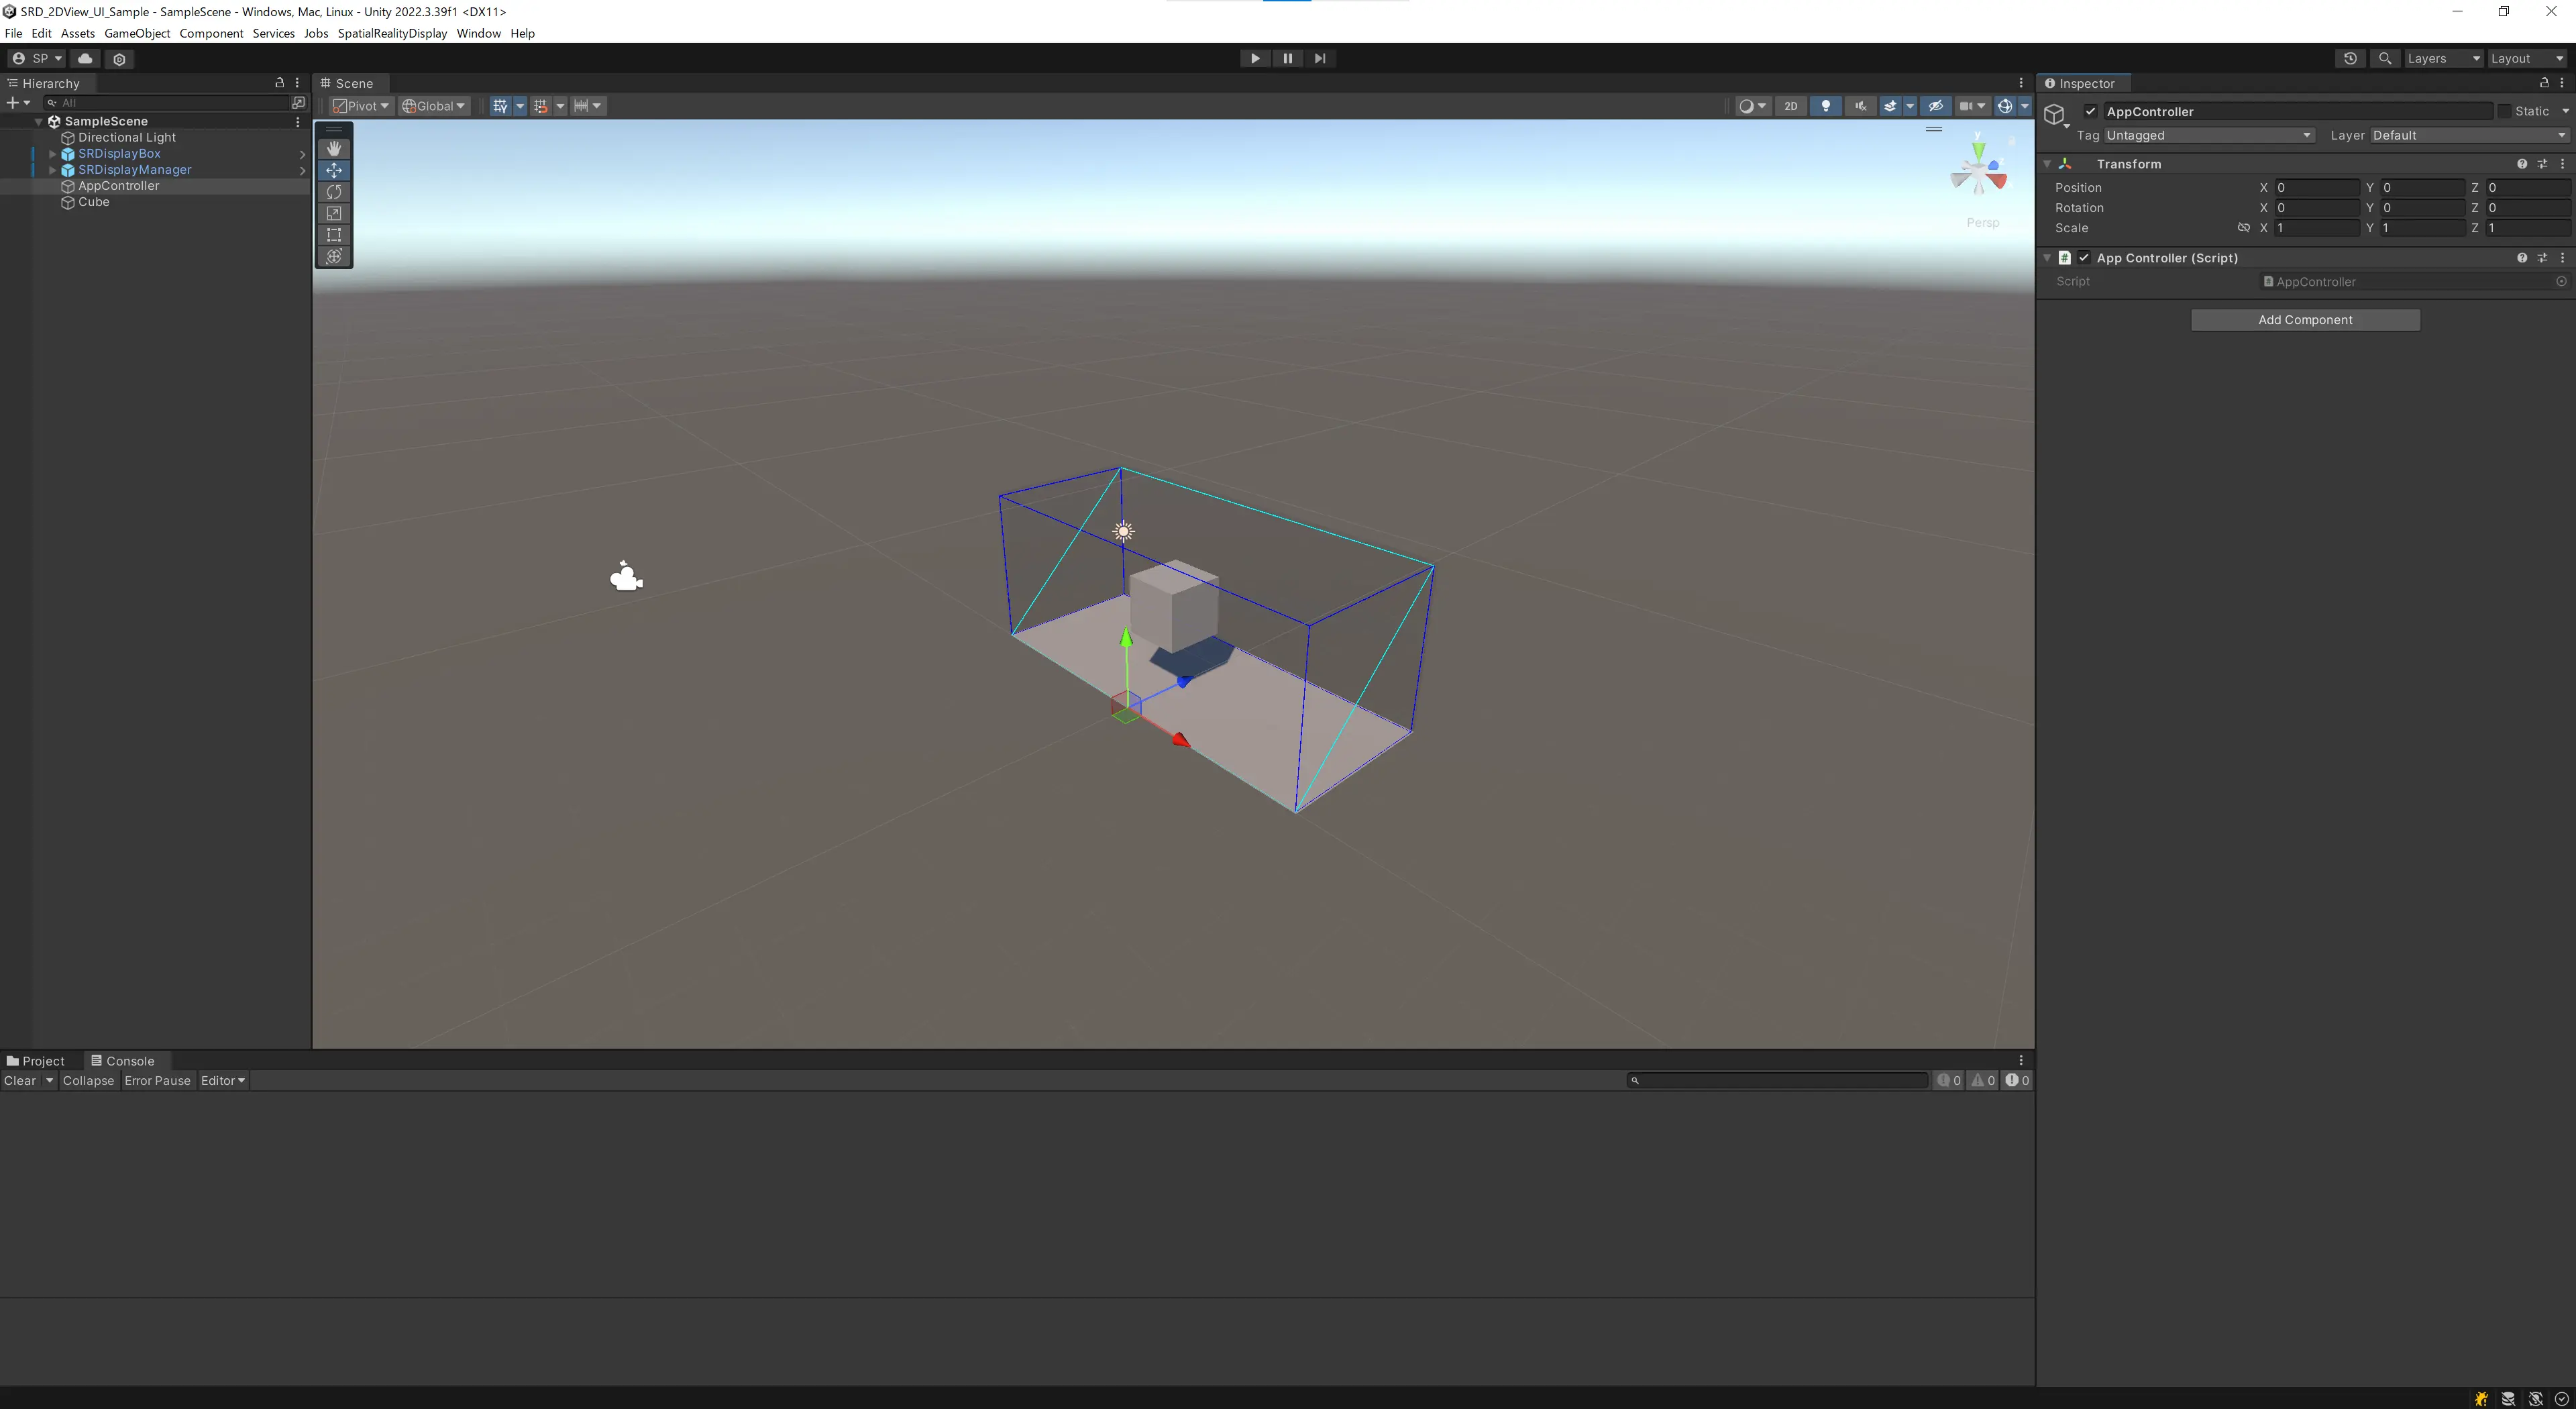
デフォルトのSampleSceneにあるDirectional Light以外のオブジェクトを全て削除し、SRDisplayManagerとSRDisplayBoxを追加します。
次に、SRDisplayBoxの中心置に新しい3D Objectを追加し、`Floating Object` スクリプトをアタッチします。 \
最後に、アプリ起動時に `SR2DView` が表示されるように、以下の `AppController` スクリプトを作成し空のGameObjectにアタッチしましょう。
```csharp
using UnityEngine;
using SRD.Core;
using SRD.Utils;
public class AppController : MonoBehaviour
{
private SRDManager _srdManager;
private SRD2DView _srd2DView;
void Start()
{
_srdManager = SRDSceneEnvironment.GetSRDManager();
if (_srdManager.Init2DView())
{
_srd2DView = _srdManager.SRD2DView;
}
}
void Update()
{
if (Input.GetKeyDown(KeyCode.Escape))
{
Application.Quit();
}
}
}
```
{.img100}
## CustomTexture
まずはCustomTextureを使って2画面目に別の視点からの映像を表示してみましょう。
1. Assetsフォルダに新しいRenderTextureを作成する
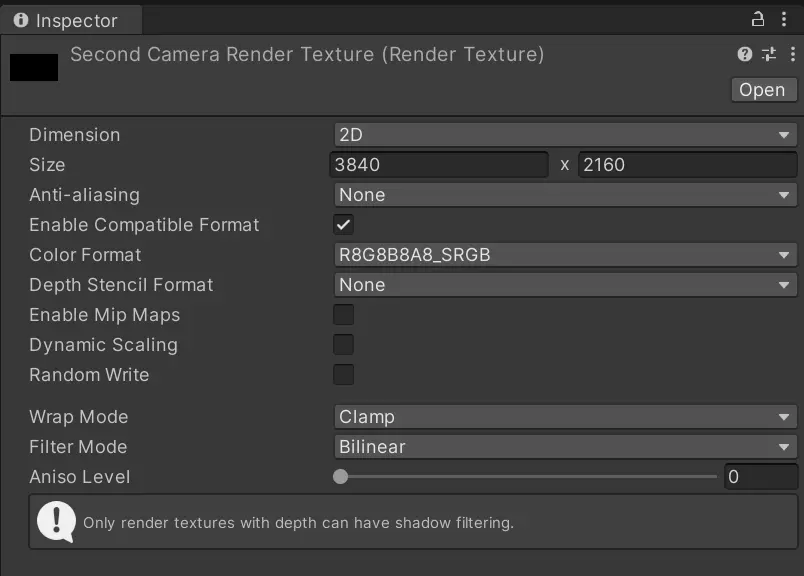
2. シーンに新しいCameraオブジェクト `SecondCamera` を好みの場所に置き、Output Textureに先ほど作ったRenderTextureを割り当てる
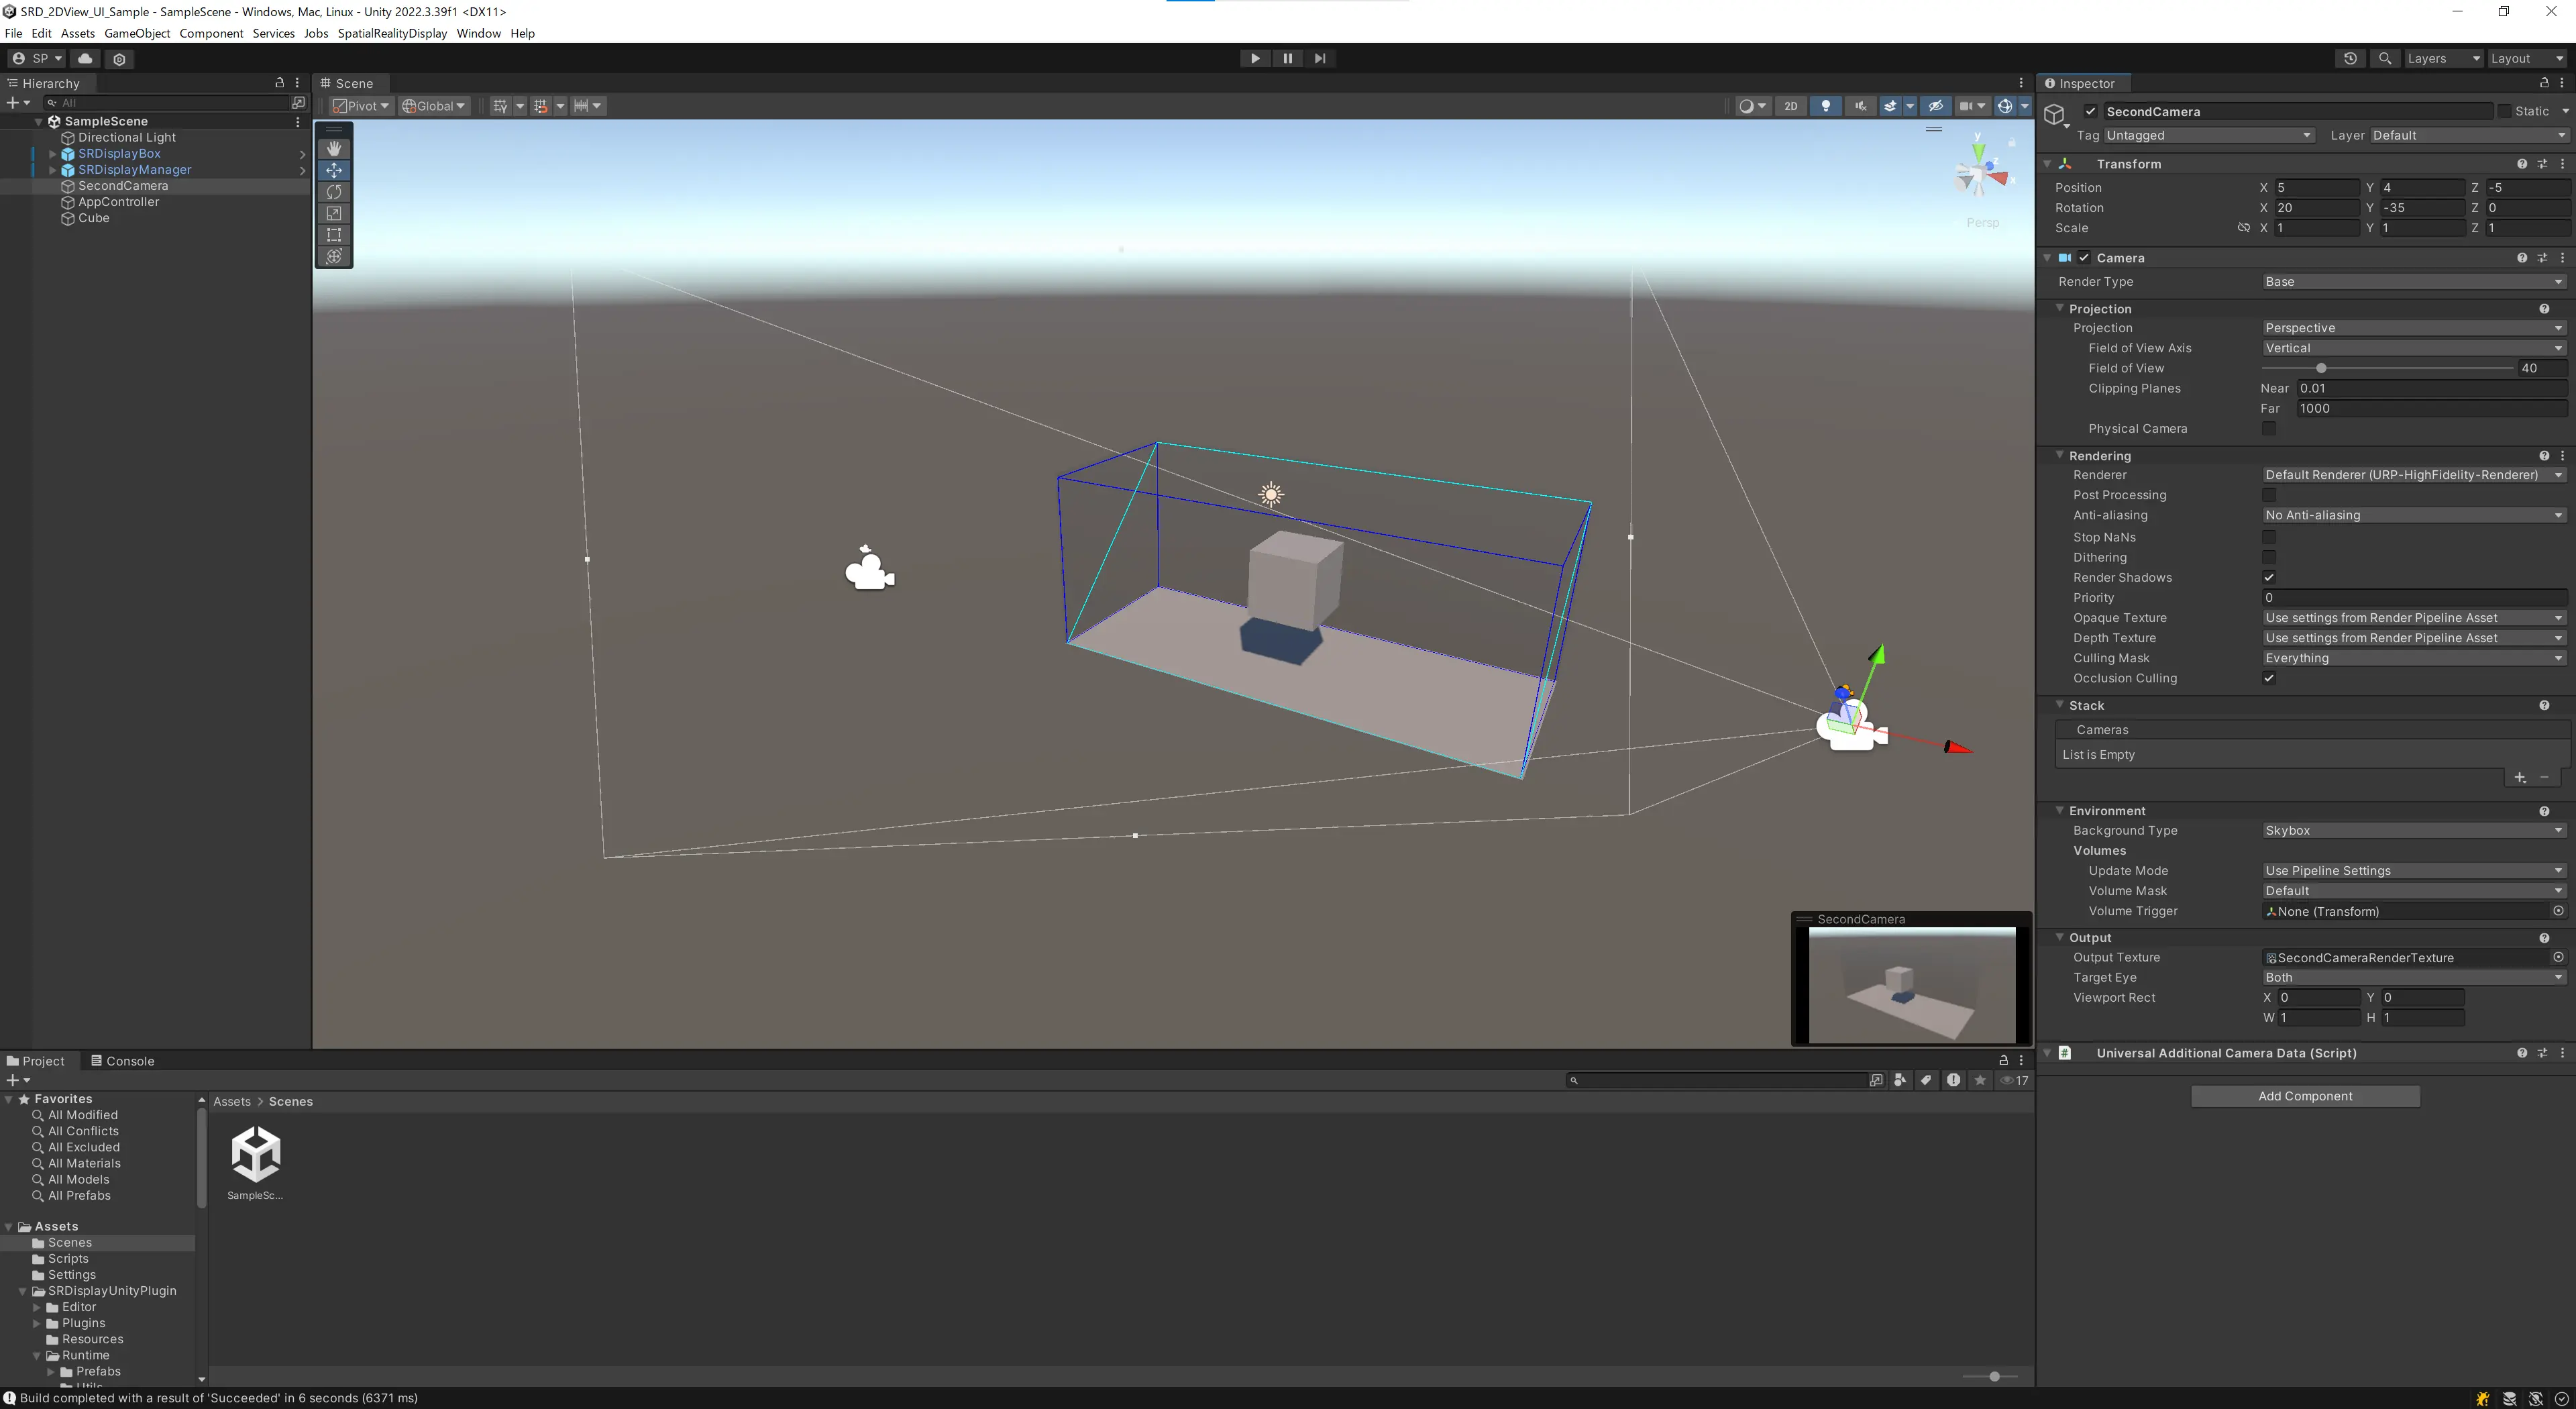{.img100}
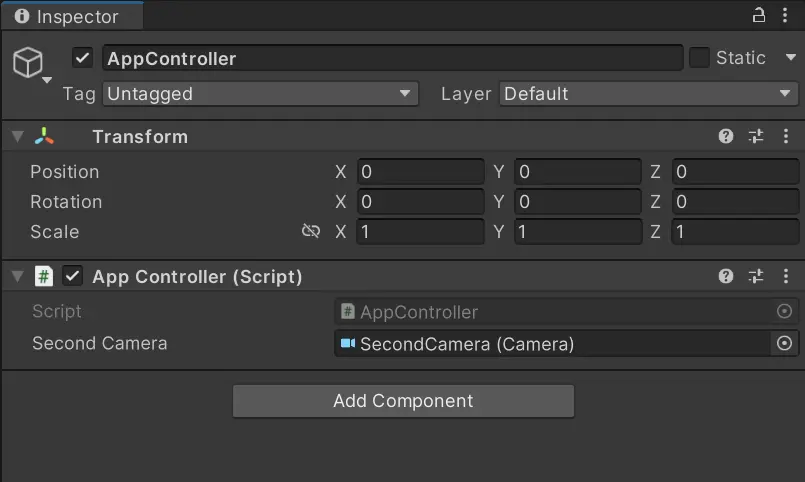
3. AppControllerに以下の修正を加える
4. InspectorでAppControllerの `Second Camera` にSecondCameraオブジェクトを割り当てる
アプリをビルドし、exeを実行すると2画面目に `Second Camera` の絵が表示されるようになります
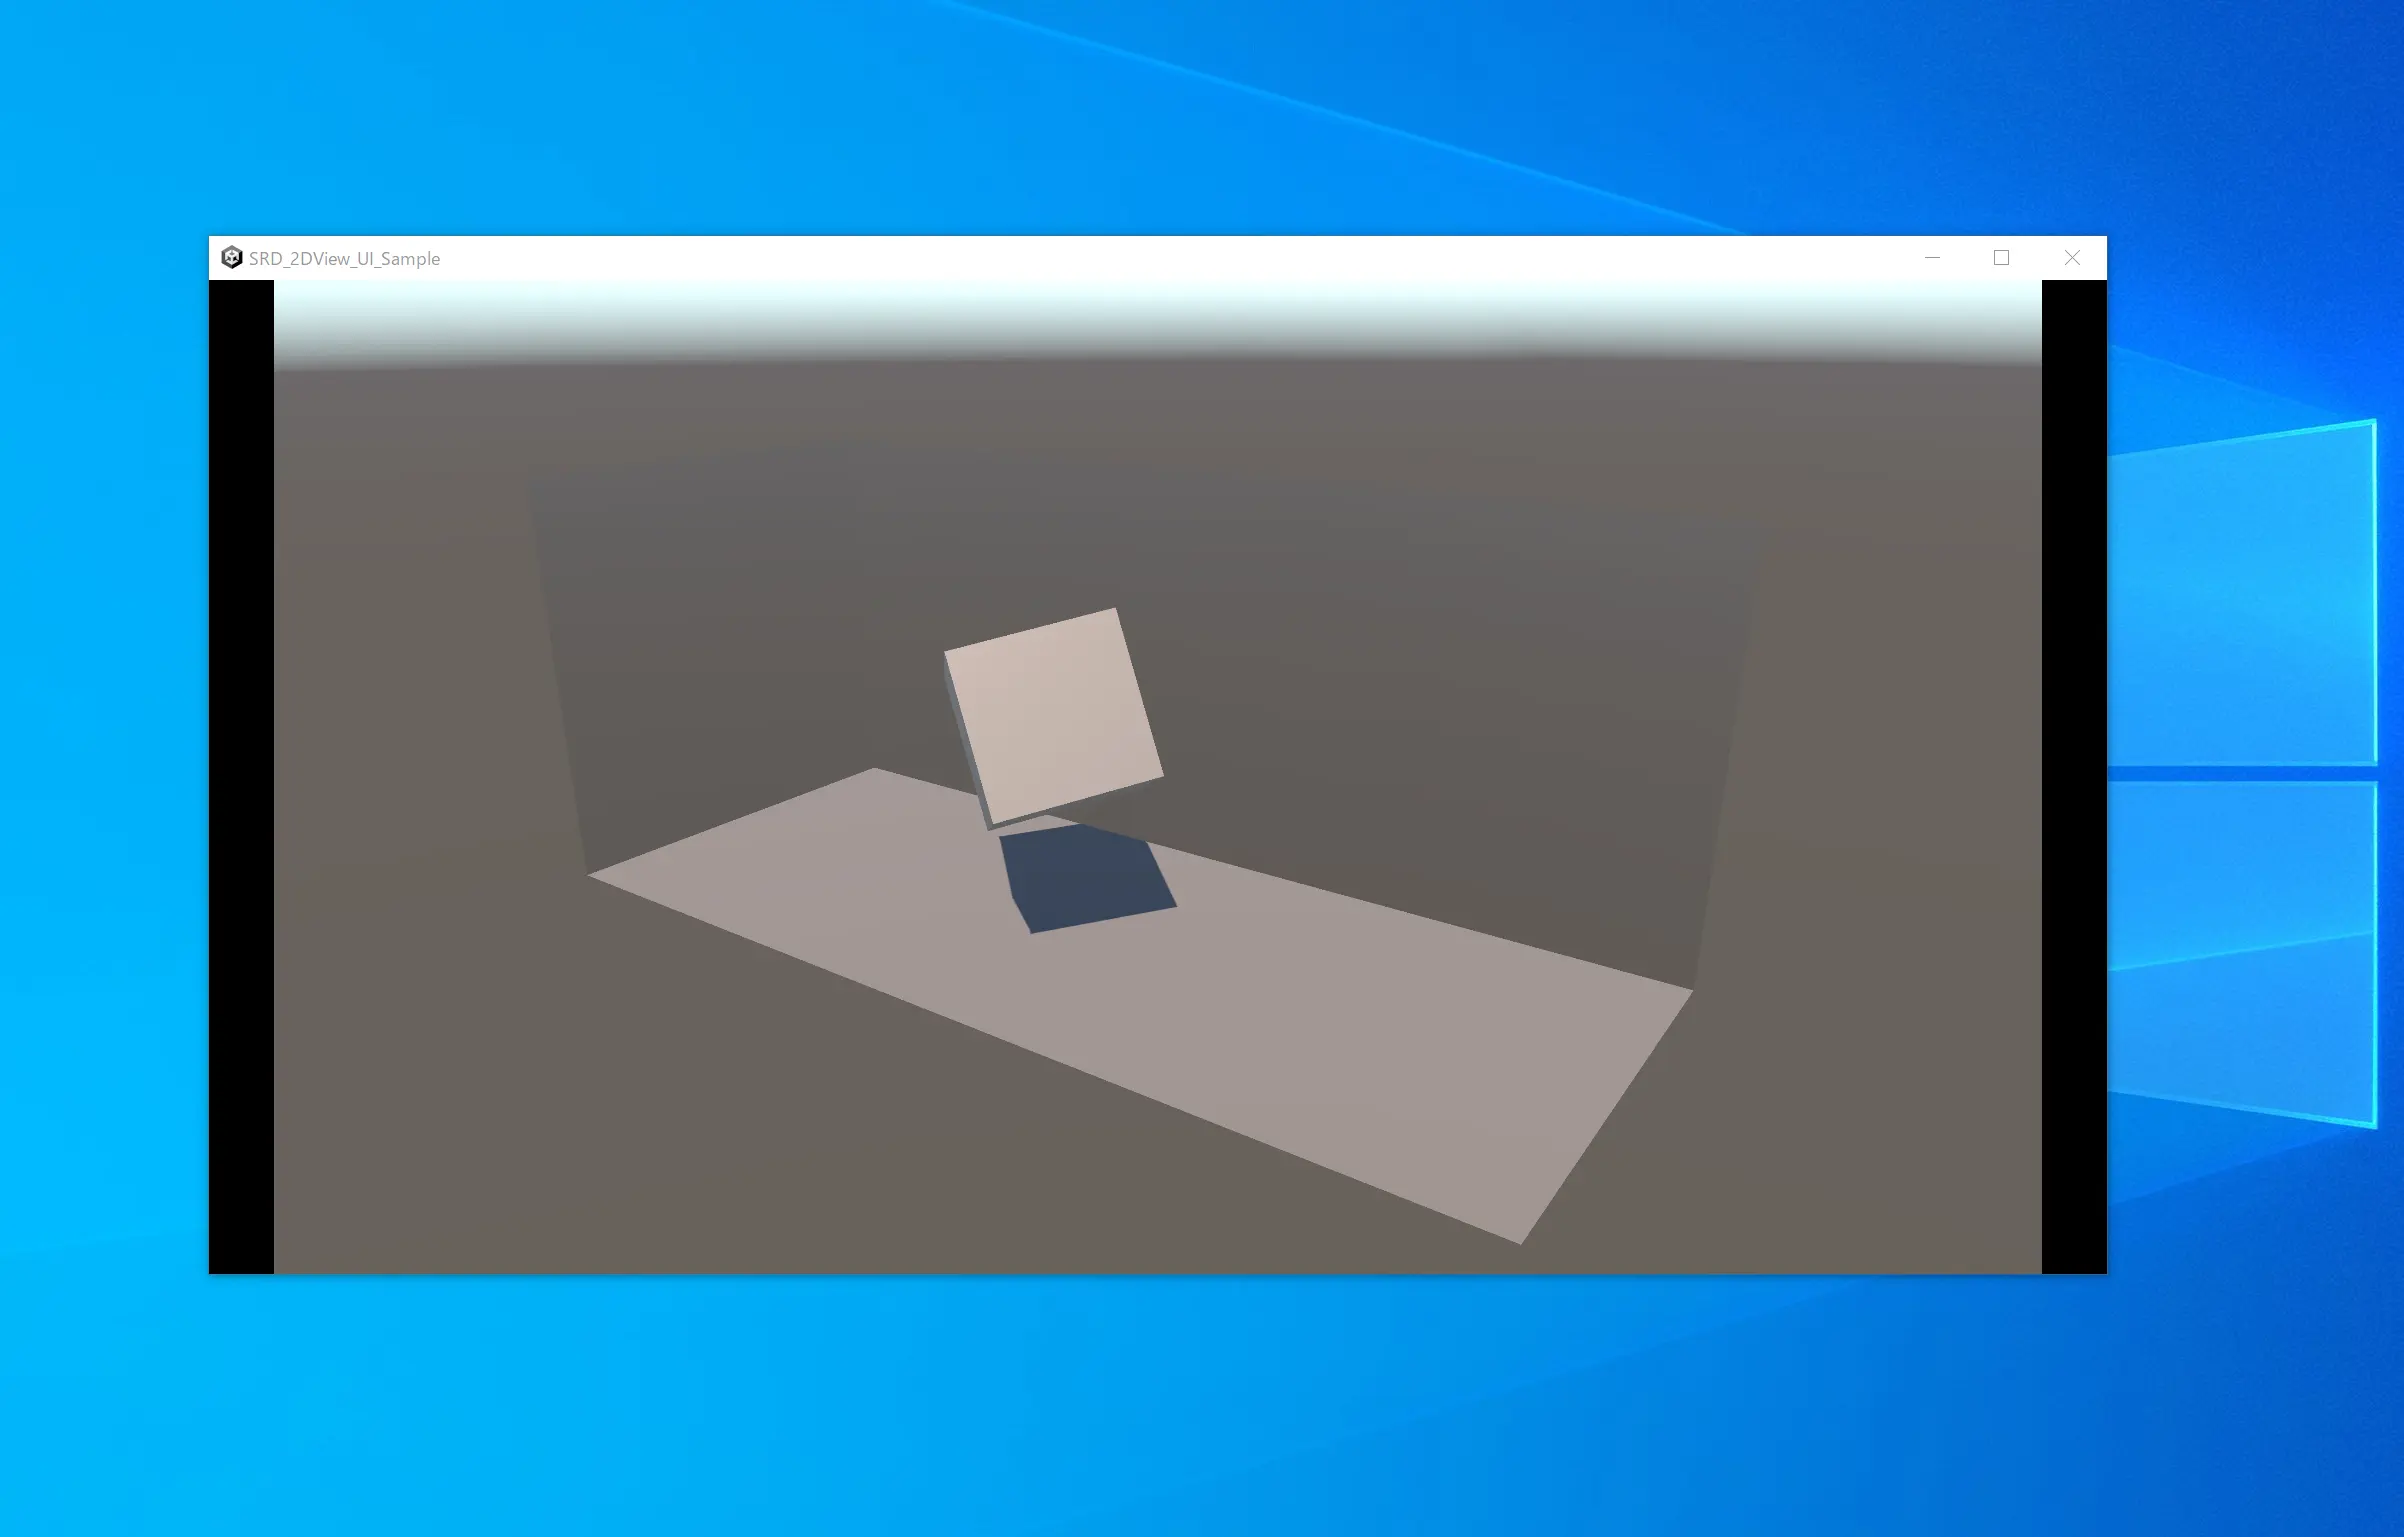{.img100}
## GUI
次は2画面目に表示されている絵を切り替えるためのボタンを作ってみましょう。
通常のUnityアプリケーションでは、GUIを作りたい時はCanvas機能を使います。 \
`SR2DView` の `Init` 関数が呼ばれた際、内部では `Screen Space - Overlay` モードのCanvasが自動生成され、そこに設定された `SourceTexture` の画像を画面のサイズに合わせて表示しています。 \
2画面目にボタンを表示するにもCanvasを使いますが、ちょっとした工夫が必要になります。
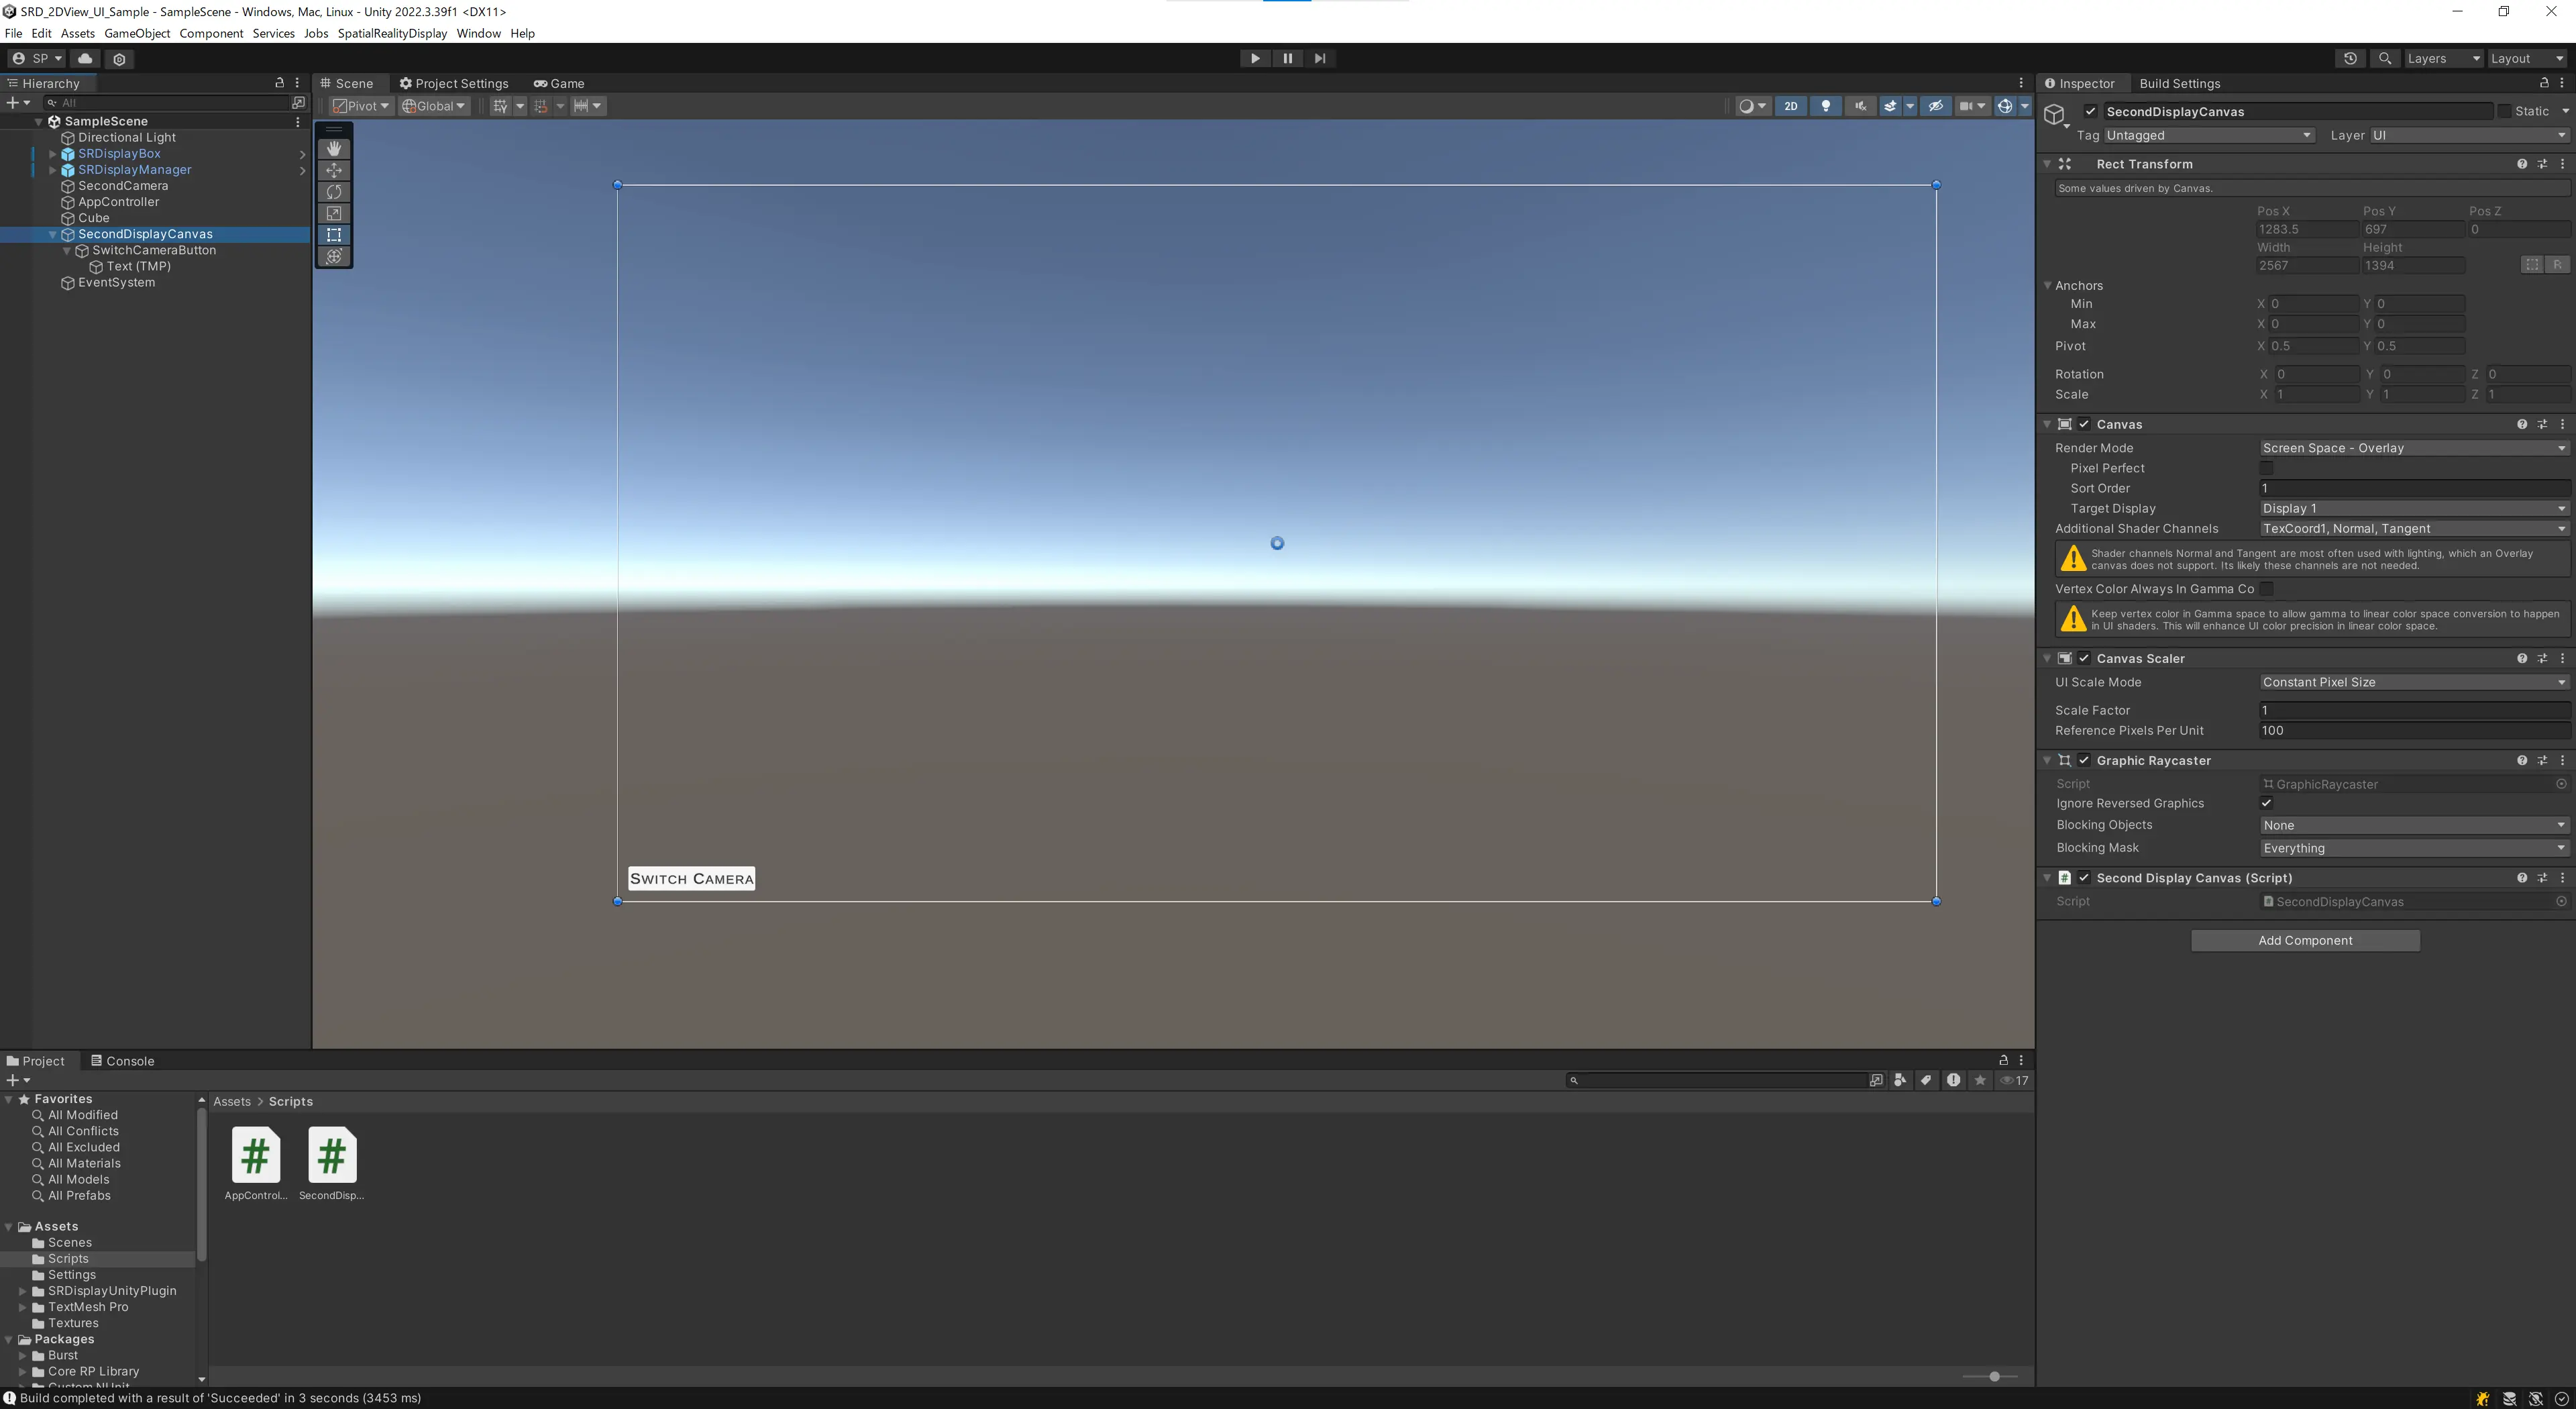
1. 新しいScreen SpaceのCanvasを作成する。`SR2DView` 内部のCanvasの上に表示されるように**Sort Orderは1以上に設定**する必要がある。また、Target Displayについては、PC環境によって `SR2DView` の表示されるディスプレイが異なる可能性もあるため、実行時に正しいTarget Displayを設定するために以下のスクリプトをCanvasにアタッチしましょう。
```csharp
using SRD.Core;
using UnityEngine;
[RequireComponent(typeof(Canvas))]
public class SecondDisplayCanvas : MonoBehaviour
{
void Start()
{
var canvas = GetComponent<Canvas>();
canvas.targetDisplay = SRD2DView.DisplayIndex;
}
}
```
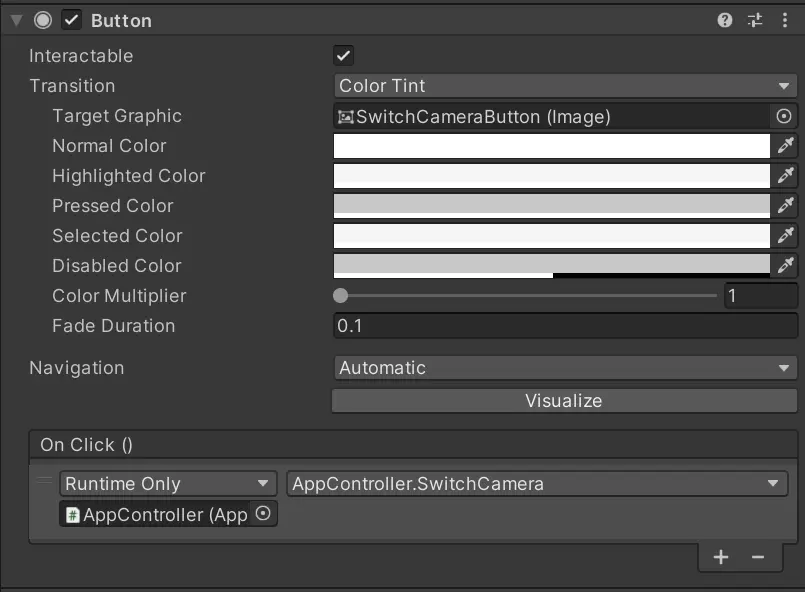
2. CanvasにButtonオブジェクトを追加する
3. AppControllerに以下の関数を追加し、ButtonのOnClick()イベントと連携させる
{.img100}
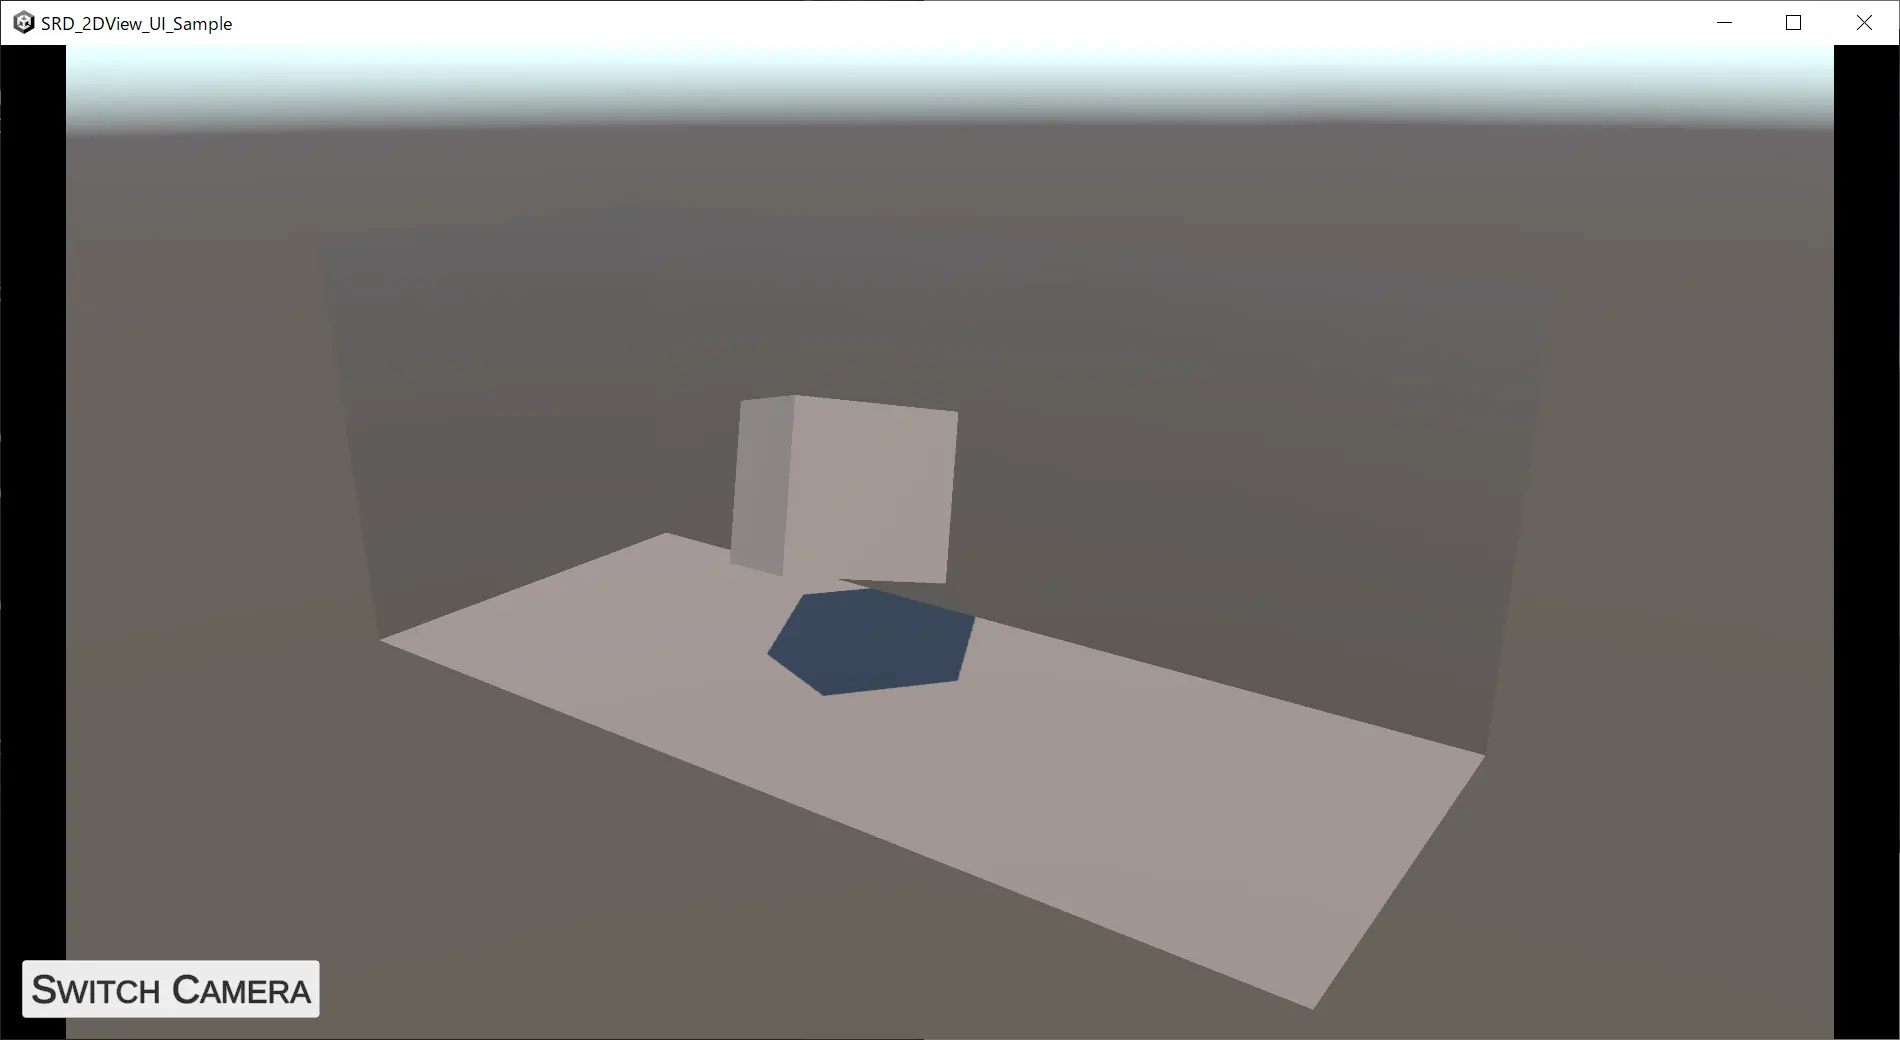
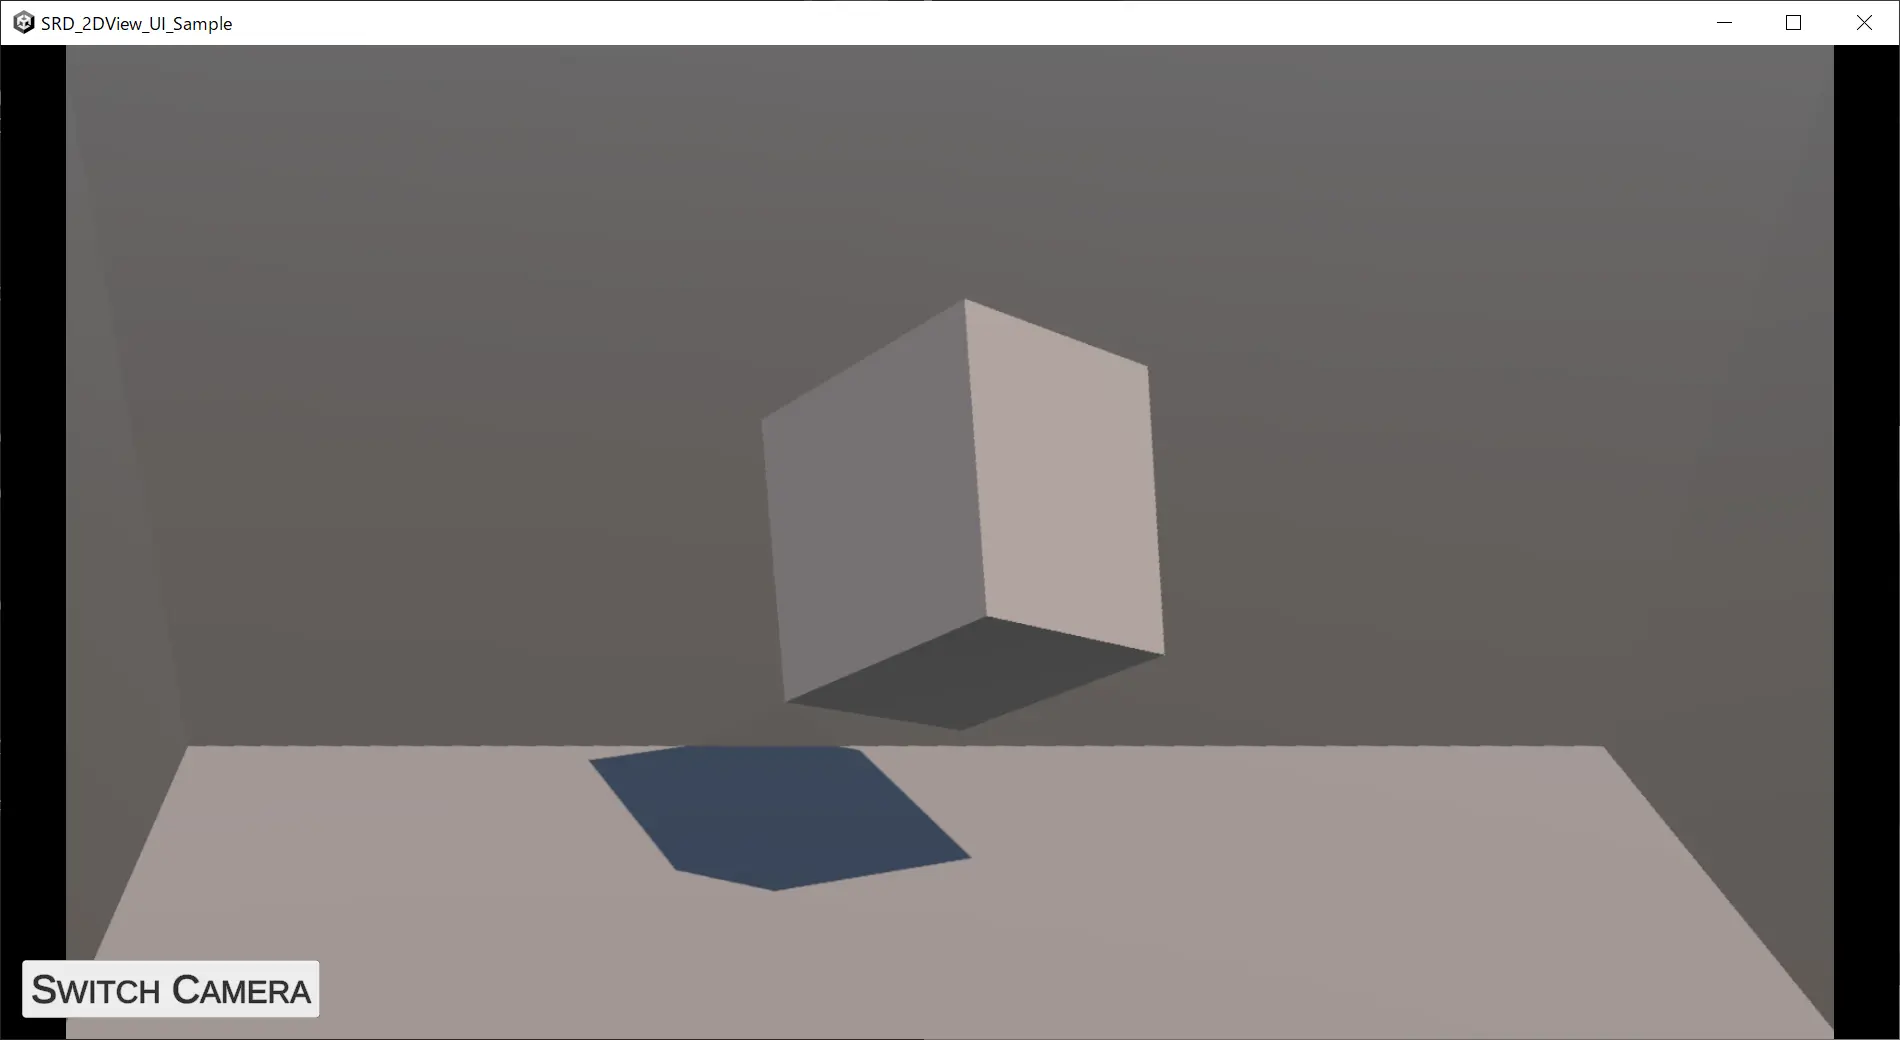
再びアプリをビルドしてexeを実行します。 \
「SWITCH CAMERA」ボタンが2画面目の左下に表示され、クリックするとSRDisplayManagerの `LeftEye` の絵と `SecondCamera` の絵を切り替えられます。
:::note
2画面目でのGUI作成方法をもっと詳しく知りたい方は、Spatial Reality Display Plugin for Unity ver.2.4.0で新しく追加されたサンプルをご参照ください。 \
[6 - SRDisplay2DViewUISample](/Products/Developer-Spatial-Reality-display/jp/develop/Unity/Samples.html#link_8)
:::
`SecondCamera` 用の変数を用意する。
```csharp
[SerializeField]
private Camera _secondCamera;
```
Start()でSR2DViewのCustomTextureにSecondCameraのTargetTextureをセットする。
```csharp
void Start()
{
_srdManager = SRDSceneEnvironment.GetSRDManager();
if (_srdManager.Init2DView())
{
_srd2DView = _srdManager.SRD2DView;
if (_secondCamera != null)
{
_srd2DView.CustomTexture = _secondCamera.targetTexture;
}
}
}
```
```csharp
public void SwitchCamera()
{
if (_srd2DView.SourceTexture != SRD2DView.SRDTextureType.Custom)
{
_srd2DView.SetSourceTexture(SRD2DView.SRDTextureType.Custom);
}
else
{
_srd2DView.SetSourceTexture(SRD2DView.SRDTextureType.LeftEye);
}
}
```
{.img100}
{.img100}
{.img100}