# Tip for capturing Spatial Reality Display images beautifully on a camera
:::note
In the 3D mode, the images for the left and right eye are output simultaneously, while only the image for the left eye is output in the 3D→2D mode.
:::
## ■Shooting with the ELF-SR1 (Unity project)
Because there is no Fn button on the ELF-SR1, it is useful to implement the processing on the app. \
You can use the following scripting to shoot the same way in 2D with the ELF-SR1.
### • Example of a switch between a 2D and 3D display by pressing the keyboard space key. (Unity C#)
Add the following C# script to the Unity scene you wish to use.
Press the space key to switch between 2D and 3D.
```cs
void Update()
{
if (Input.GetKeyUp(KeyCode.Space))
{
var srdManager = SRDSceneEnvironment.GetSRDManager();
srdManager.IsSRRenderingActive = !srdManager.IsSRRenderingActive;
}
}
```
This is the second installment in a series of content creation tips for creators using the Spatial Reality Display.
In this installment, we introduce an article by Ogacyo of HoloLab Inc., who has been creating Spatial Reality Display content since the ELF-SR1 was released.
## Capturing Content
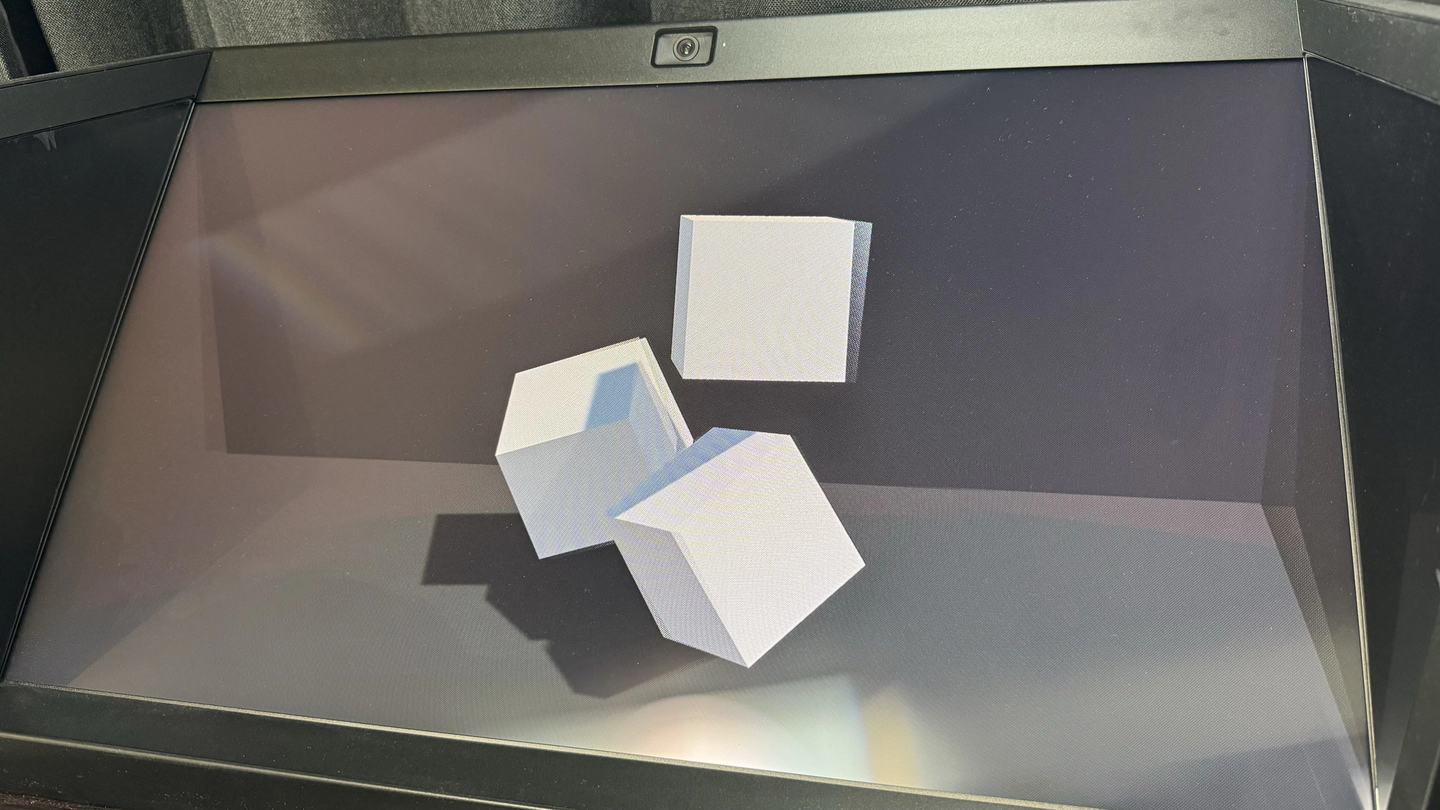
Generally, when capturing Spatial Reality Display content on a camera such as a smartphone camera, a double image effect results and the quality of the content is not fully conveyed.
Here is a method of capturing Spatial Reality Display content without this double-image effect. Use this tip when creating materials being shared in your company or event/exhibition announcement visuals to allow the quality of your content to be conveyed to those who have not experienced the content directly.
## ■Using the Fn button to change the display mode
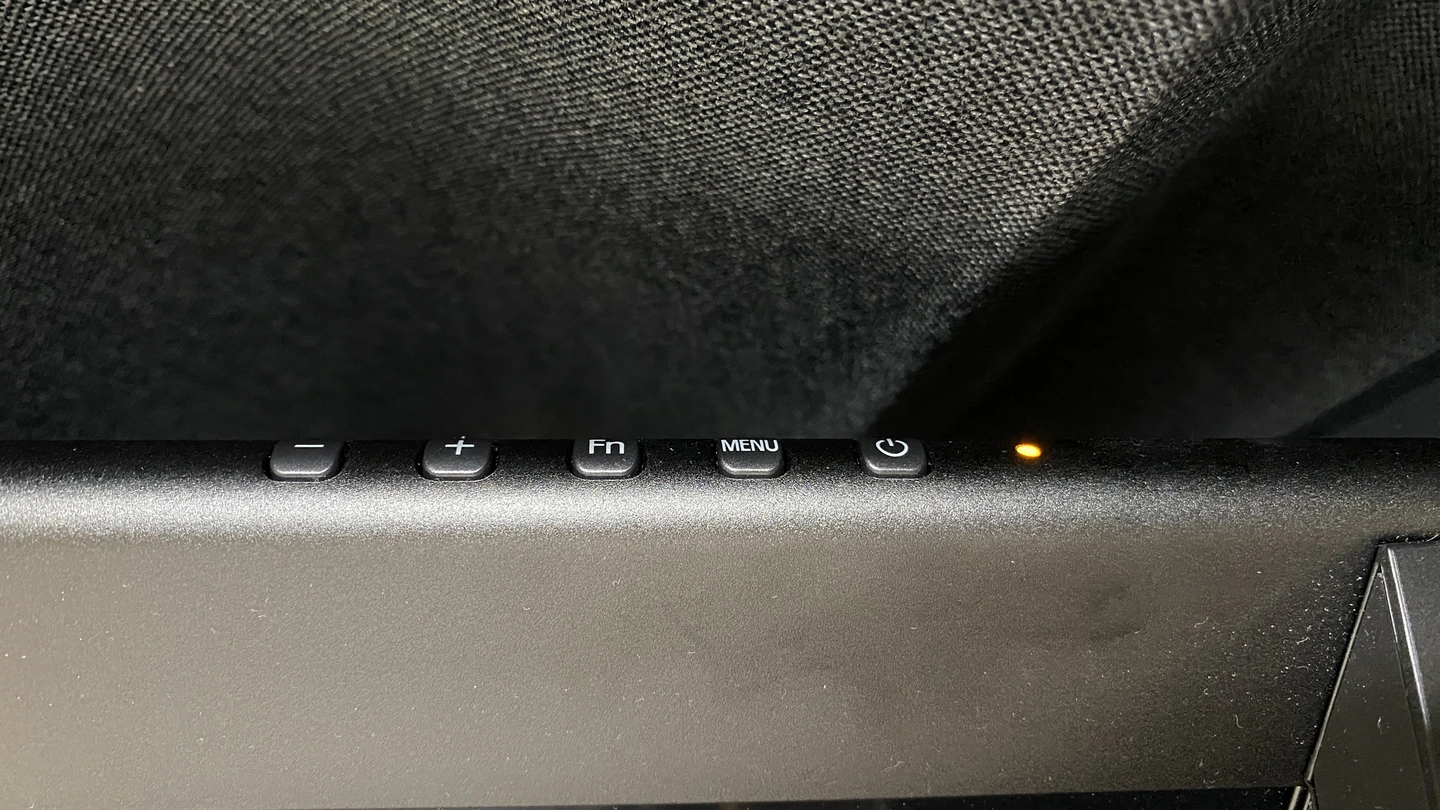
There is an "Fn" button at the top of the ELF-SR2.
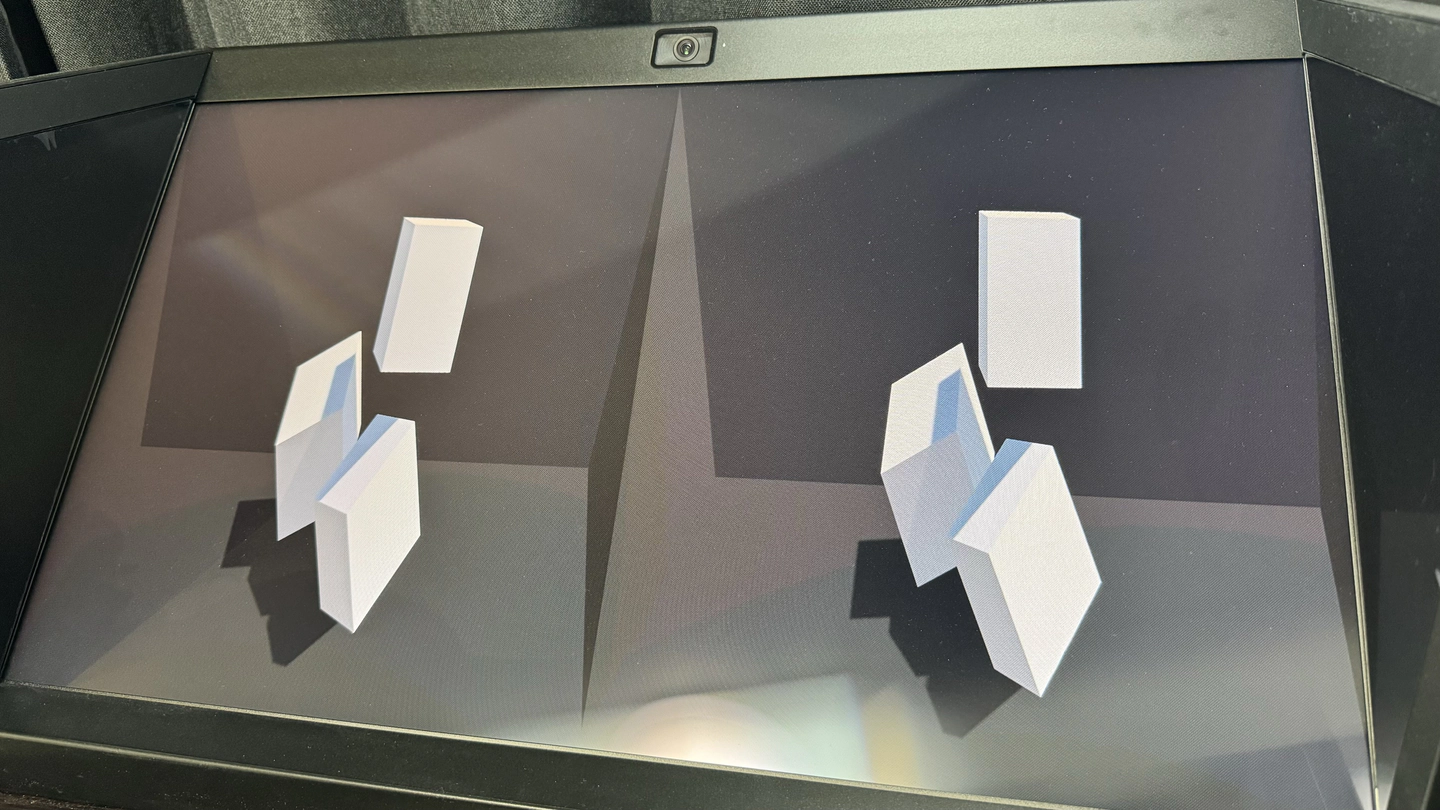
If the Fn button is pressed when the ELF-SR2 is in the default state, each time the Fn button is pressed, the display mode is changed in the following order: "3D mode (stereoscopic display)" → "3D →2D mode (luminance images-only display mode)" → "2D mode (side-by-side display)".
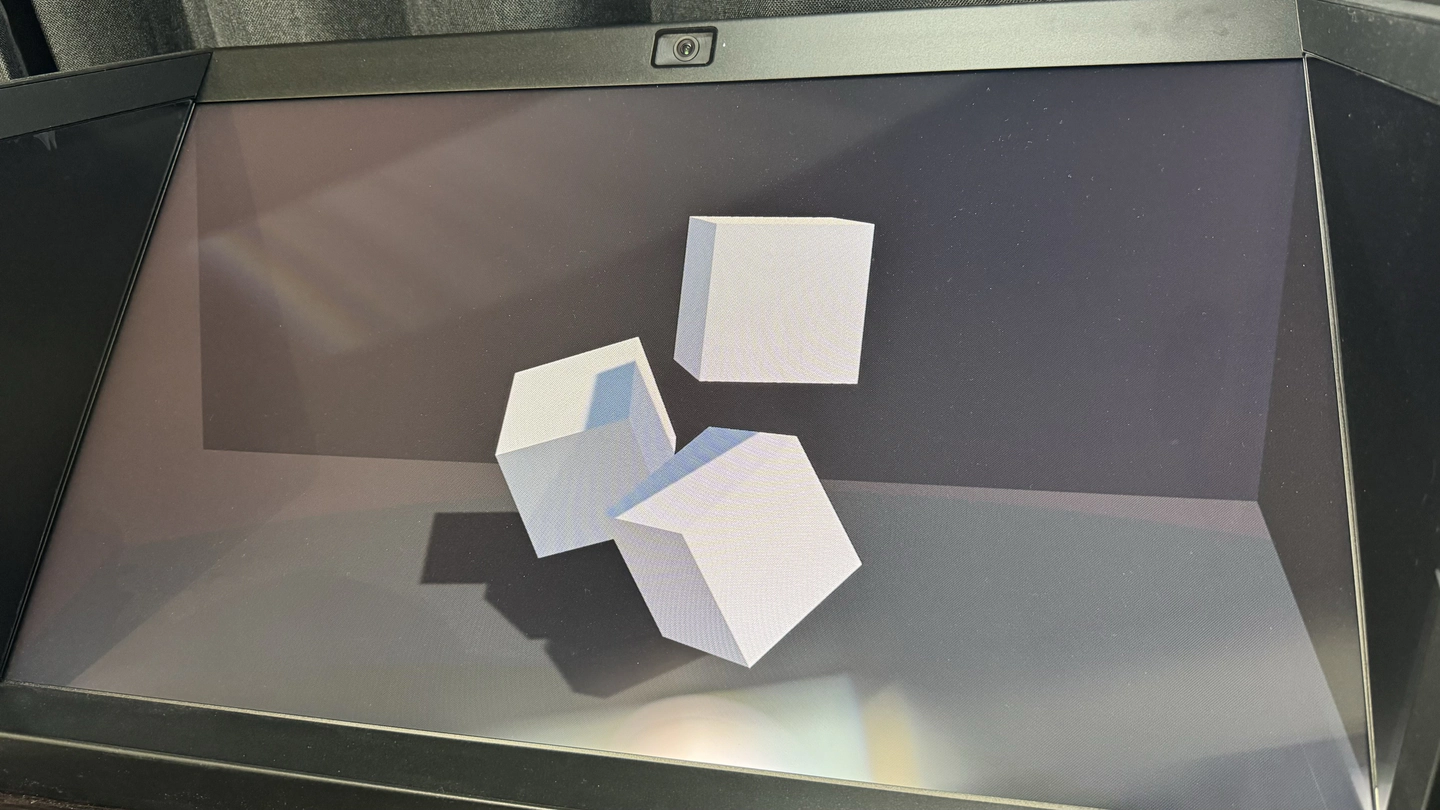
When capturing the content in the "3D →2D mode (luminace images-only display mode)," only footage is displayed in 2D while tracking is enabled on the sensor. This allows the image to be captured without the double-image effect even when shot on a camera.
Because tracking is enabled, images can even be taken while moving the camera to the left and right or up and down without losing the 3D effect.
When capturing images in this way, you can capture higher quality footage by keeping the camera lens as close to the position of your eyes as possible with tracking enabled.
{.img100}
Fn button in the middle
{.img100}
3D
(This is what creates the double image effect when shooting with a camera.)
{.img100}
3D->2D
(In this mode, images can be captured without any blurring.)
{.img100}
2D
(Side by Side)
HoloLab Inc. offers consultations on development that utilizes of all kinds of devices, including the Spatial Reality Display.
To learn more, please feel free to contact us on the following websites:
{.img100}
HoloLab Inc.
https://hololab.co.jp/#contact
Creator: Ogacyo (おがちょ)
https://twitter.com/ogacyo

