# 让我们在第二个屏幕上创建一个 GUI
随着SDK ver.2.4.0的发布,现在可以在Unity的第二屏幕显示功能(SRD2DView)上设置任何纹理(CustomTexture)并放置GUI对象(例如按钮)。 \
在本文中,我们将介绍如何使用这些函数创建一个简单的应用程序。
:::note
第二屏显示功能的基本使用方法请参考以下内容。 \
[显示第二屏幕](/Products/Developer-Spatial-Reality-display/zh/develop/Unity/lets-display-the-second-screen/)
:::
## 启动
:::note
在本文中,我们将使用 Unity 2022.3 URP 项目。
:::
创建一个新的Unity Project并导入ver.2.4.0 srdisplay-unity-plugin.unitypackage。 \
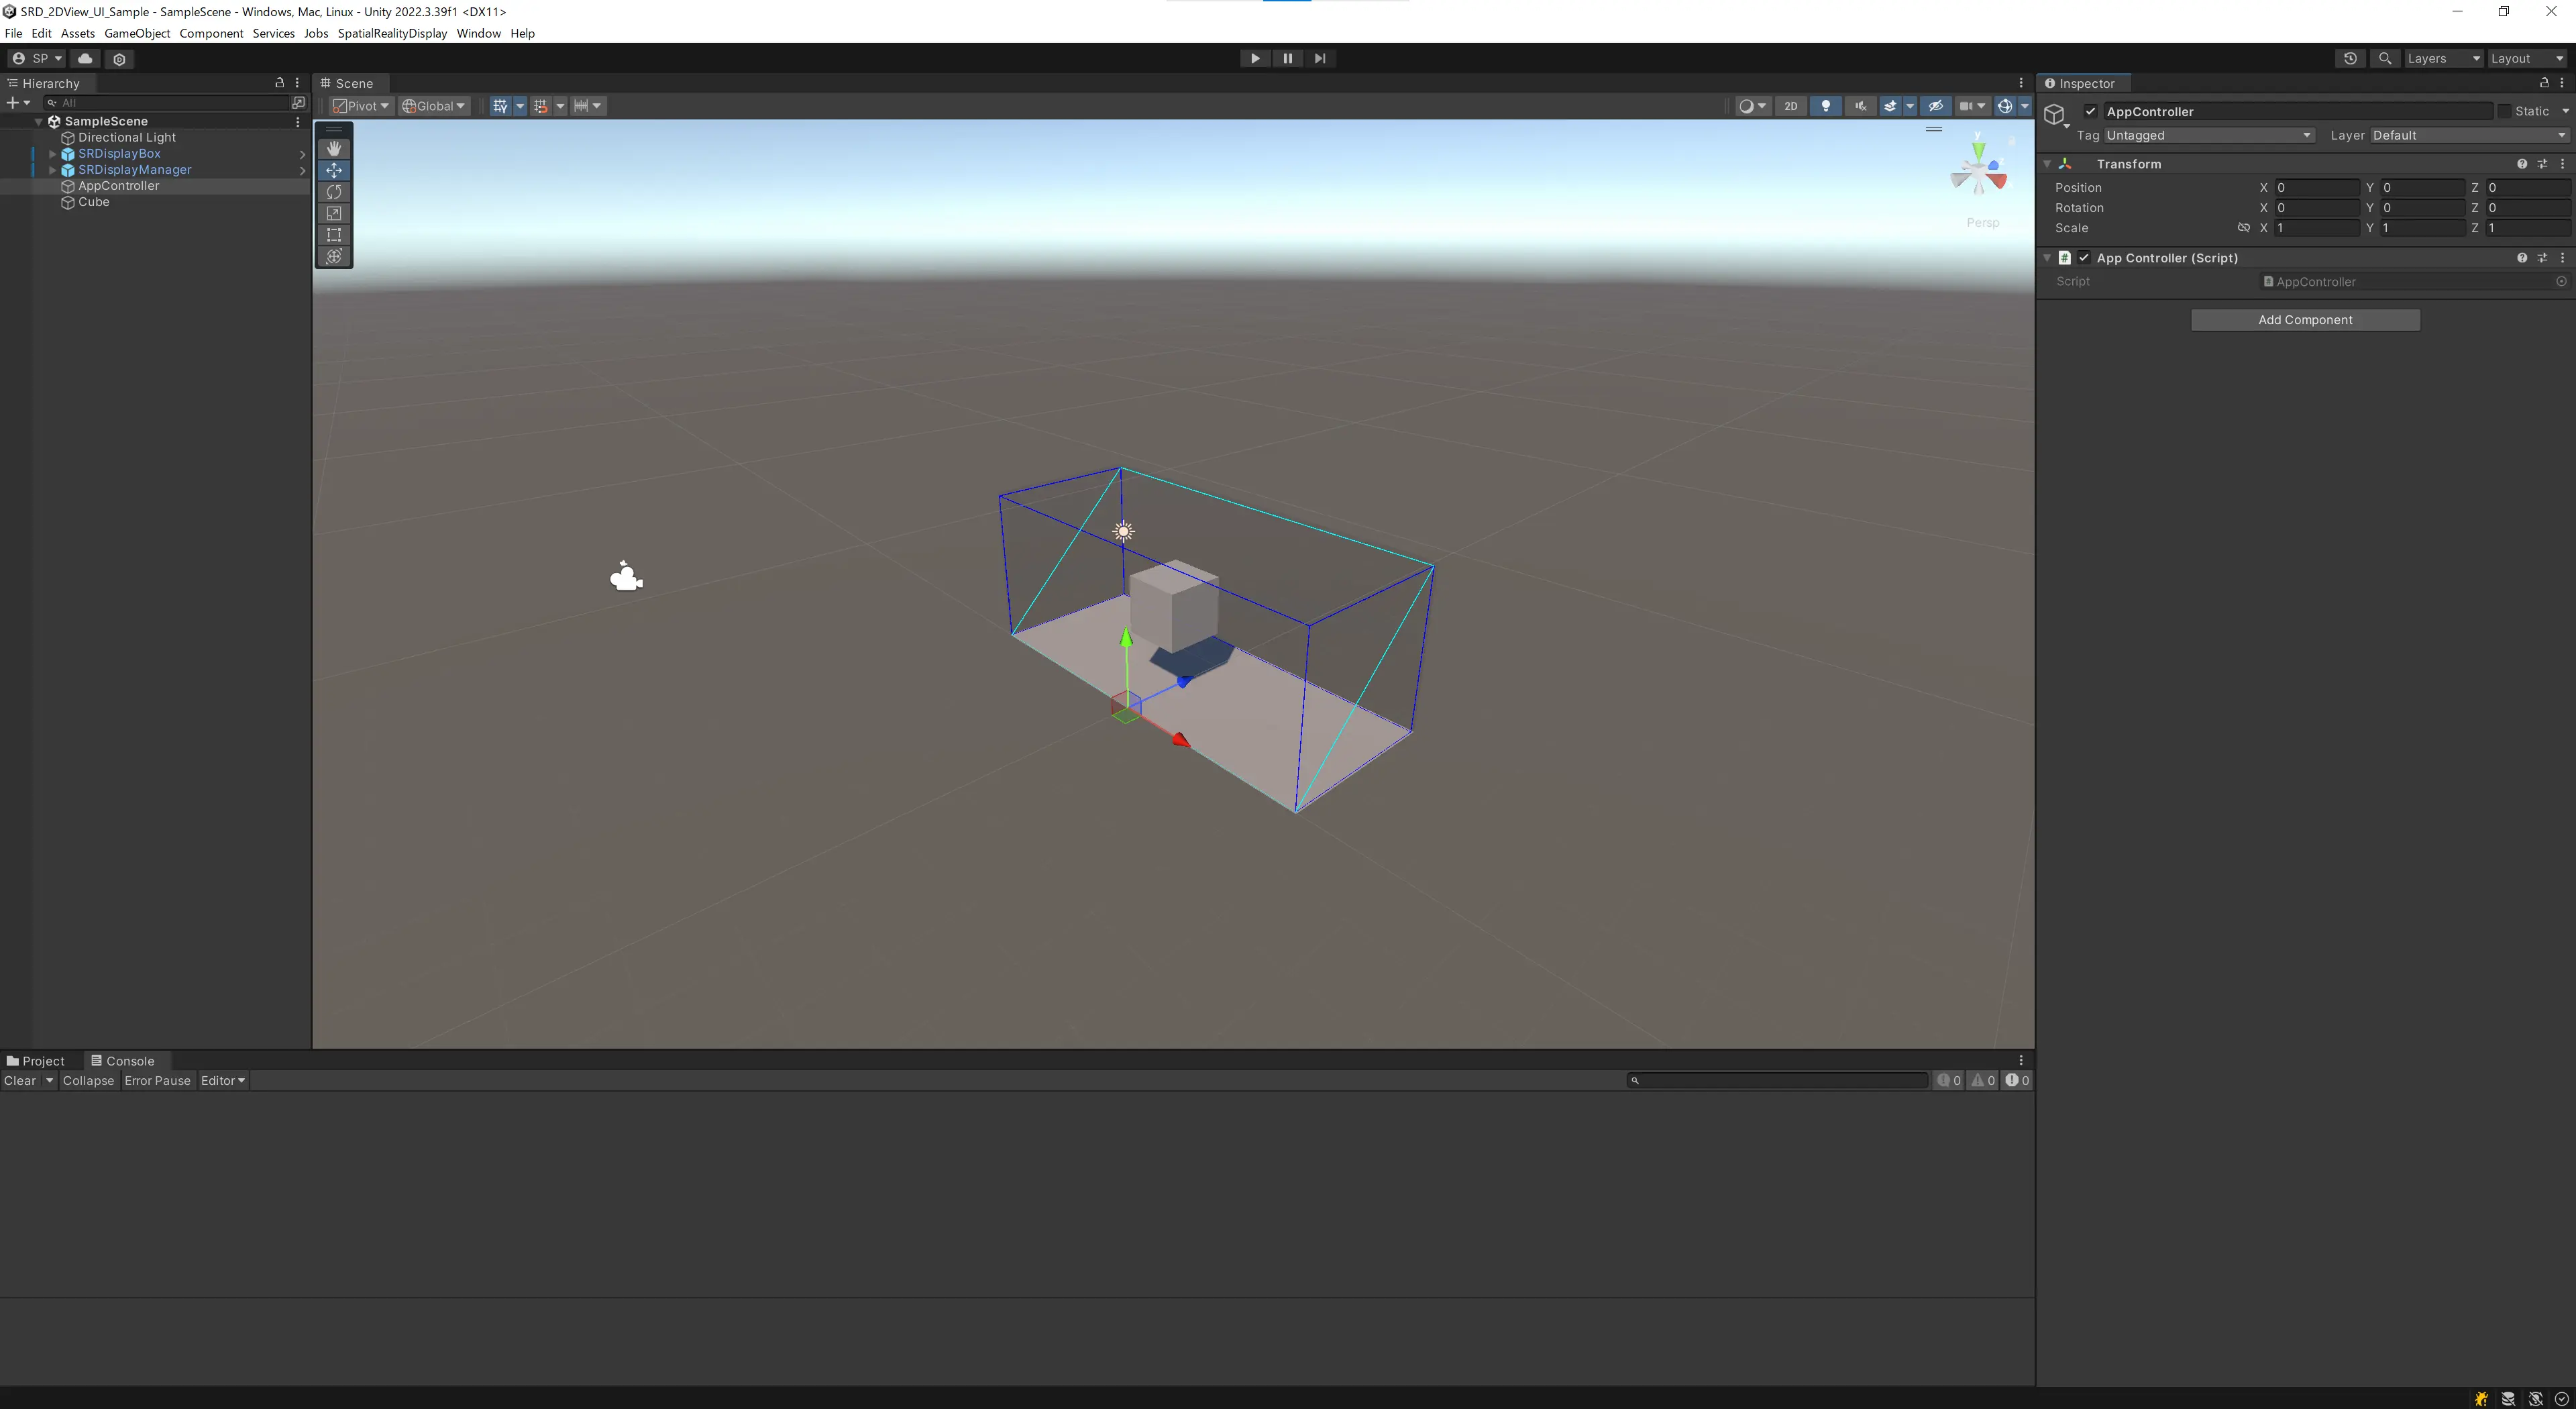
删除默认 SampleScene 中除 Directional Light 以外的所有对象,并添加 SRDisplayManager 和 SRDisplayBox。
接下来,将新的3D Object添加到 SRDisplayBox 的中心并附加 `Floating Object` 脚本。 \
最后,创建下面的 `AppController` 脚本并将其附加到空的GameObject,以便在应用程序启动时显示 `SR2DView`。
```csharp
using UnityEngine;
using SRD.Core;
using SRD.Utils;
public class AppController : MonoBehaviour
{
private SRDManager _srdManager;
private SRD2DView _srd2DView;
void Start()
{
_srdManager = SRDSceneEnvironment.GetSRDManager();
if (_srdManager.Init2DView())
{
_srd2DView = _srdManager.SRD2DView;
}
}
void Update()
{
if (Input.GetKeyDown(KeyCode.Escape))
{
Application.Quit();
}
}
}
```
{.img100}
## CustomTexture
首先,让我们使用 CustomTexture 在第二个屏幕上从不同的角度显示图像。
1. 在Assets文件夹中新建RenderTexture
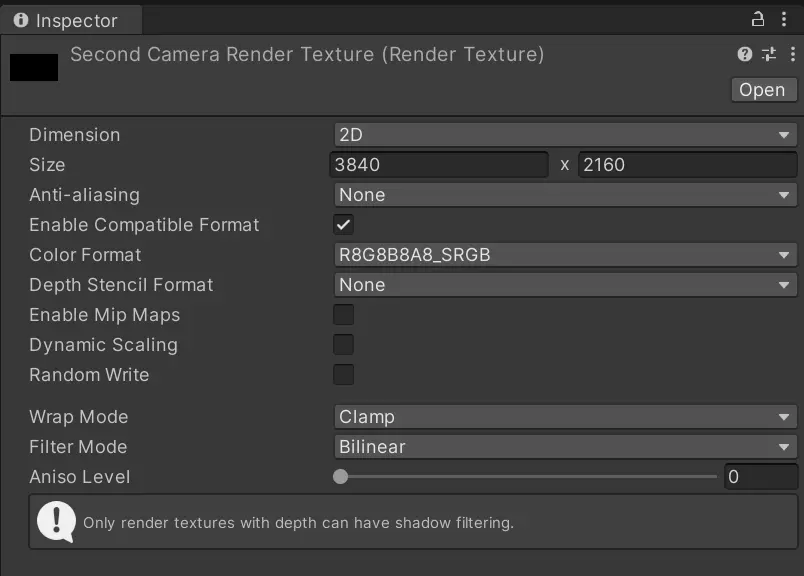
2. 将新的相机对象 `SecondCamera` 放置在场景中所需的位置,并将之前创建的RenderTexture分配给Output Texture
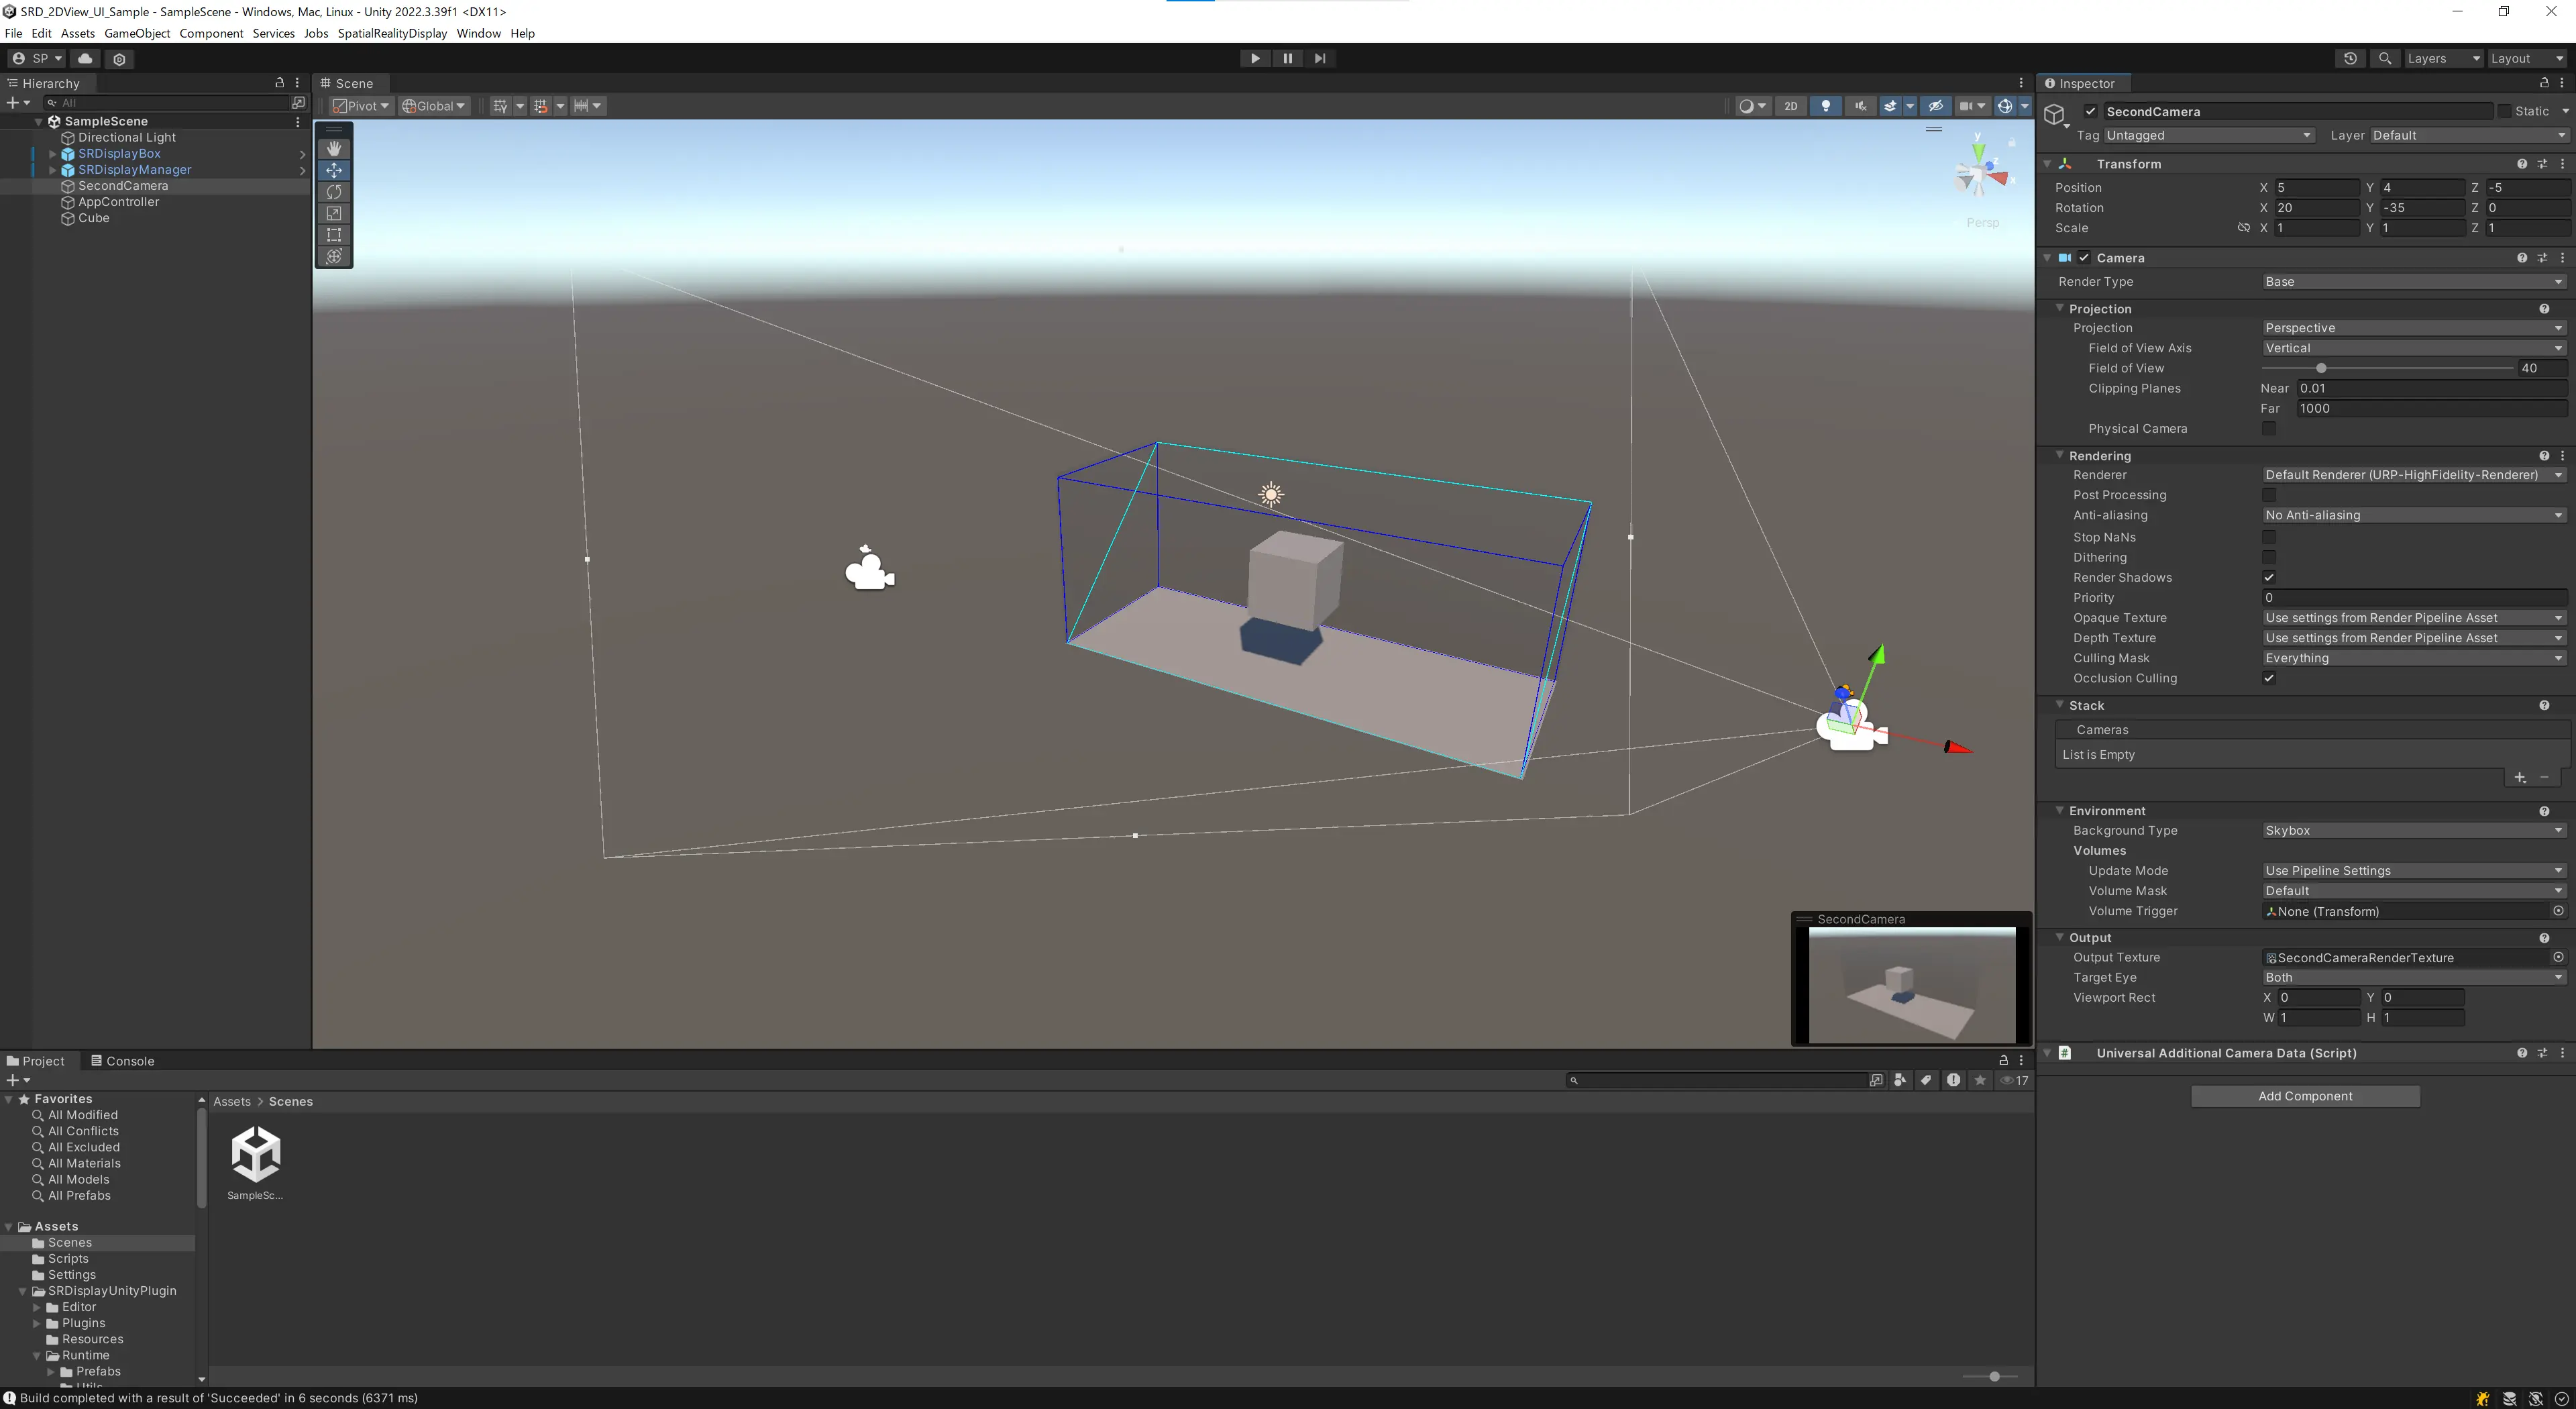{.img100}
3. 对AppController进行如下修改
4. 在 Inspector 中将 SecondCamera 对象分配给 AppController 的 `Second Camera`
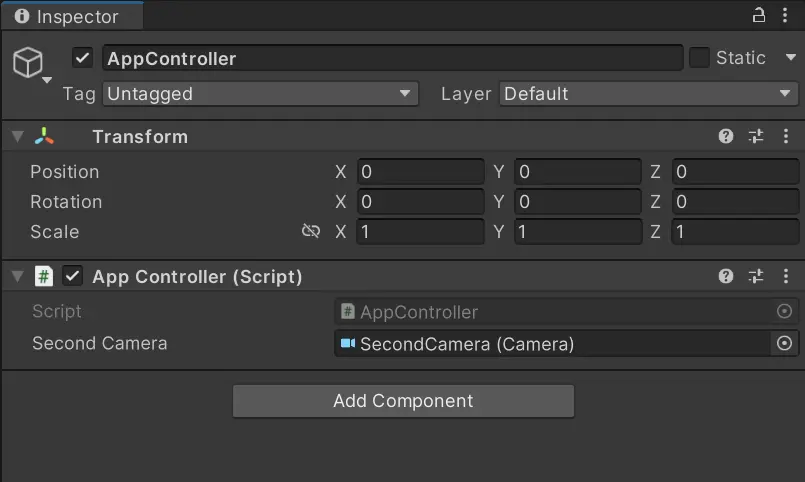
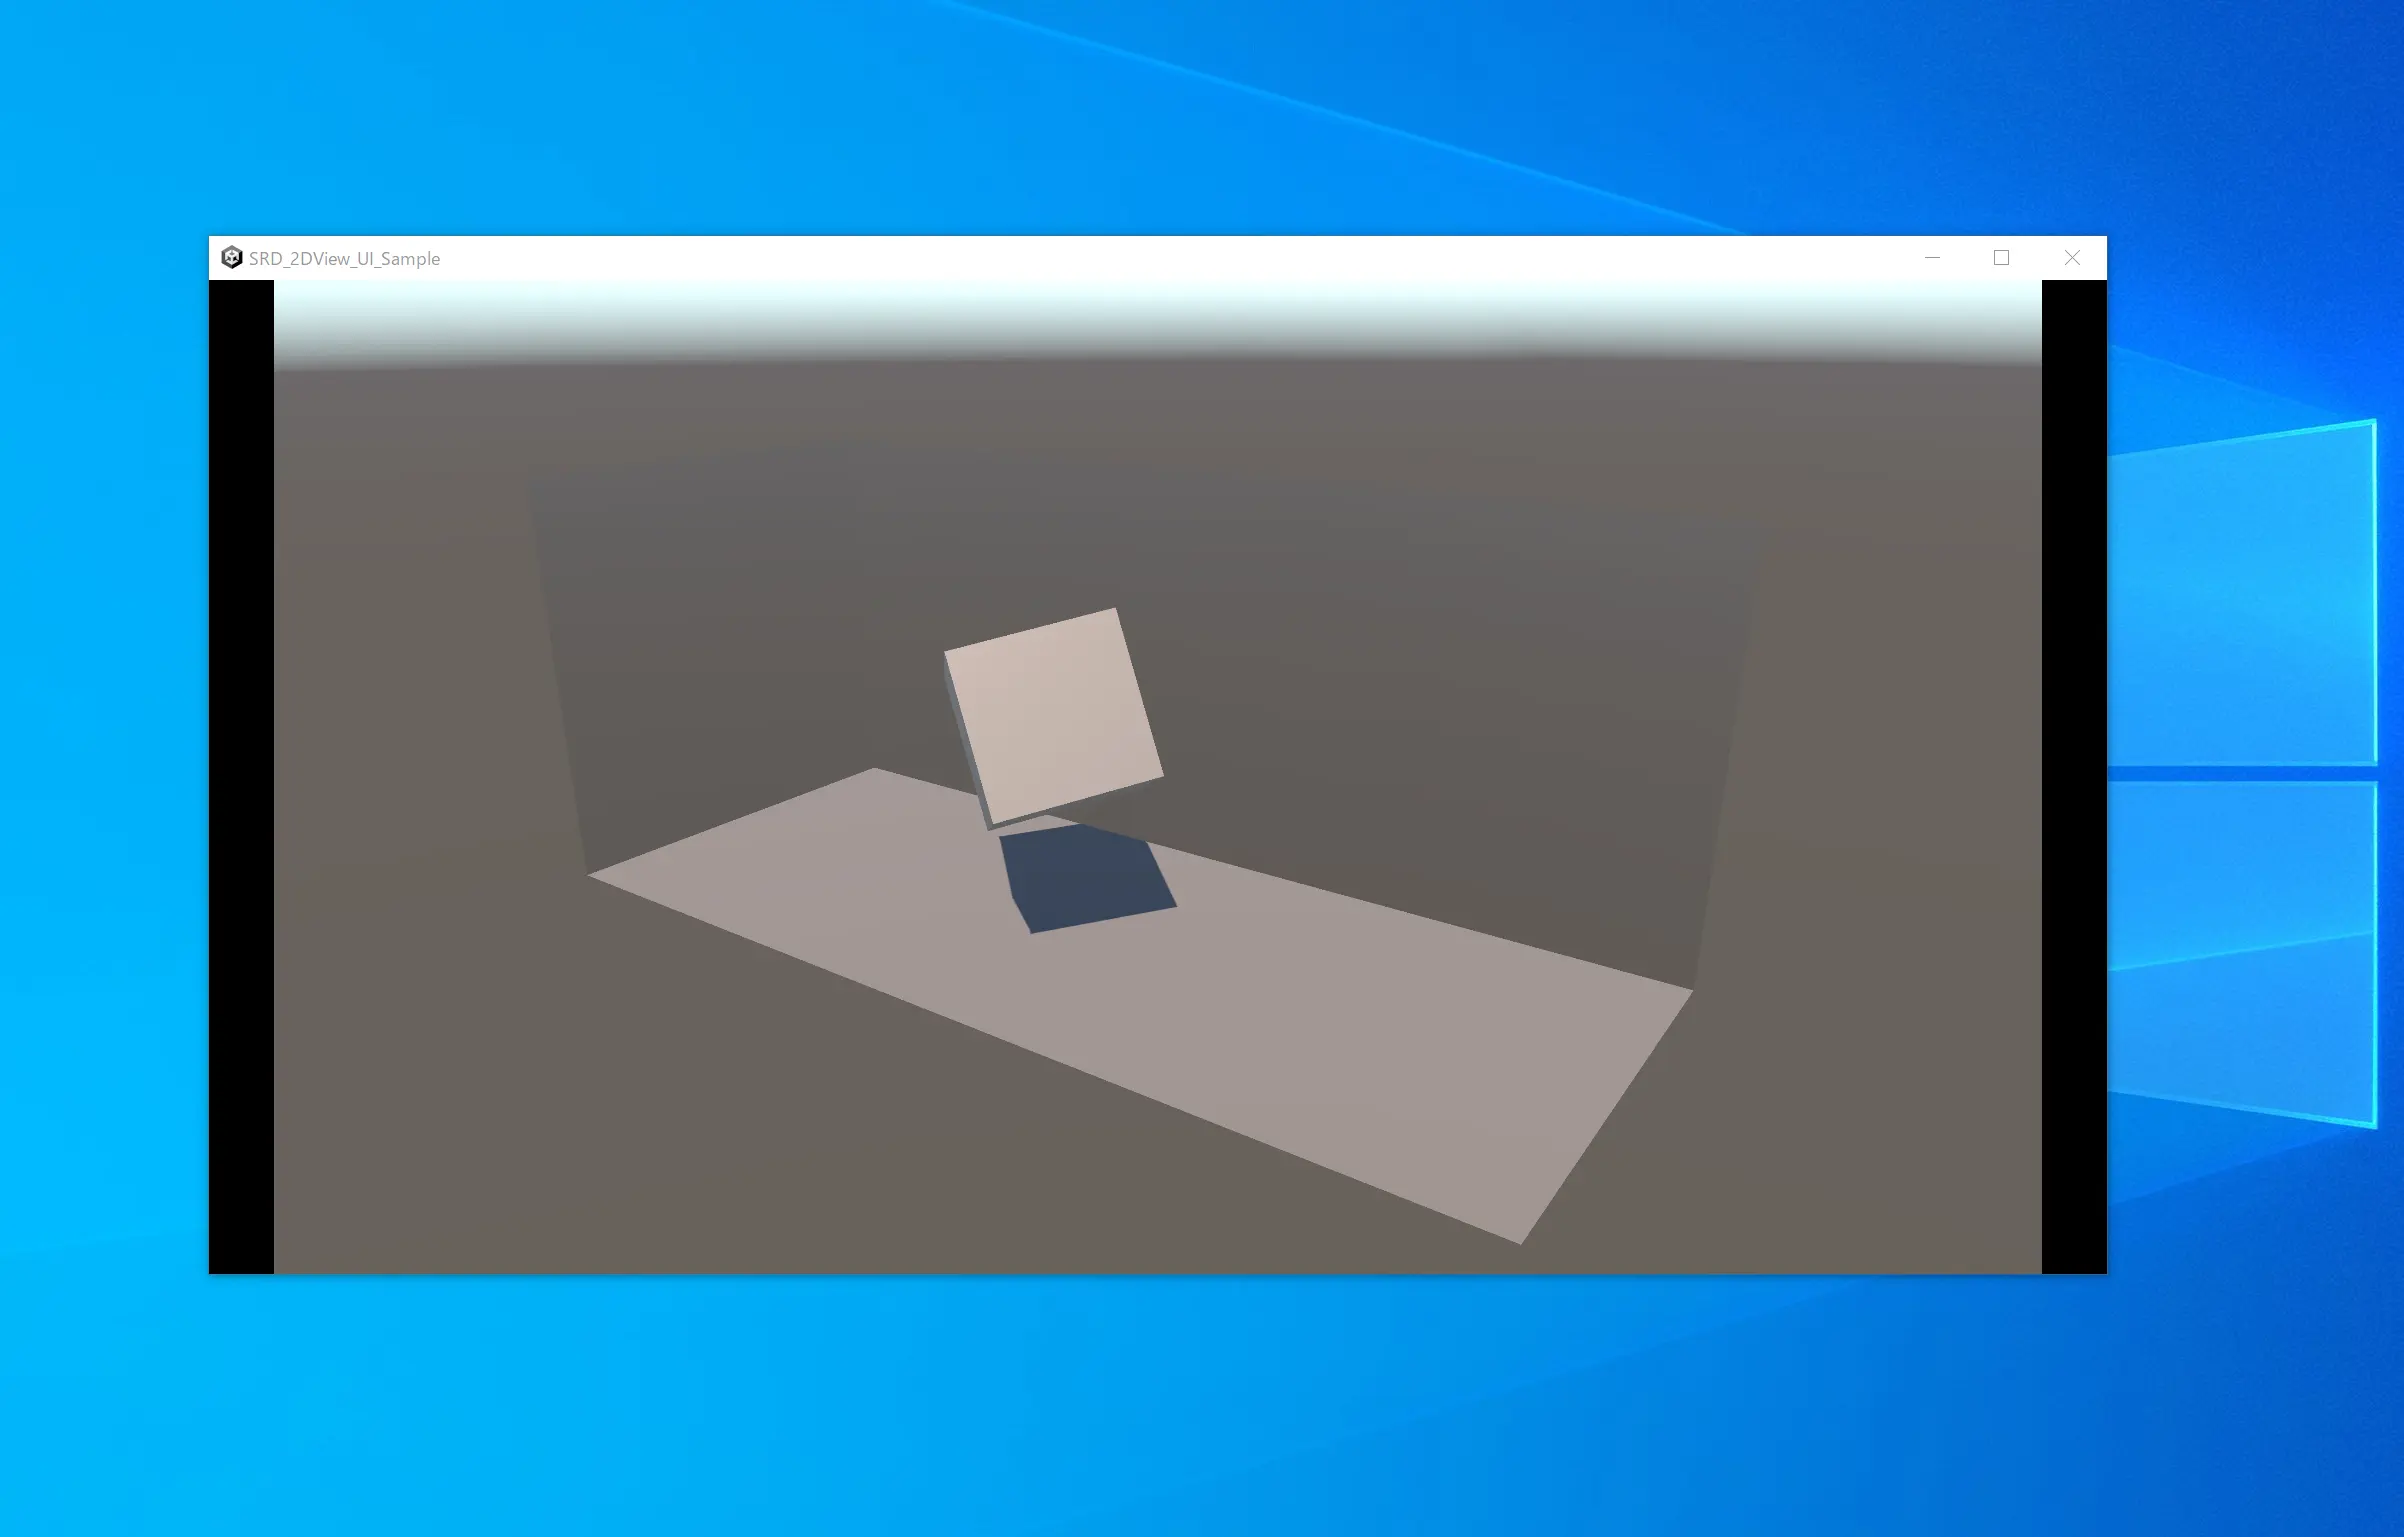
构建应用程序并运行 exe,`Second Camera` 图片将显示在第二个屏幕上。
{.img100}
## GUI
接下来我们来创建一个按钮来切换第二屏显示的图片。
在普通的 Unity 应用程序中,当您想要创建 GUI 时,您可以使用 Canvas 函数。 \
当调用 `SR2DView` 的 `Init` 函数时,内部会自动生成一个 `Screen Space - Overlay` 模式的Canvas,并根据屏幕尺寸显示那里设置的SourceTexture图像。。 \
Canvas 也用于在第二个屏幕上显示按钮,但这需要一些窍门。
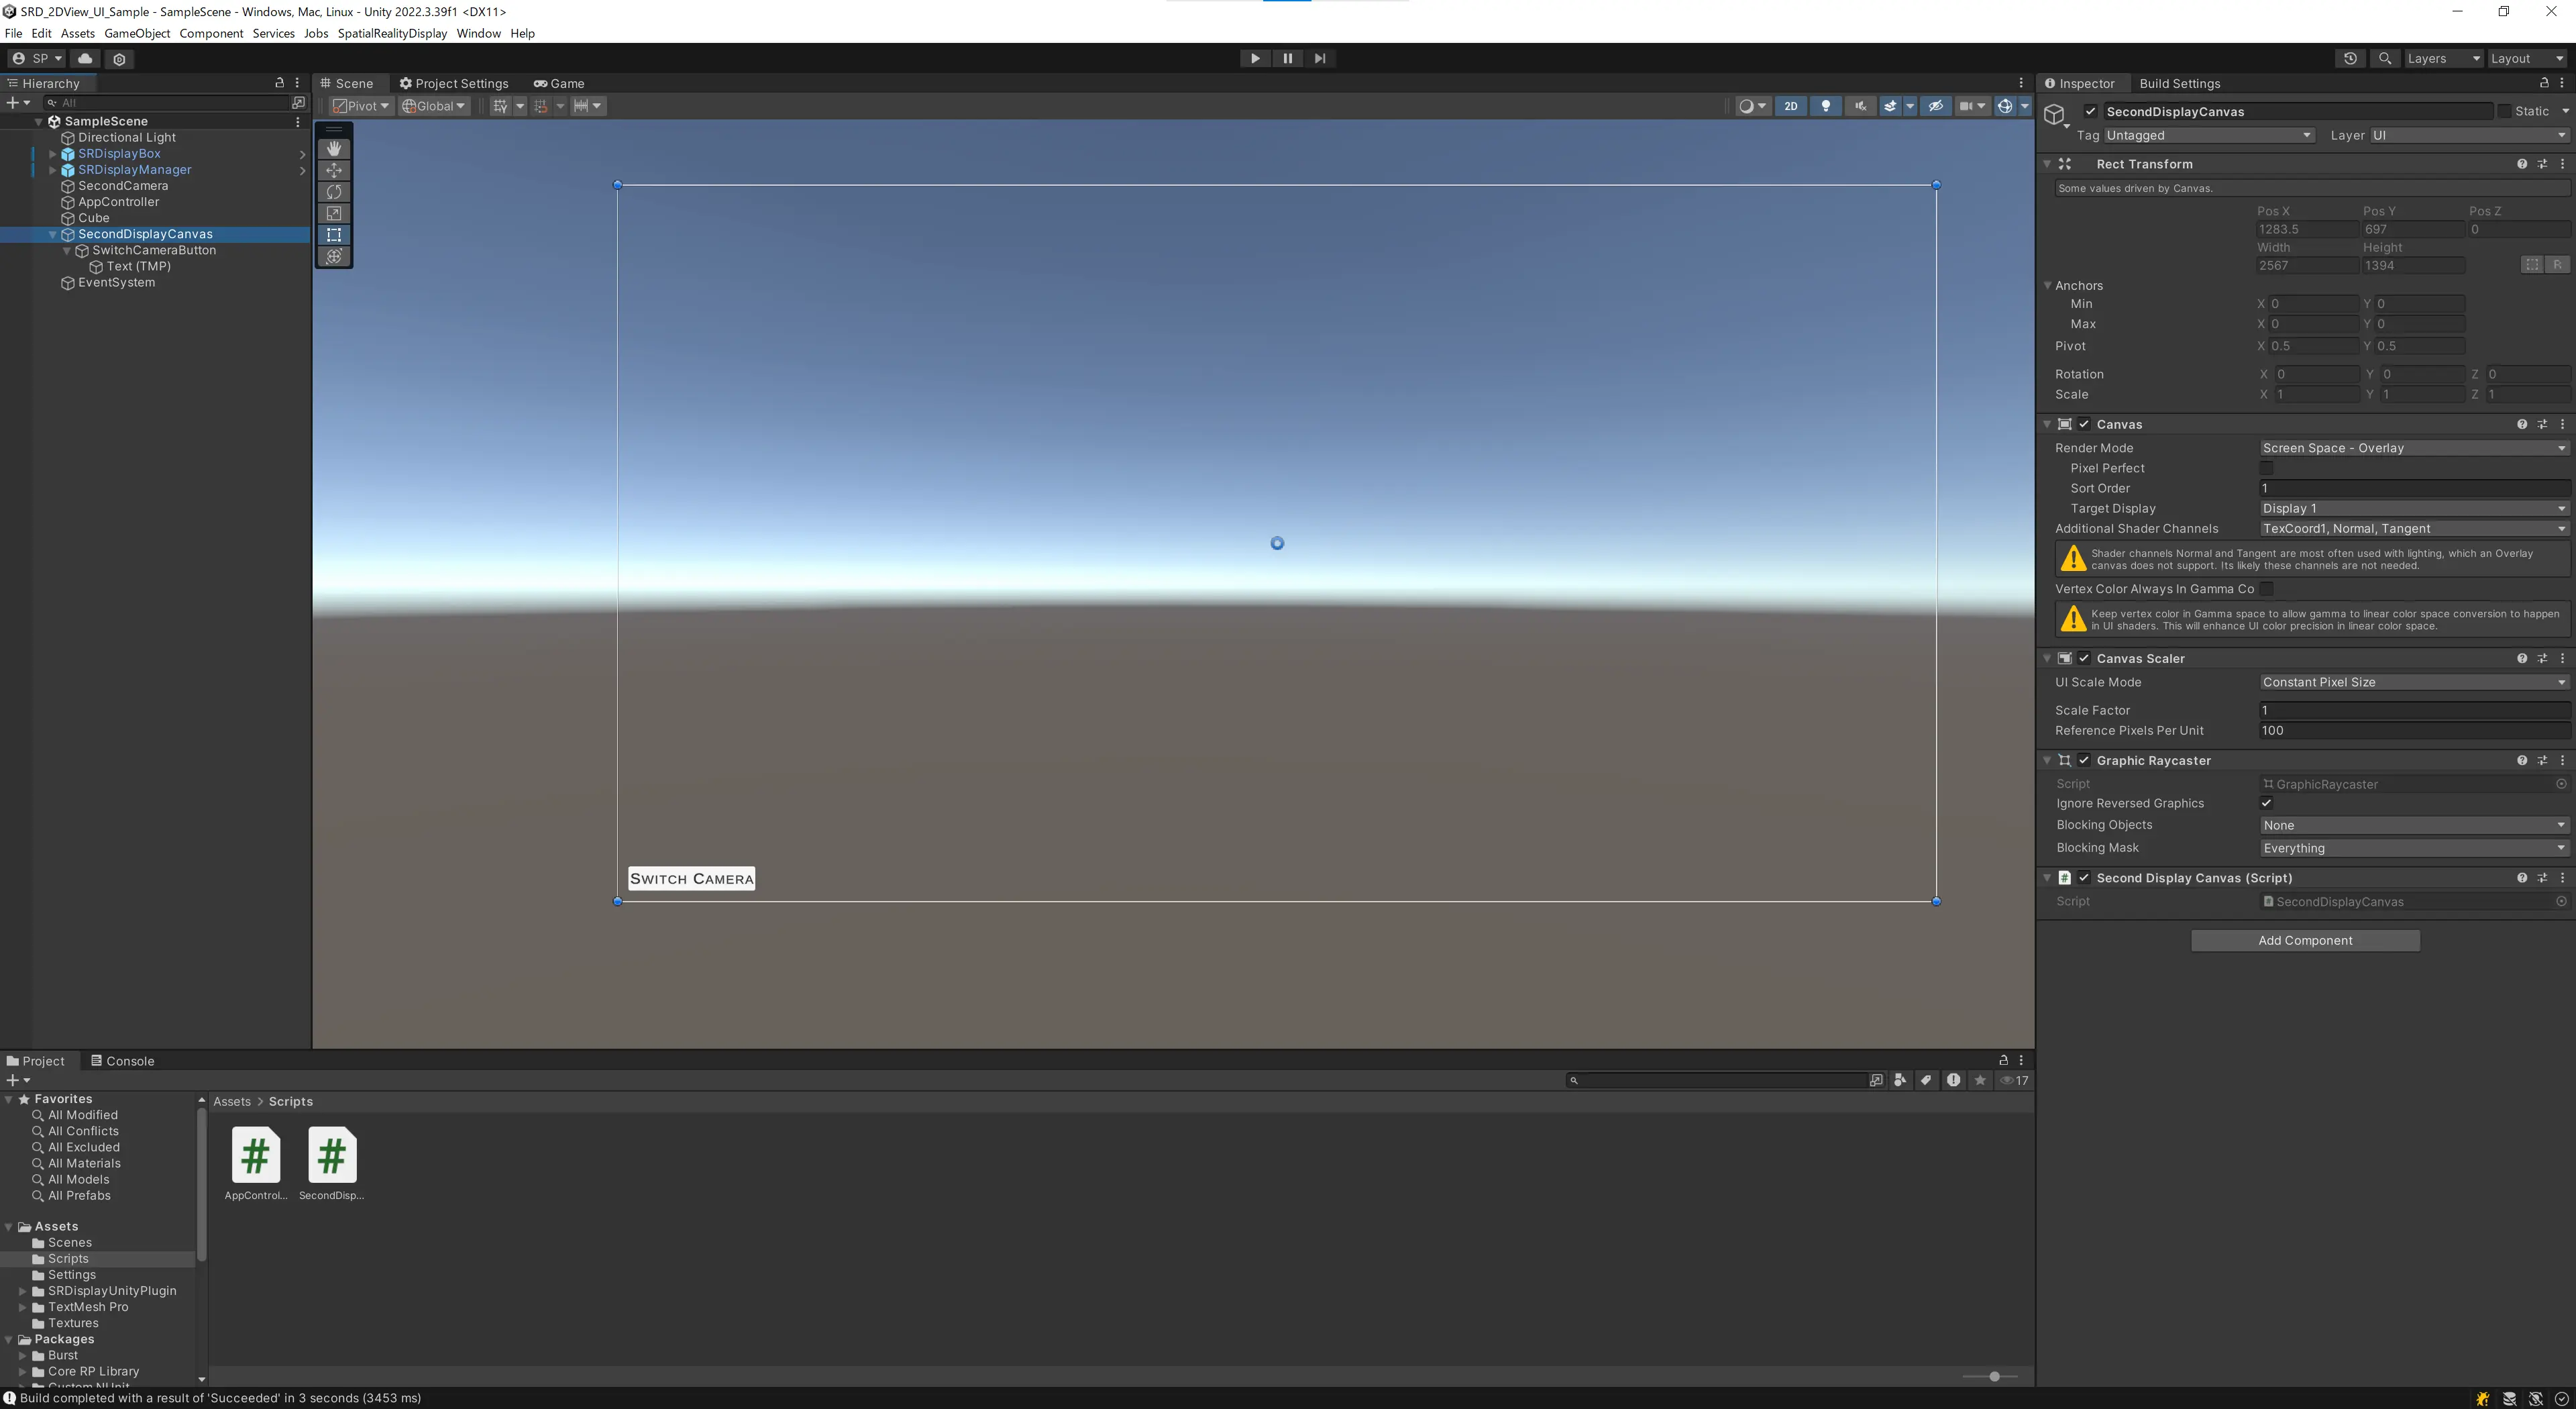
1. 创建一个新的屏幕空间画布。 **排序顺序必须设置为 1 或更高**,以便它显示在 `SR2DView` 内的画布上方。另外,关于Target Display,根据 PC 环境,显示 `SR2DView` 的显示屏可能会有所不同,因此将以下脚本附加到 Canvas 以便在运行时设置正确的Target Display。
```csharp
using SRD.Core;
using UnityEngine;
[RequireComponent(typeof(Canvas))]
public class SecondDisplayCanvas : MonoBehaviour
{
void Start()
{
var canvas = GetComponent<Canvas>();
canvas.targetDisplay = SRD2DView.DisplayIndex;
}
}
```
2. 将 Button 对象添加到 Canvas
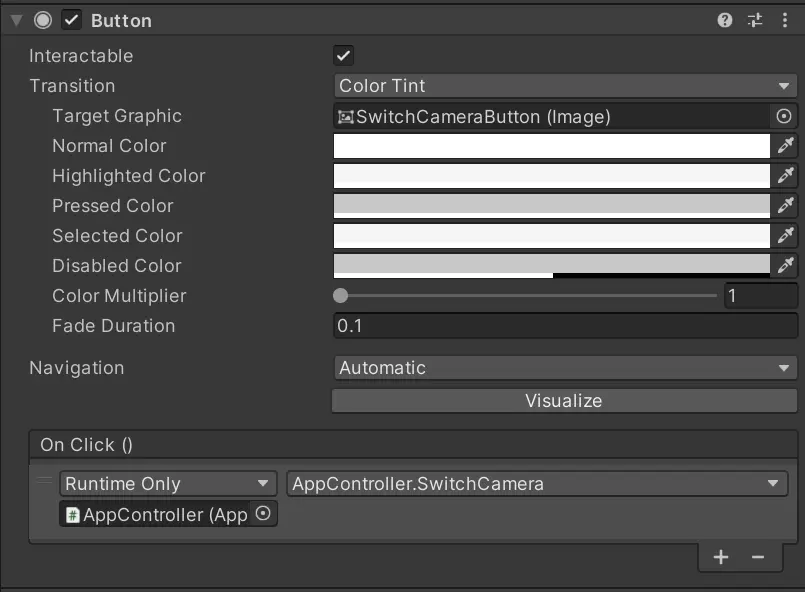
3. 将以下函数添加到 AppController 并将其与 Button 的 OnClick() 事件链接
{.img100}
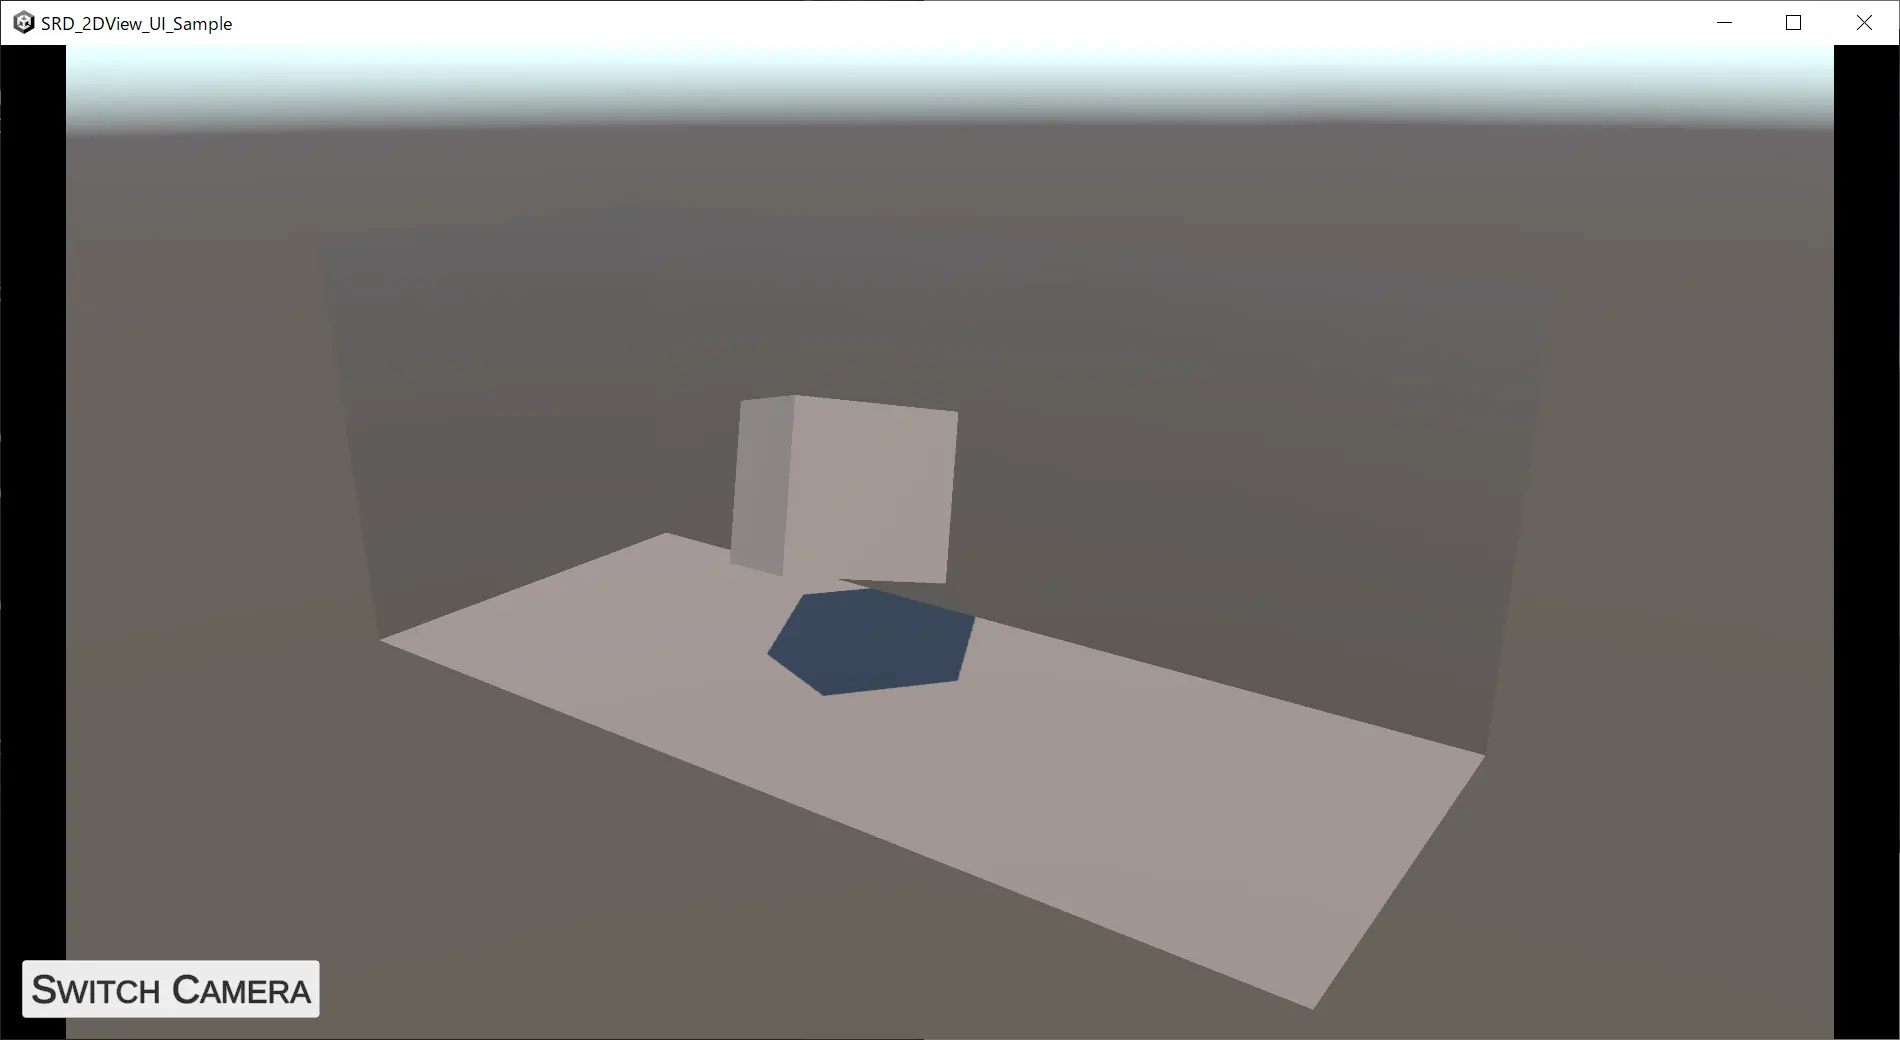
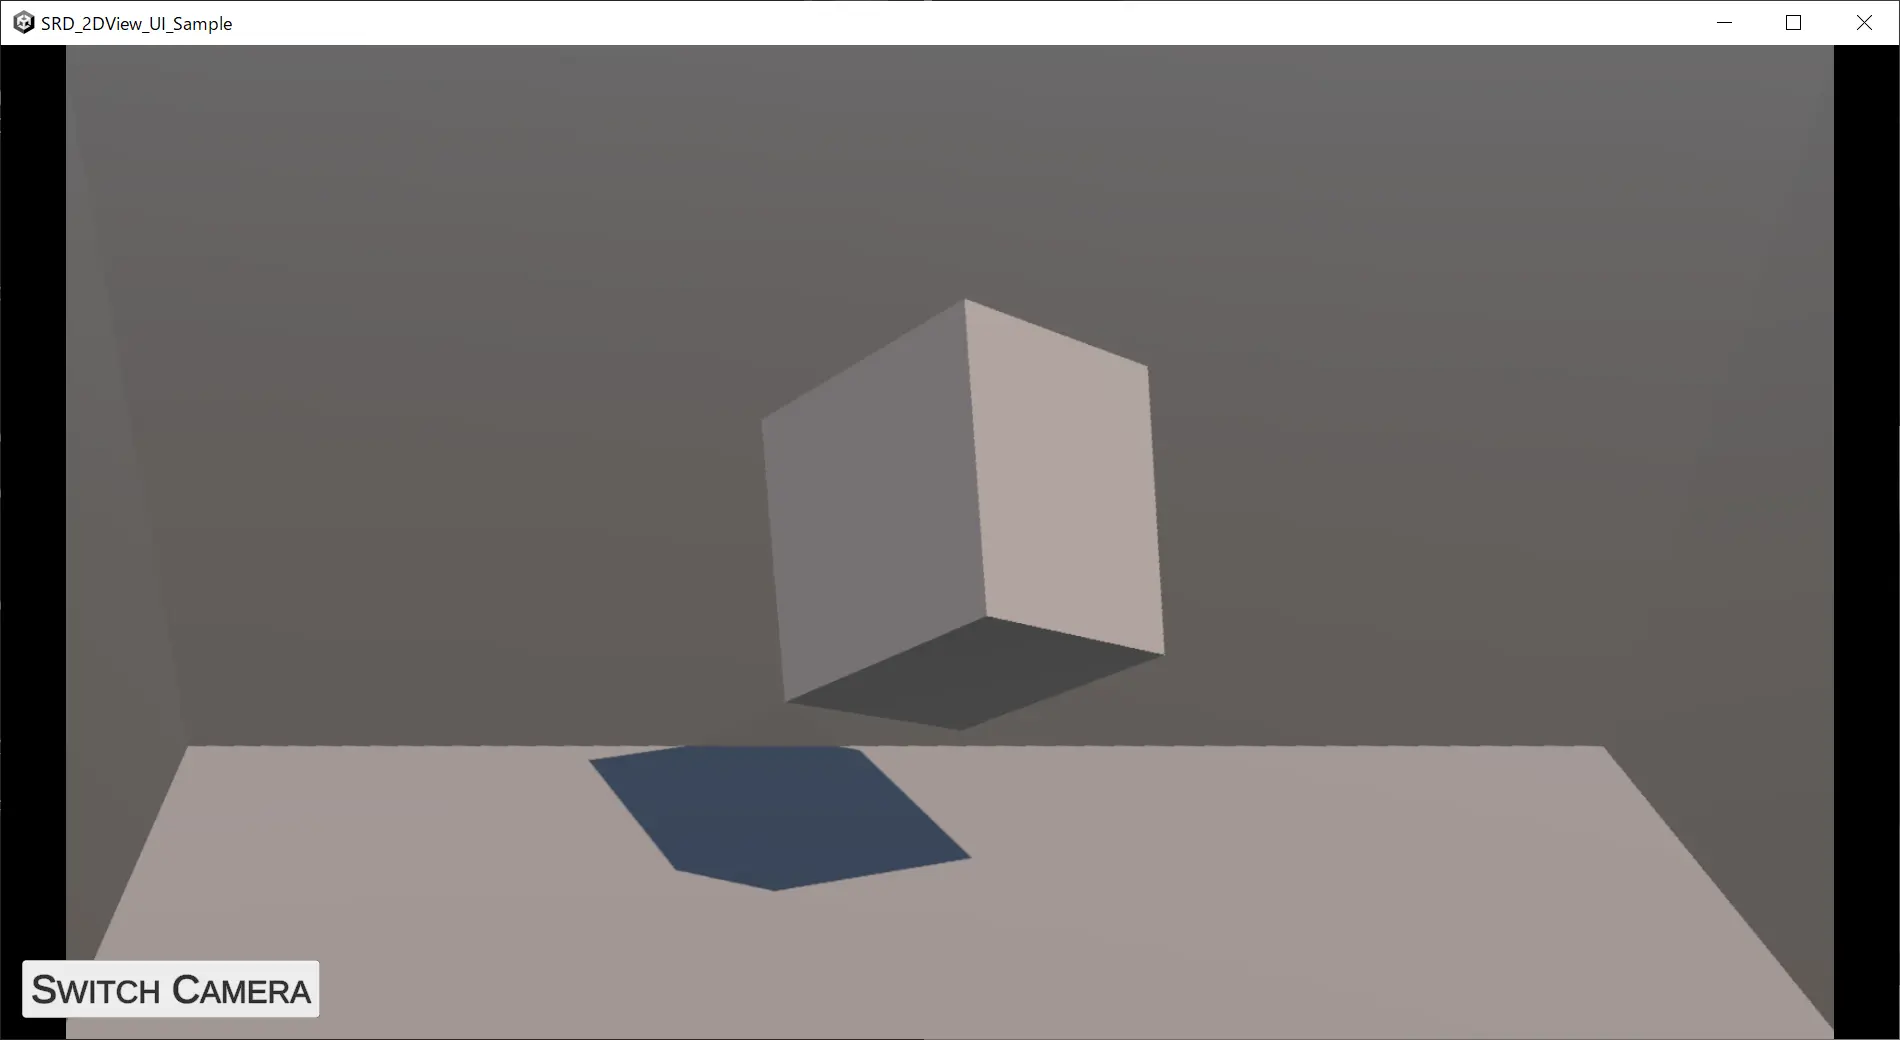
再次构建应用程序并运行 exe。 \
第二屏左下角会显示“SWITCH CAMERA”按钮,点击该按钮可以在 SRDisplayManager 的 `LeftEye` 图片和 `SecondCamera` 图片之间进行切换。
:::note
如果您想了解有关如何为第二个屏幕创建 GUI 的更多信息,请参阅 Spatial Reality Display Plugin for Unity ver.2.4.0 中新添加的示例。 \
[6 - SRDisplay2DViewUISample](/Products/Developer-Spatial-Reality-display/zh/develop/Unity/Samples.html#link_8)
:::
为 `SecondCamera` 准备一个变量
```csharp
[SerializeField]
private Camera _secondCamera;
```
在 Start() 中将 SecondCamera 的 TargetTexture 设置为 SR2DView 的 CustomTexture
```csharp
void Start()
{
_srdManager = SRDSceneEnvironment.GetSRDManager();
if (_srdManager.Init2DView())
{
_srd2DView = _srdManager.SRD2DView;
if (_secondCamera != null)
{
_srd2DView.CustomTexture = _secondCamera.targetTexture;
}
}
}
```
```csharp
public void SwitchCamera()
{
if (_srd2DView.SourceTexture != SRD2DView.SRDTextureType.Custom)
{
_srd2DView.SetSourceTexture(SRD2DView.SRDTextureType.Custom);
}
else
{
_srd2DView.SetSourceTexture(SRD2DView.SRDTextureType.LeftEye);
}
}
```
{.img100}
{.img100}
{.img100}

